We’re not in the habit of recommending Kickstarter projects here at Hackaday, but when prototype hardware shows up on our desk, we just can’t help but play with it and write it up for the readers. And that is exactly where we find ourselves with the Turing Pi 2. You may be familiar with the original Turing Pi, the carrier board that runs seven Raspberry Pi Compute boards at once. That one supports the Compute versions 1 and 3, but a new design was clearly needed for the Compute Module 4. Not content with just supporting the CM4, the developers at Turing Machines have designed a 4-slot carrier board based on the NVIDIA Jetson pinout. The entire line of Jetson devices are supported, and a simple adapter makes the CM4 work. There’s even a brand new module planned around the RK3588, which should be quite impressive.
One of the design decisions of the TP2 is to use the mini-ITX form-factor and 24-pin ATX power connection, giving us the option to install the TP2 in a small computer case. There’s even a custom rack-mountable case being planned by the folks over at My Electronics. So if you want 4 or 8 Raspberry Pis in a rack mount, this one’s for you. Continue reading “Turing Pi 2: The Low Power Cluster”→
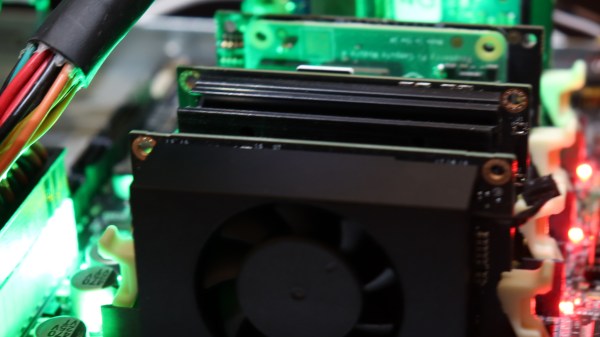
When it comes to high-performance desktop PCs, particularly in the world of gaming, water cooling is popular and effective. However, in the world of datacenters, servers rely on traditional air cooling more often than not, in combination with huge AC systems that keep server rooms at the appropriate temperature.
However, datacenters can use water cooling, too! It just doesn’t always look quite how you’d expect.
We’ve seen hackers run DOOM on a variety of appliances, from desk phones to pregnancy tests. Now, the final frontier has been conquered – we got DOOM to run on an x86 machine. Of course, making sure we utilize your PC hardware to its fullest, we have to forego an OS. Here are two ways you can run the classic shooter without the burden of gigabytes of bloated code in the background.
[nic3-14159] implemented this first version as a payload for coreboot, which is an open-source BIOS/UEFI replacement for x86 machines. Some might say it’s imperfect — it has no sound support, only works with PS/2 keyboards, and exiting the game makes your computer freeze. However, it’s playable, and it fits into your BIOS flash chip.
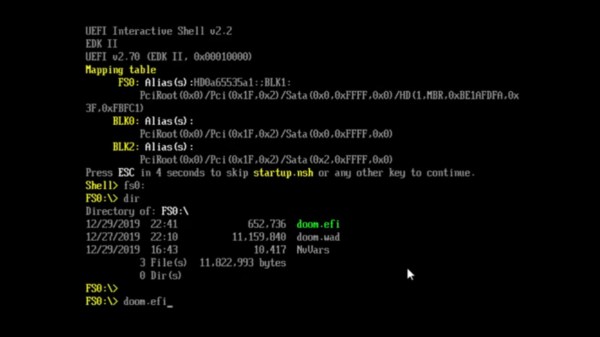
But what if your computer hasn’t yet been blessed with a free BIOS replacement? You might like this UEFI moduleDOOM port instead, originally made by [Warfish] and then built upon by [Cacodemon345]. To play this, you only need to compile the binary and an UEFI shell, then use the “Load EFI Shell” option in your UEFI menu – something that’s widely encountered nowadays. This version also lacks sound, but is a bit more fully featured due to all the facilities that UEFI provides for its payloads.
Of course there’s far more efficient ways to slay demons on your computer, but even if they aren’t necessarily practical from a gaming standpoint, these two projects serve as decent examples of Coreboot and UEFI payloads. BIOS replacements like coreboot take up so little space, we’ve even seen Windows 3.1 fit alongside coreboot in the BIOS chip. Wondering what UEFI is, even? Here’s a primer for you. And, if you don’t mind the exceptional bloat of a stripped-down Linux install, here’s a Linux image built from the ground up to run DOOM specifically.
If you worked with computers back in the 1970s, there’s a good chance you used a light pen at some point: a simple input device that you’d point at the CRT screen to highlight text, choose menu options or manipulate graphic objects. Although ubiquitous in those days, the light pen lost the battle for ergonomics to the humble mouse and was all but extinct by the late 1980s. Touchscreen styluses implement a similar function today, but touching the screen somehow doesn’t feel the same as simply pointing at it.
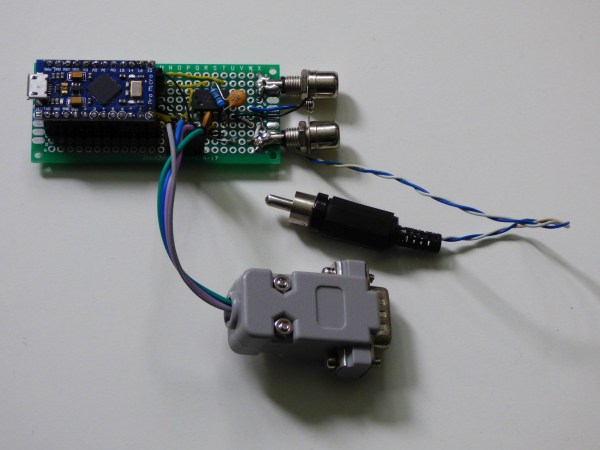
We therefore applaud [Maciej Witkowiak]’s efforts to bring the light pen into the 21st century by building a USB interface for a Commodore 64/128 light pen. At its heart is an Arduino Micro Pro that implements the USB HID protocol to communicate with any modern computer. It connects to the classic light pen as well as to the computer’s analog display signal and uses those to calculate the delay between the video synchronization pulses and the light pen’s output. The sync pulses are extracted from the video signal by an LM1881, a sync separator chip that will be familiar to anyone who’s worked with analog video signals.
The Arduino calculates the light pen’s position based on the measured timing intervals and reports it to the computer, using the absolute positioning mode that’s also used by things like drawing pads. [Maciej] demonstrates his system in the video embedded below, in which he uses it to operate the menus on an X window system. A great success then, although there’s one catch: light pens only work on CRT displays, so you’ll need to drag one of those big glass beasts out of storage if you want to try this yourself.
Recently, I stumbled upon a cool write-up by [DHowett], about reprogramming a Framework laptop’s Embedded Controller (EC). He shows us how to reuse the Caps Lock LED, instead making it indicate the F1-F12 key layer state – also known as “Fn lock”, AKA, “Does your F1 key currently work as F1, or does it regulate volume”. He walks us through adding custom code to your laptop’s EC firmware and integrate it properly into the various routines the EC runs.
The EC that the Framework uses is a MEC1521 chip from Microchip, and earlier this year, they open-sourced the firmware for it. Now, there’s a repository of microcontroller code that you can compile yourself, and flash your Framework laptop’s motherboard with. In a comment section of HackerNews, a Framework representative has speculated that you could add GPIOs to a Framework motherboard through EC firmware hacking.
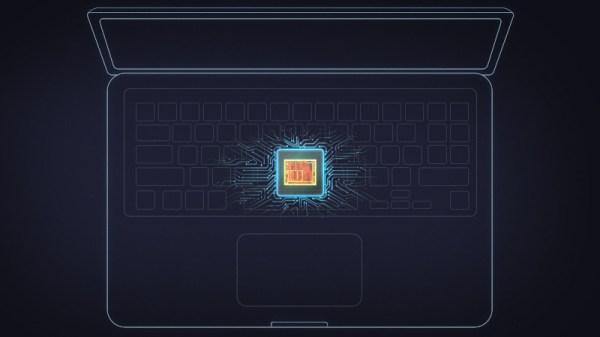
Wait… Microcontroller code? GPIOs? This brings us to the question – what is the EC, really? To start with, it’s just a microcontroller. You can find an EC in every x86 computer, including laptops, managing your computer’s lower-level functions like power management, keyboard, touchpad, battery and a slew of other things. In Apple land, you might know them as SMC, but their function is the same.
Why have we not been reprogramming our ECs all this time? That’s a warranted question, too, and I will tell you all about it.
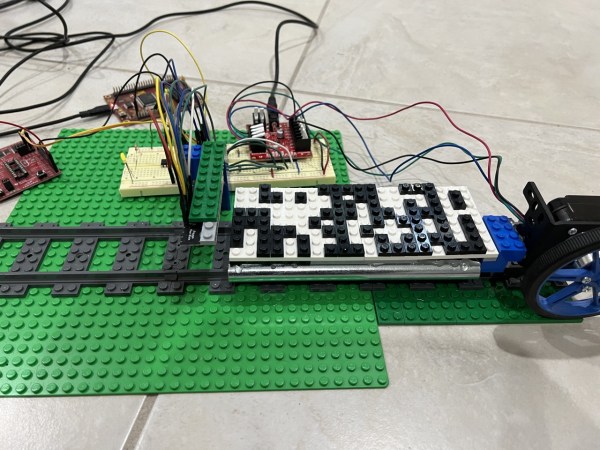
Those old enough to have encountered punch cards in their lifetime are probably glad to be rid of their extremely low data density and the propensity of tall stacks to tip over. But obsolete as they may be, they’re a great tool to show the basics of binary data storage: the bits are easily visible and can even be manipulated with simple tools. As an experiment to re-create those features in a more modern system, [Michael Kohn] made a punch card-like system based on LEGO bricks that stores machine code instructions for a 65C816 CPU, the 16-bit successor to the venerable 6502.
Bits are stored on a white 8×20 stud board, onto which small black pieces are placed. A white background stud encodes a logic “zero”, while a black stud encodes a logic “one”. The bits are read out by an array of reflectance sensors, which conveniently has the same 8 mm pitch as standard LEGO studs. A big wheel driven by a stepper motor slides the data card under the readout circuit along a short stretch of LEGO train tracks.
The optical sensors are read out by an MSP430 series microcontroller, which also drives the motor through a stepper motor driver. Once the data is read out, the bytes are transferred into a WDC W65C265SXB board, which executes them as machine code instructions on its 65C816 CPU. In the video below, you can see a program being loaded that blinks an LED.
The community of Hackaday readers is diverse and talented, and supplies us with plenty of motivation, feedback, knowledge, and of course cool stuff to show you. There are many interest streams within it, but it’s safe to say that we’re more directed towards the hardware scene here. One of those parallel streams which has much overlap is the demoscene, that area in which programming, art, and music come together and push computer hardware to the limit of its abilities in pursuit of the most eye-catching works. I took a road trip with a friend to Outline, a small demo party held on a farm in the eastern Netherlands, to take a look at the world of demos up-close as a hardware-focused outsider.
Like A Hacker Camp, But The Music’s Better
A still from Thrive, a 256 byte demo for the TIC-80 fantasy console.
If I wanted to sum up the flavour of Outline, I’d describe it as very similar to a small hacker camp, but with better music and partying. The hackerspaces are replaced by demo groups and awesome graphics take the place of robots and electronics, but the vibe of people with a passionate interest in the low-level understanding of technology is exactly the same. Even some of the same faces make an appearance. On the benches sit modern high-spec PCs alongside classic consoles and microcomputers, on the projector screen are live coding shaders or some of the most recognisable demos past and present, and in the air is an eclectic mix of live-DJ EDM and chiptunes.
As an outsider at a first demoscene event it’s difficult to appreciate the work from a comparative perspective, while like most of us I’m familiar with quite a few demos that have become popular I’m not well-equipped enough to talk about the code and techniques behind them But I can run through the various sections of the competition, and since everything is online I can link to a few of them. The competition is split up into several sections, which are loosely for all-out technology-no-object demos, space-limited 256 byte and 128 byte demos, and old-school demos for retrocomputing hardware. Each is a test of the programmer’s skill in fitting the most into the least of resources, and for those who appreciate such things it’s the cleverness of the technique which produces the demo that’s as much a draw as the look of the thing. I don’t think I have ever exercised such mastery over any of the computers I have owned. So browse the entries, and marvel at their ingenuity. My personal aesthetic favourites were Thrive by [Agenda] for the TIC-80 fantasy console and It’s about time by [Guideline] for Windows, but you may have different tastes.
Don’t Forget The Hardware
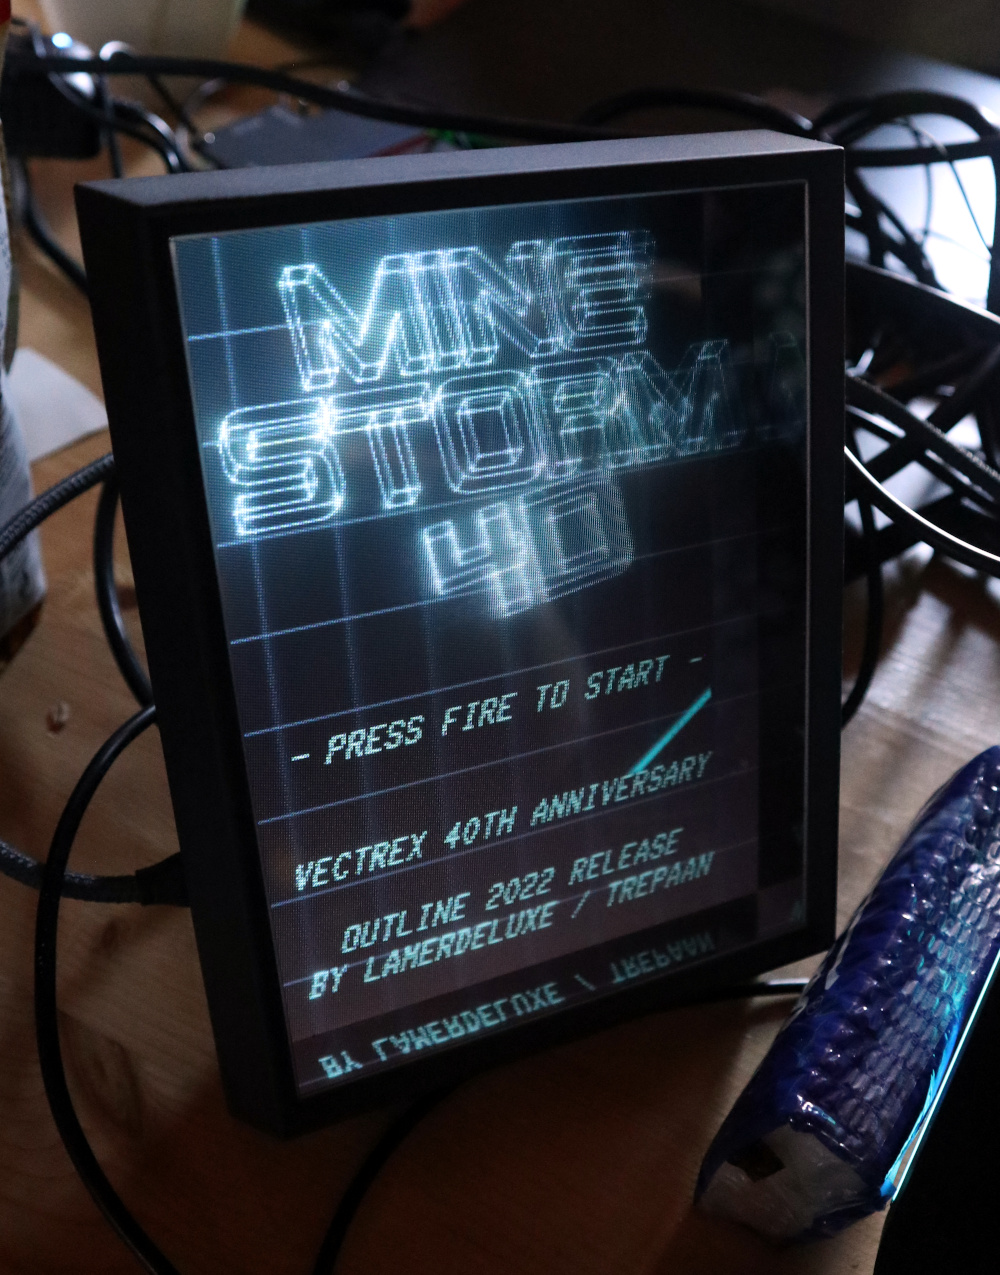
Mine Storm 4D, on a lenticular holographic display.
Beyond the atmosphere and the demos themselves, there was a bit of hardware for the retrocomputer enthusiast. The Atari Falcon and Jaguar were neither destined to set the world on fire when they appeared, but there they were for those of us who drooled over them back in the day to lust for once more.
If the original hardware wasn’t enough then there was some newly minted retrocomputing hardware making a showing, with a couple of minimig Amiga FPGA boards showing Workbench. Star of the hardware show though went to Mine Storm 4D, a version of the classic Vectrex game Mine Storm running on a PC, for the Looking Glass Factory holographic portrait display. With my visual superpower I didn’t quite get a 3D effect, but I definitely got the holographic effect when moving my head.
Having never been to a demo party I didn’t know quite what to expect, but I can safely say I had a fantastic time, saw a lot of really cool stuff, and made some friends along the way. If you’ve never been to a demo party because it’s not quite your scene then all I can say is that you should give it a go. Every hardware hacker should go to a demo party!