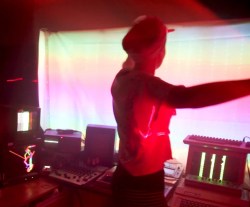
We all have that one project on our minds that we’d love to build if we could just find the right combination of time, energy, and knowledge to dive right in. For [Jonathan], that project was a sound sculpture that’s finally made it from concept to complete. [Jonathan] describes the sound sculpture as the culmination of a decade of learning, and in a moment you’ll understand why.
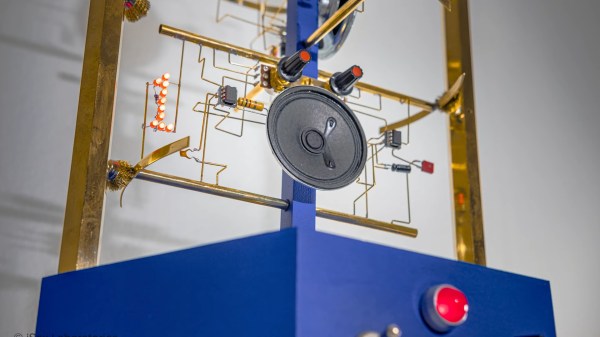
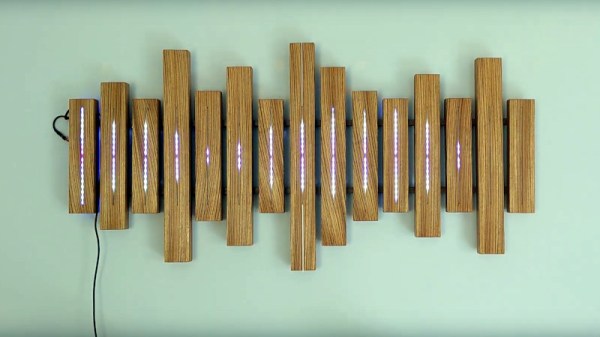
The sculpture itself is a beautiful display of woodwork mixed with what appear to be individually addressable LED’s. The varying length of the individual enclosures evokes the idea that the sculpture is somehow involved in the sound production, which is a nice touch.
An Adafruit microphone module feeds detected audio into a PSoC 5 microcontroller. You’d expect that [Jonathan] just used one of the FFT libraries that are available. But you’ll recall that this was the culmination of a decade of learning- why so? Because [Jonathan] went through the process of procuring his own grey hairs by writing his own FFT function. A homebrew FFT function and blinkenlites? What’s not to love!
You may also enjoy this discussion of Sine Waves, Square Waves, and FFT’s with our own Bil Herd.
Continue reading “Woodworking, Blinkenlites, And FFT’s Dance To The Music”