Whether or not you personally like the concept of the AirPod Bluetooth headphones is irrelevant, as an Apple product one thing is certain: all the cool kids want them. That also means that plenty of overseas manufacturers are pumping out janky clones for a fraction of the price for those who are more about the Apple look than the Apple price tag. Are they any good? No, of course not. But that doesn’t mean you can’t do something interesting with them.
 [Igor Kromin] took apart a pair of fake AirPods and was predictably underwhelmed. So much so that he didn’t even bother putting the things back together. Instead, he took the two poor Bluetooth audio receivers and combined them into one slightly less poor Bluetooth audio receiver. It probably doesn’t meet the classical definition of a “good” use of time and/or money, but at least he got some entertainment out of a product that was otherwise destined for the trash.
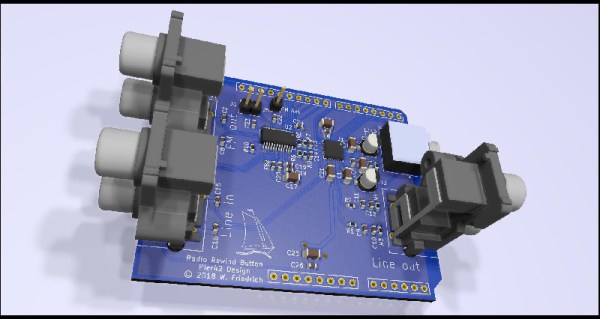
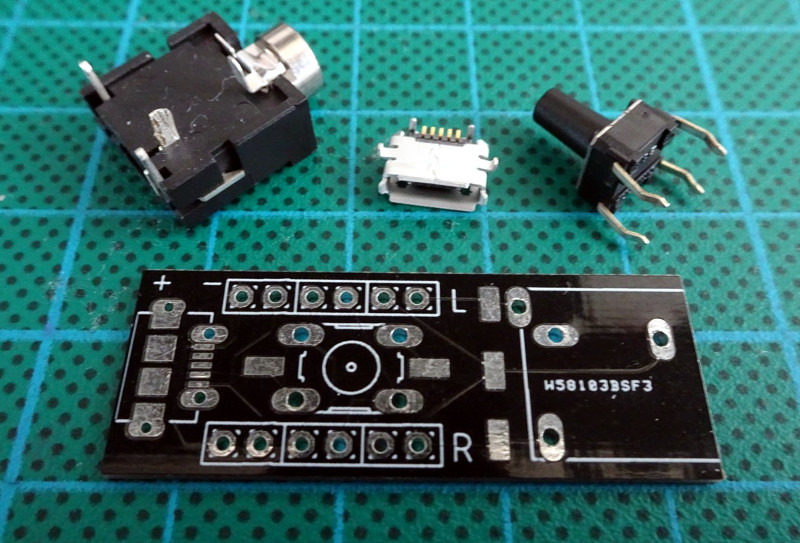
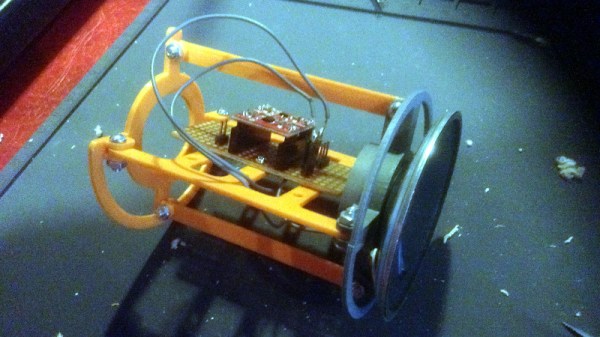
As you might imagine, the left and right “AirPod” each has its own battery, Bluetooth receiver, and speaker. It has to, as they have no physical connection to each other. That also means that each receiver is only playing one channel, making them useless individually. What [Igor] realized was that he could put together a little PCB that combines the two audio channels back into a regular stereo 3.5 mm audio jack.
While he was at it, he also wired the individual buttons on each headphone to a center button on the PCB which would allow him to physically synchronize them. Even still, [Igor] mentions that occasionally they don’t come on at the same time. But what do you expect for something that’s nearly a 20th the price of the original?
The last time we saw a hack related to the Apple AirPod, it was when somebody threw them out the window, so one might presume most hackers prefer their iDevice tethered.
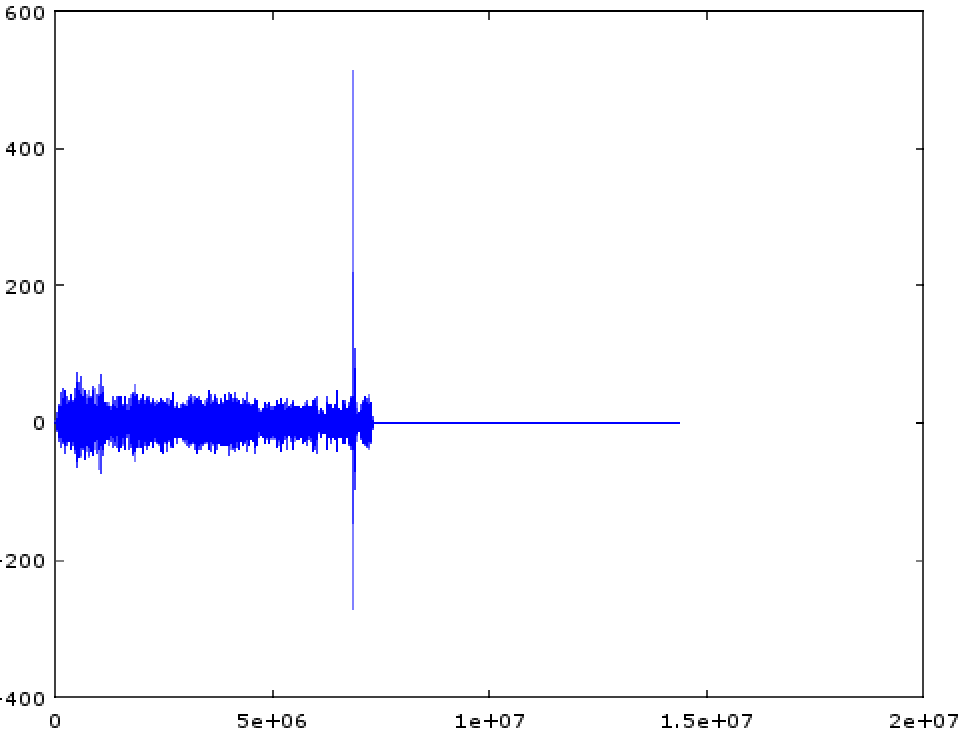 [tomek] was aware of this hip knowledge domain called Digital Signal Processing but hadn’t done any of it themselves. Like many algorithmic problems the first step was to figure out the fastest way to bolt together a prototype to prove a given technique worked. We were as surprised as [tomek] by how simple this turned out to be. Fundamentally it required a single function – cross-correlation – to measure the similarity of two data samples (audio files in this case). And it turns out that
 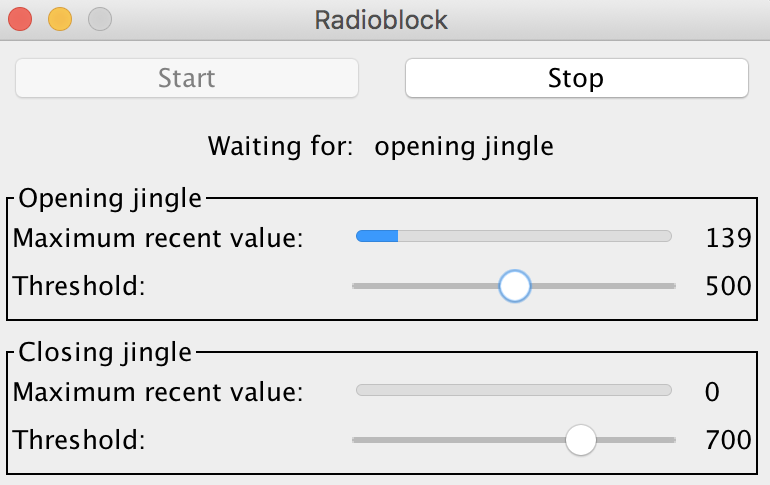 At this point all that was left was packaging it all into a one click tool to listen to the radio without loading an entire analysis package. Conveniently Octave is open source software, so [tomek] was able to dig through its sources until they found the bones of the critical xcorr() function. [tomek] adapted their code to pour the audio into a circular buffer in order to use an existing Java FFT library, and the magic was done. Piping the stream out of ffmpeg and into the ad detector yielded events when the given ad jingle samples were detected.