Need a quick and easy way to sort through a few hundred random resistors? You could do them one at a time by reading the color codes yourself… or you could get a machine to do it for you!
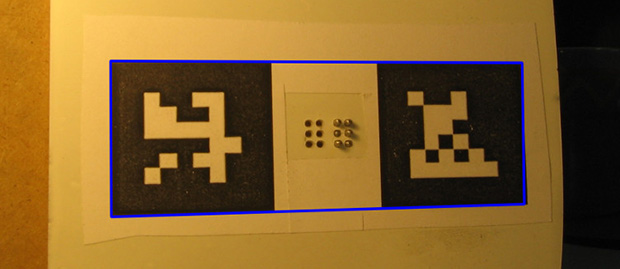
When [Robert] was faced with a pile of unsorted resistors he quickly decided he did not have the patience to sort them manually. So, he started by writing an Android app using OpenCV to detect and identify resistor color codes. The problem is, most phones have trouble focusing at short distances — and since resistors are so small, holding the phone farther back results in color rings only being a few pixels wide — not the greatest for image recognition!
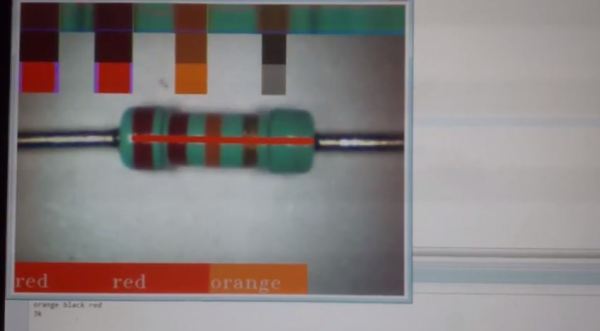
So, he started again on his computer, using a cheap LED-lit webcam instead. He wrote the app in java so he could re-use parts of the code from the Android app. It seems to work pretty well — check it out in the following video! This would be perfect to pair up with your illuminated storage bin hack.
Continue reading “ReSCan — Automated Resistor Identification!”