[Andy] wanted to take a few at sunrise, but waking up before sunrise has obvious problems associated with it. Instead, he built a device that calculates the local sunrise time, snaps a picture, and goes to sleep until the next morning.
The camera used for the project was an old Canon point and shoot, chosen for the ability to load CHDK firmware. Other electronics included an Arduino pro mini, a LiPo battery and charger board, real time clock, and an old Nokia LCD for the user interface.
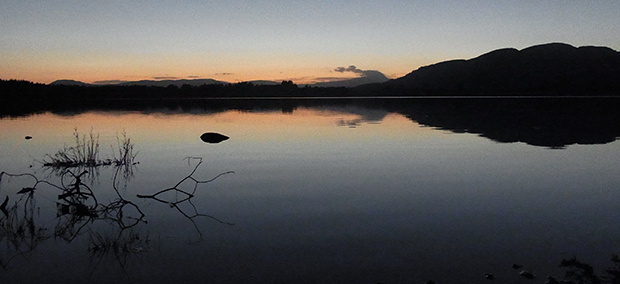
There’s quite a bit of code that goes into figuring out when the sun will rise each day, but once that’s figured out, all [Andy] has to do is take the camera somewhere pretty, point it East, and record a few days worth of sunrises. When put into a ‘game camera’ enclosure, its rugged enough to stand up to everything except a thief, and has enough battery power for a few weeks worth of sunrises.
Video demonstrating the local sunrise time below.
 [David Schwarz] whipped up this
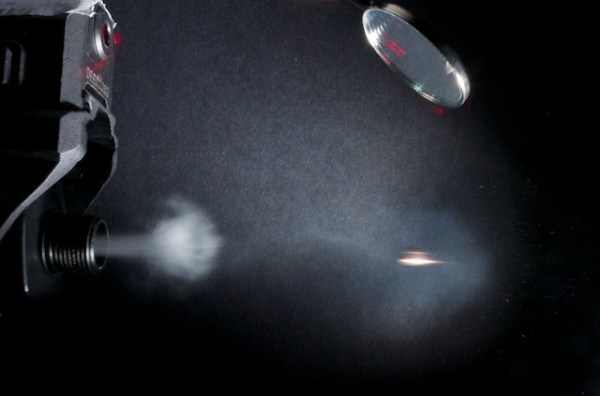
 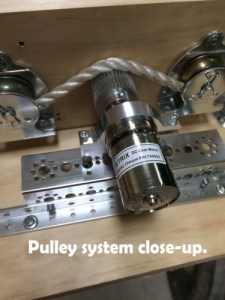 David] built and tested his rig over a weekend. On Monday morning, he gave the rig its first run. The video came out pretty good, but he knew he could get a better shot. That’s when Murphy struck. The motor and controller on his rig decided to give up the ghost. With the contest deadline less than 24 hours away, [David] burned the midnight oil and replaced his motor and controller.