Materials To Know: Tooling And Modeling Board

I was in a fit of nerd glee the first time I used tooling board. I’d used MDF for similar purposes before, and I doubt I ever will again. Called Renshape, Precision Board Plus, or that green stuff people on another continent buy; it’s all the same extremely useful, unfortunately expensive, stuff. It’s hard to pin down exactly what tooling board is. Most of the blends are proprietary. It is usually a very dense polyurethane foam, sometimes by itself, sometimes with a fine fiber filler.

What makes tooling board so good is its absolute dimensional stability and its general apathy to normal temperature swings. (It even comes in versions that can go through curing ovens.) It is impervious to humidity. It has good surface finish, and it machines perfectly without wearing down tools.

The CNC set-up I coaxed precision molds out of.

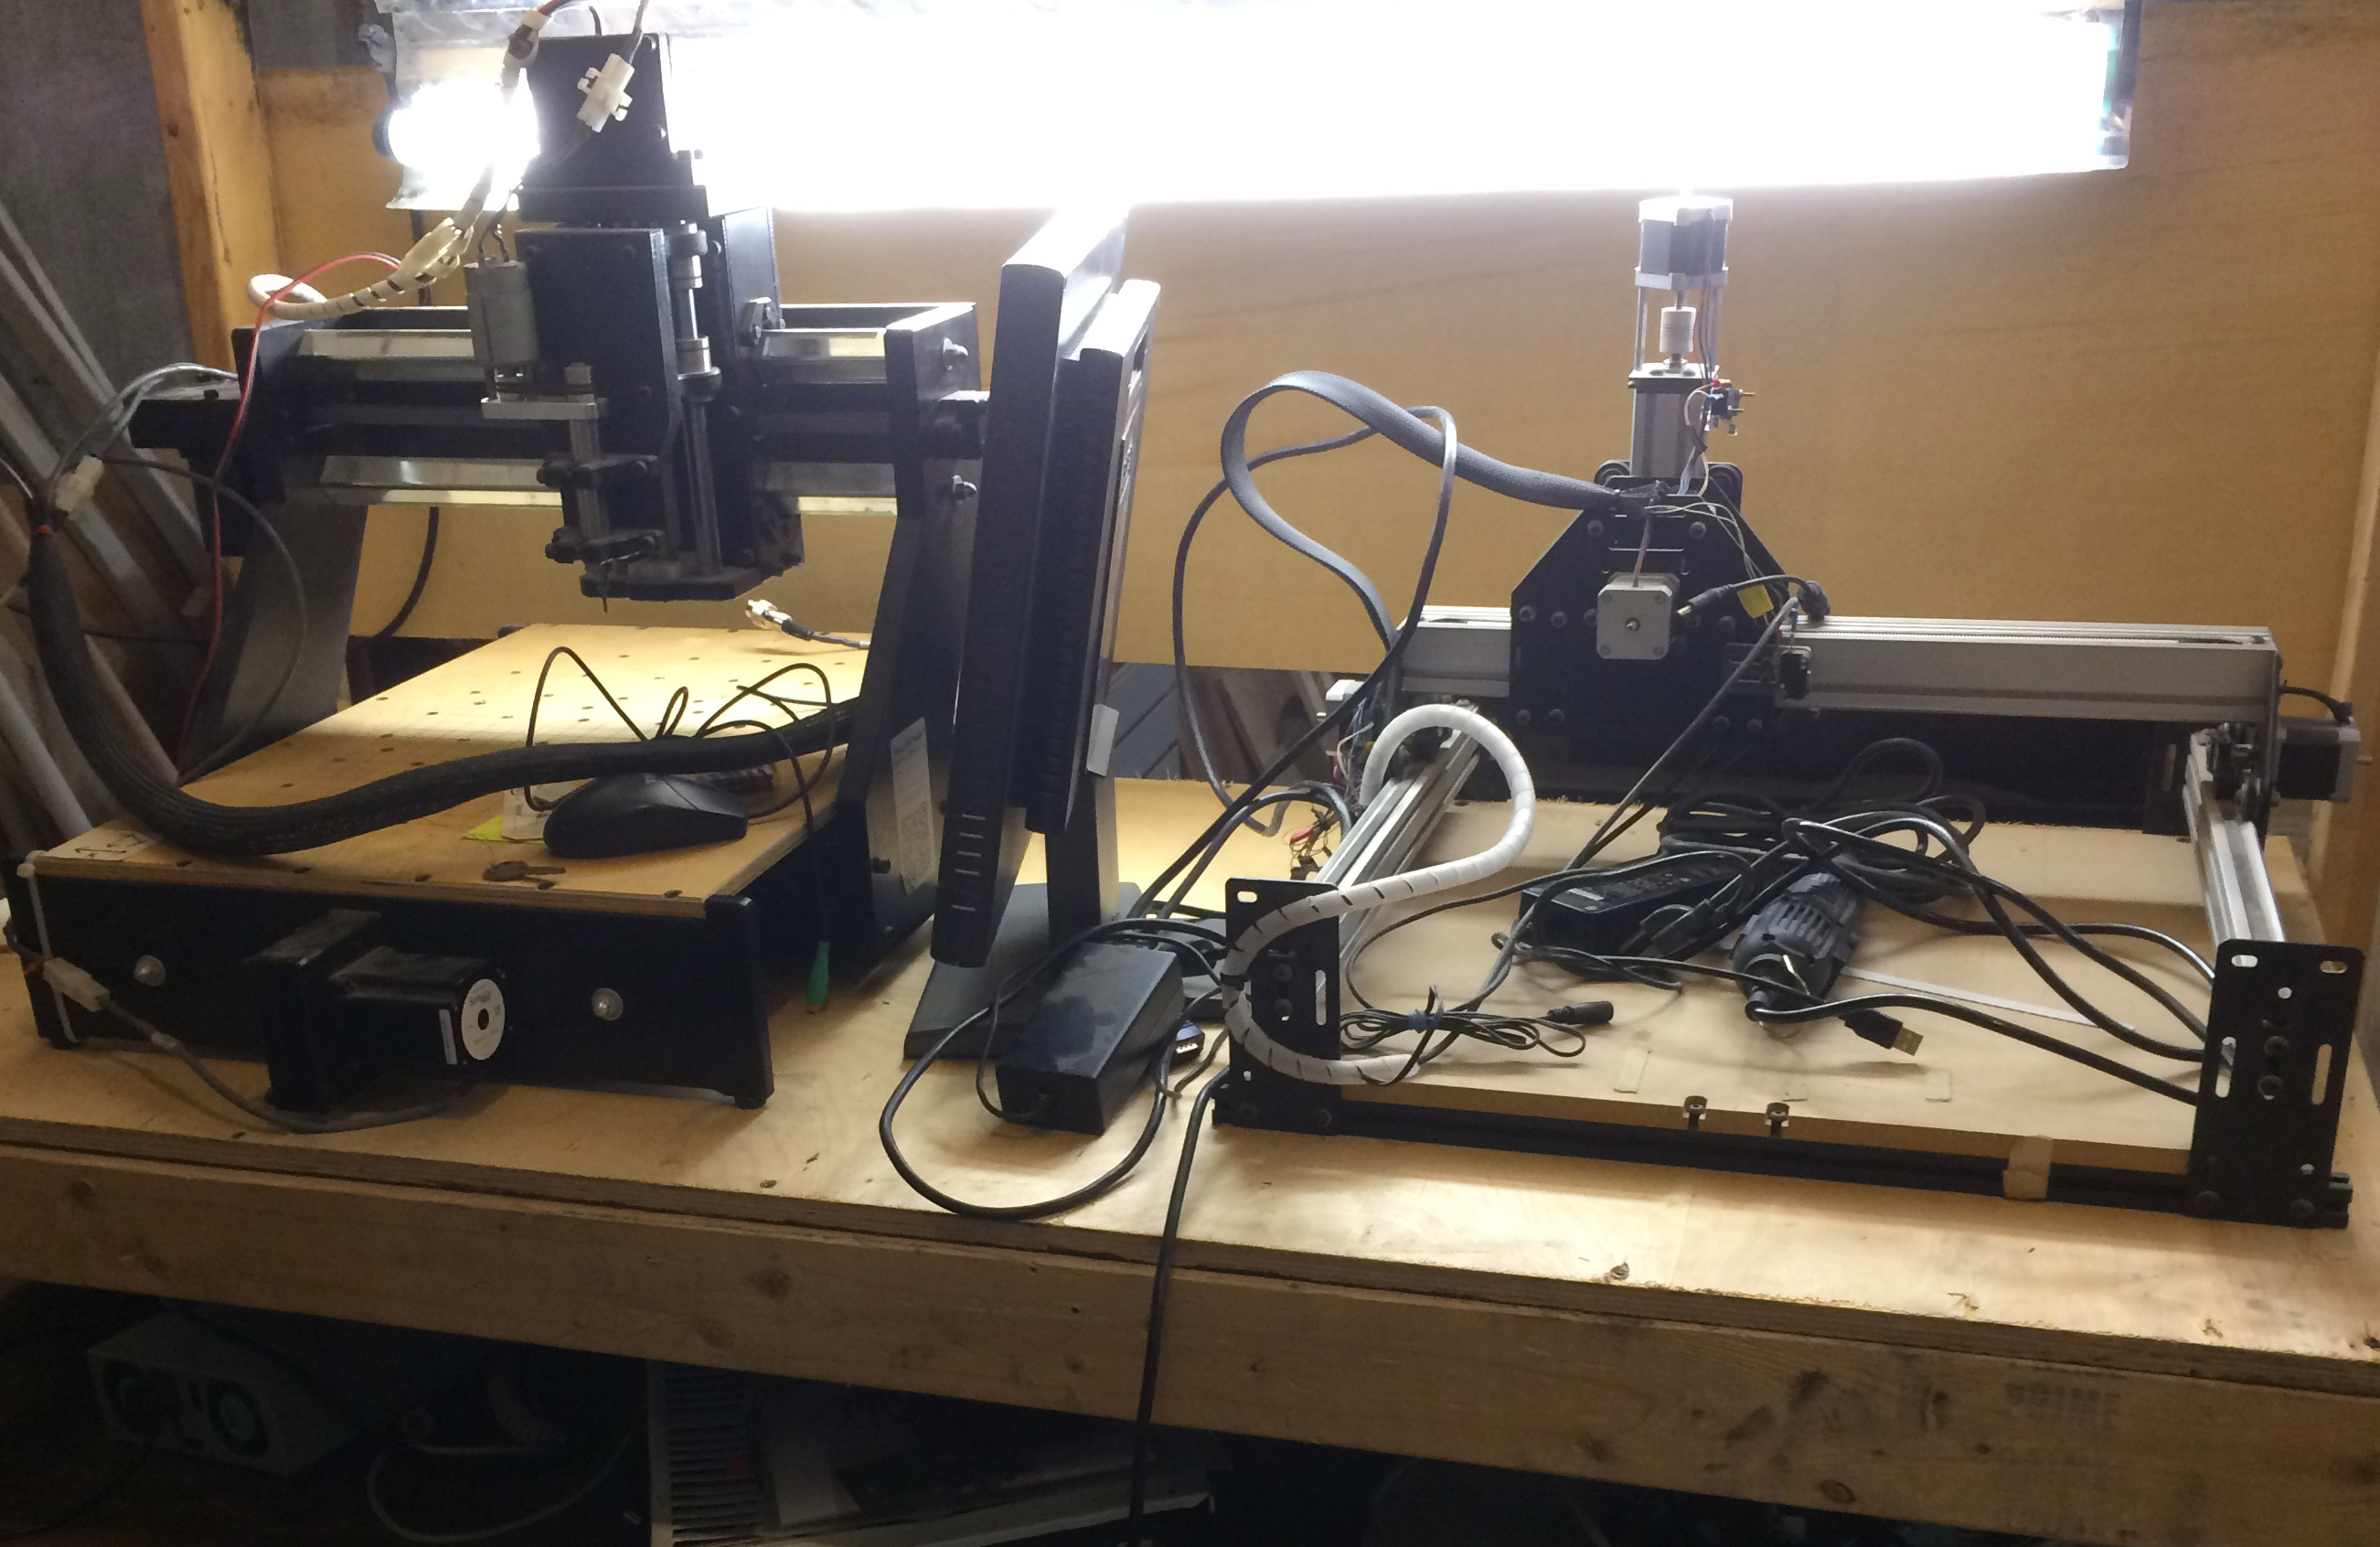
This stuff is really tops as far as machining goes. I got super precise molds out of a very basic CNC machine at the LVL1 hackerspace. Renshape cut easily at a high spindle speed, and put practically no load on the machine. Climb and conventional milling were equal load wise with no immediately perceivable difference in finish. In the end I hit the precision range of my cheap digital calipers: +-.005mm, when the temperature is right, the battery is a charged, and the planets align.

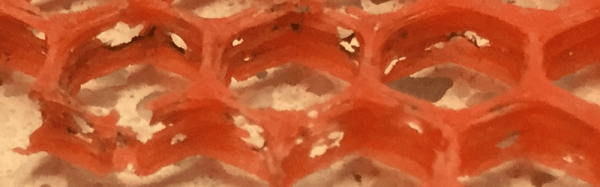
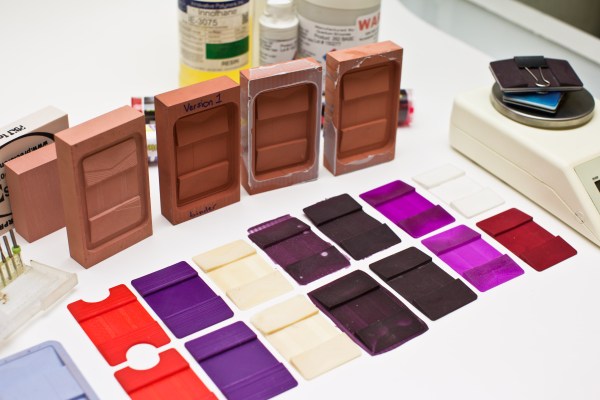
I like to do resin casting when I get serious about a part. If you are making a master mold, there’s nothing better than tooling board. I’ve used both Renshape 460 and Precision Board Plus. Both impart a very light matte pattern, equivalent to a light bead blast on an injection mold. There’s no finishing required, though I mistakenly bought Renshape 440 at first and had to sand it a little to get the finish I wanted.

Tooling board is great for masters in metal casting, and is often used in the industry for just that, especially if quick and accurate prototypes are needed. It’s also tough enough to last through a few rounds of metal stamping in the home shop.

If you are doing lay-up for carbon fiber, fiberglass, or leather, this is also a very good choice. It will be unaffected by the chemicals, heat, and vacuum you may use in the process. It is tough enough hold alignment pins for proper set-up without premature ovaling. It is also a very good choice for vacuum forming.

Tooling board is, unsurprisingly, really good for tooling. It’s a great material for soft-jaws, alignment fixtures, and assembly fixtures, especially if you are doing delicate precision assemblies.

If you’re made of money, tooling board can be used for models, signs and props. It sands, shapes, and files extremely well. It bonds well to a lot of substances. It also takes paint very well with none of the absorption properties of wood or MDF. Most professional model shops will use it.
2015-11-05-10.34.01
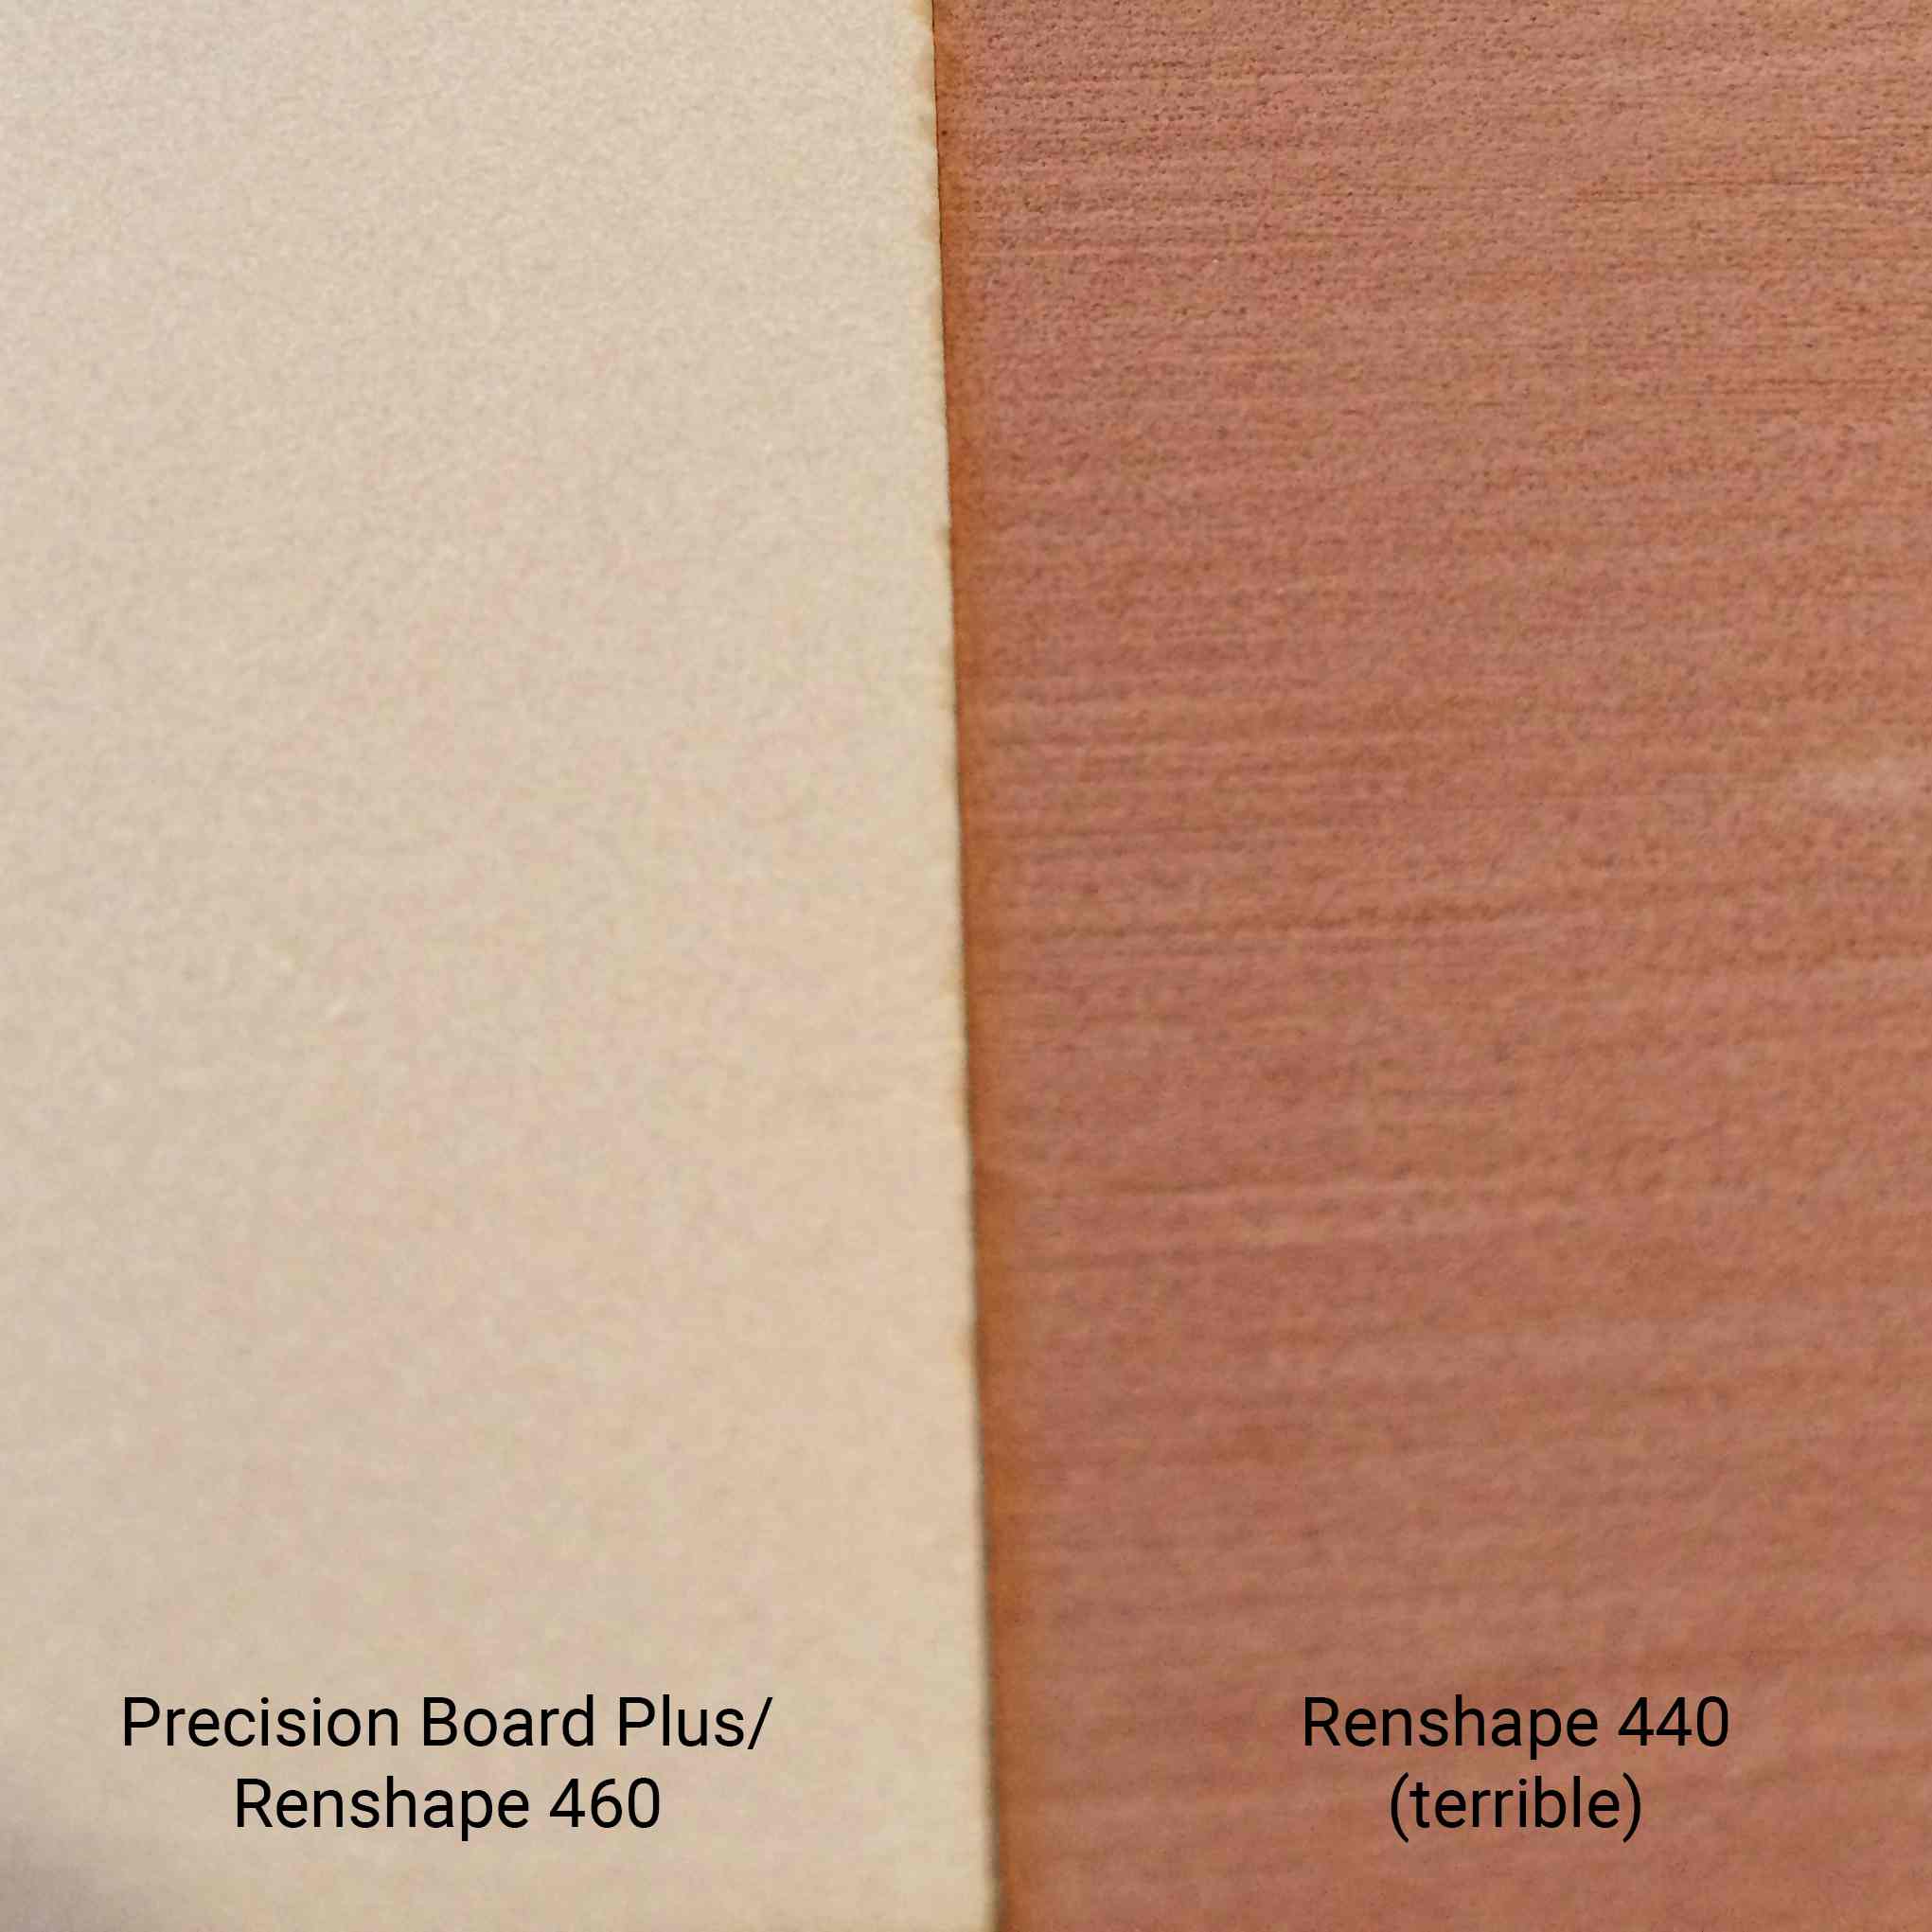
The one big flaw of tooling board is its price — this stuff is expensive. There’s no good DIY version that I’ve scrounged up so far. If you’re making a mold master, a fixture, or anything where you need tooling board’s properties and you are likely to get a few uses out of the board, then it’s probably worth it. Also, be careful of sellers selling plain “Renshape” it is probably going to be the lower grade Renshape 440 and not the more expensive Renshape 460 (or equivalent), where you start to really see the surface finish advantage of the material.

Tooling board is an industrial material. Typically you can call up a supplier and tell them what you’d like to do with it and they will be able to help. If you are making tools for carbon fiber quadcopter frame lay-up, let them know and they’ll have a formulation for that. If you are resin casting, there’s a formulation that gives superior surface finish.

It’s a pretty common material in the industrial scene, but I don’t see it a lot on the hobby scene. This is almost certainly due to its cost, as well as a shortage of small quantity re-sellers. (If someone starts selling assorted sizes on eBay for a reasonable price you have at least one buyer in me.) However, after using it in the niches it is designed for, I really don’t use anything else. I used to hack MDF to fit, but MDF is awful to paint, has no dimensional stability, and dulls tools really fast.

Are you a fan of tooling board? Have a good source? If you have anything to add, let us know in the comments.

Retrotechtacular: 100 Watts 120 Volts

If you read our recent feature about the Tal-y-Llyn Railway, the world’s first preserved line, you may have taken a while to watch the short film about the railway in the early 1950s. It was the work of an American film maker, [Carson “Kit” Davidson].

His other work includes some films that might be of interest to Hackaday readers, including one filmed in 1977: “100 Watts 120 Volts”. In it, he follows the manufacture of Duro-Test 100-watt light bulbs through all the stages of their assembly as neck, filament and envelope are brought together in strangely beautiful twentieth century production machinery.

Continue reading “Retrotechtacular: 100 Watts 120 Volts”

How Low Can You Go? The World Of QRP Operation

Newly minted hams like me generally find themselves asking, “What now?” after getting their tickets. Amateur radio has a lot of different sub-disciplines, ranging from volunteering for public service gigs to contesting, the closest thing the hobby has to a full-contact sport. But as I explore my options in the world of ham radio, I keep coming back to the one discipline that seems like the purest technical expression of the art and science of radio communication – low-power operation, or what’s known to hams as QRP. With QRP you can literally talk with someone across the planet on less power than it takes to run a night-light using a radio you built in an Altoids tin. Now that’s a challenge I can sink my teeth into.

Continue reading “How Low Can You Go? The World Of QRP Operation”

Ask Hackaday: Is PLA Biodegradable?

The most popular plastic for 3D printers is PLA – polylactic acid – a plastic that’s either derived from corn starch, inedible plant detritus, or sugar cane, depending where in the world it was manufactured. Being derived from natural materials, PLA is marketed as being biodegradable. You don’t need to worry about low-poly Pokemon and other plastic trinkets filling landfills when you’re printing with PLA, all these plastic baubles will return to the Earth from whence it came.

3D printers have been around for a few years now, and now objects printed in PLA have been around the sun a few times. A few of these objects have been completely forgotten. How’s that claim of being biodegradable holding up? The results are mixed, and as always, more data is needed.

A few weeks ago, [LazyGecko] found one of his first experiments in 3D printing. In 2012, he was experimenting with tie dying PLA prints by putting his prints in a jar filled with water and blue dye. This jar was then placed in the back of his cupboard and quickly forgotten. 3.5 years later, [LazyGecko] remembered his experiment. Absolutely nothing happened, save for a little bit of blue dye turning the print a pastel baby blue. The print looks and feels exactly like the day it came off the printer.

[LazyGecko]’s blog post was noticed by [Bill Waters], and he has one datum that points to PLA being biodegradable. In 2015, [Bill] printed a filter basket for his fish tank. The first filter basket worked well, but made a small design change a week later, printed out another, and put the first print in storage. He now has two nearly identical prints, one in constant use in a biologically interesting environment, the other sitting on a shelf for a year.

[Bill]’s inadvertent experiment is very close to the best possible experimental design to make the case for PLA biodegradability. The 3D printed filter basket in constant use for a year suffered significant breakdown, and the honeycomb walls are starting to crumble. The ‘inert’ printed filter basket looks like it just came off the build plate.

If that’s not confusing enough, [Bill] also has another print that has spent a year in a fish tank. This end cap for a filter spray bar didn’t see any degradation, despite being underwater in a biologically active environment. The environment is a little different from a filter basket, though; an aquarium filter is designed to break down organics.

To answer the question, ‘is PLA biodegradable,’ the most accurate answer is, ‘maybe’. Three data points in uncontrolled environments isn’t enough to draw any conclusions. There are, undoubtedly, more forgotten 3D prints out there, and more data to back up the claim of PLA being biodegradable.

This is where you come in. Do you have some forgotten prints out there? Your input is needed, the fruits of your labors are evidence, your prints might be decaying and we want to know about it below.

Reviving The Best Keyboard Ever

For the last few decades, the computer keyboard has been seen as just another peripheral. There’s no need to buy a quality keyboard, conventional wisdom goes, because there’s no real difference between the fancy, ‘enthusiast’ keyboards and ubiquitous Dell keyboards that inhabit the IT closets of offices the world over.

Just like the mechanic who will only buy a specific brand of wrenches, the engineer who has a favorite pair of tweezers, or the amateur woodworker who uses a hand plane made 150 years ago, some people who use keyboards eight or twelve hours a day have realized the older tools of the trade are better. Old keyboards, or at least ones with mechanical switches, aren’t gummy, they’re precise, you don’t have to hammer on them to type, and they’re more ergonomic. They sound better. Even if it’s just a placebo effect, it doesn’t matter: there’s an effect.

This realization has led to the proliferation of high-end keyboards and keyboard aficionados hammering away on boards loaded up with Cherry MX, Alps, Gateron, Topre, and other purely ‘mechanical’ key switches. Today, there are more options available to typing enthusiasts than ever before, even though some holdouts are still pecking away at the keyboard that came with the same computer they bought in 1989.

The market is growing, popularity is up, and with that comes a herculean effort to revive what could be considered the greatest keyboard of all time. This is the revival of the IBM 4704 terminal keyboard. Originally sold to banks and other institutions, this 62-key IBM Model F keyboard is rare and coveted. Obtaining one today means finding one behind a shelf in an IT closet, or bidding $500 on an eBay auction and hoping for the best.

Now, this keyboard is coming back from the dead, and unlike the IBM Model M that has been manufactured continuously for 30 years, the 62-key IBM Model F ‘Kishsaver’ keyboard is being brought back to life by building new molds, designing new circuit boards, and remanufacturing everything IBM did in the late 1970s.
Continue reading “Reviving The Best Keyboard Ever”

Hackaday Links: March 6, 2016

There’s the R2 Builders Club, hundreds of people are building BB-8, but there are a few robots that don’t get enough love from the amateur propsmiths. [Kenneth] just finished up his build of Crow from MST3K. He built Tom Servo a year or so ago and K-9 from Doctor Who. The beautiful thing about building MST3K robots and Doctor Who props is that you’re probably working with a larger budget than the prop department had.

Heathkit’s new website is up. The two products we know about so far – an AM radio kit and a slim jim antenna – can only be described as, ‘meh.’ Still, there are a few upgrades for old kits available and the requisite amount of nostalgia.

On today’s issue of, ‘should not be attempted by anyone, ever, under any circumstance’ here’s how to build a table saw at home. Yes, it’s a table saw built from a piece of aluminum, styrofoam, hot glue, and a shoe box. The guy really botched it by not going for the zero clearance insert here, but at least the fence is only a few dozen degrees off parallel with the blade.

[Mathieu] is working on a Mooltipass Mini. It’s tiny and the scroll wheel thingy makes things fun.

March 18th through March 20th is the Midwest RepRap Festival in Goshen, Indiana. This is, by far, the best conference, meetup, or festival we go to year after year. We’ll have a few members of the Hackaday crew at the event, and rumor has it the Internet has made it to Indiana this year.

Adafruit got a writeup in the New Yorker. The article is technically about the art of PCB design, but as with most general interest pieces on electronics it is awash in non sequiturs and simply defining the terminology.

[Oscar] built a miniature replica of a blinkenlight computer last year for the Hackaday Prize. This was the PiDP-8/I. While it looks awesome, the PDP-8/I is inherently limited. [Oscar] has his design methodology down, and now he’s working on a miniature replica of the king of the PDPs. It’s the PiDP-11/27. It’s just a prototype and render now, but the finished project will have custom switches, a handsome bezel, and will be much more capable.

MAME is now FOSS. That’s great news, but think about the amount of work that went into making this happen. MAME is 19 years old, and  that means everyone who has contributed to the project over the years needed to sign off on this initiative.

Fail Of The Week: Battery Pack Jack Wired Backwards

Last Saturday I had a team of teenage hackers over to build Arduino line-following robots from a kit. Everything went well with the mechanical assembly and putting all the wires on the correct pins. The first test was to check that the motors were moving in the proper direction. I’d written an Arduino program to test this. The first boy’s robot worked fine except for swapping one set of motor leads. That was anticipated because you cannot be totally sure ahead of time which way the motors are going to run.

The motor’s on the second robot didn’t turn at all. As I checked the wiring I smelled the dreaded hot electronics smell but I didn’t see any smoke. I quickly pulled the battery jack from the Arduino and – WOW! – the wires were hot. That didn’t bode well. I checked and the batteries were in the right way. A comparison with another pack showed the wires going into the pack were positioned properly. I plugged in another pack but the motors still didn’t run.

I got my multimeter, checked the voltage on the jack, and it was -5.97 V from center connector to the barrel. The other pack read 6.2 V. I had a spare board and pack so swapped those and the robot worked fine. Clearly the reverse polarity had zapped the motor control ICs. After that everyone had a good time running the robots on a course I’d laid out and went home pleased with their robots.

After they left I used the ohmmeter to check the battery pack and found the wiring was backwards, as you can see in the feature photo. A close inspection showed the wire with a white line, typically indicating positive, indeed went to the positive battery terminal. I shaved the barrel connector down to the wires and the white line wire was connected to the outside of the barrel. FAIL!

This is a particularly bad fail on the part of the battery pack supplier because how hard is it to mess up two wires? You can’t really fault the robot kit vendor because who would expect a battery pack to be bad? The vendor is sending me a new battery pack and board so I’m satisfied. Why did I have an extra board and pack, actually an entire kit? For this exact reason; something was bound to go wrong. Although what I had imagined was for one of the students to break a mechanical part or change wiring and zap something. Instead, we were faced with a self-destructing kit. Prudence paid off.