If you have even the slightest interest in open hardware e-readers, you’ve certainly heard of [Joey Castillo]’s Open Book project. We’ve covered his efforts to develop an affordable reader that delivers a Kindle-like experience without the Orwellian megacorp trappings for several years now, and watched with great interest as the core hardware has evolved.
So we were particularly excited over the weekend to see the Open Book Touch finally hit Crowd Supply, and judging by the fact that the campaign for the $149 device has already blown past 60% of its funding goal in just a few days, it seems like we weren’t the only ones.
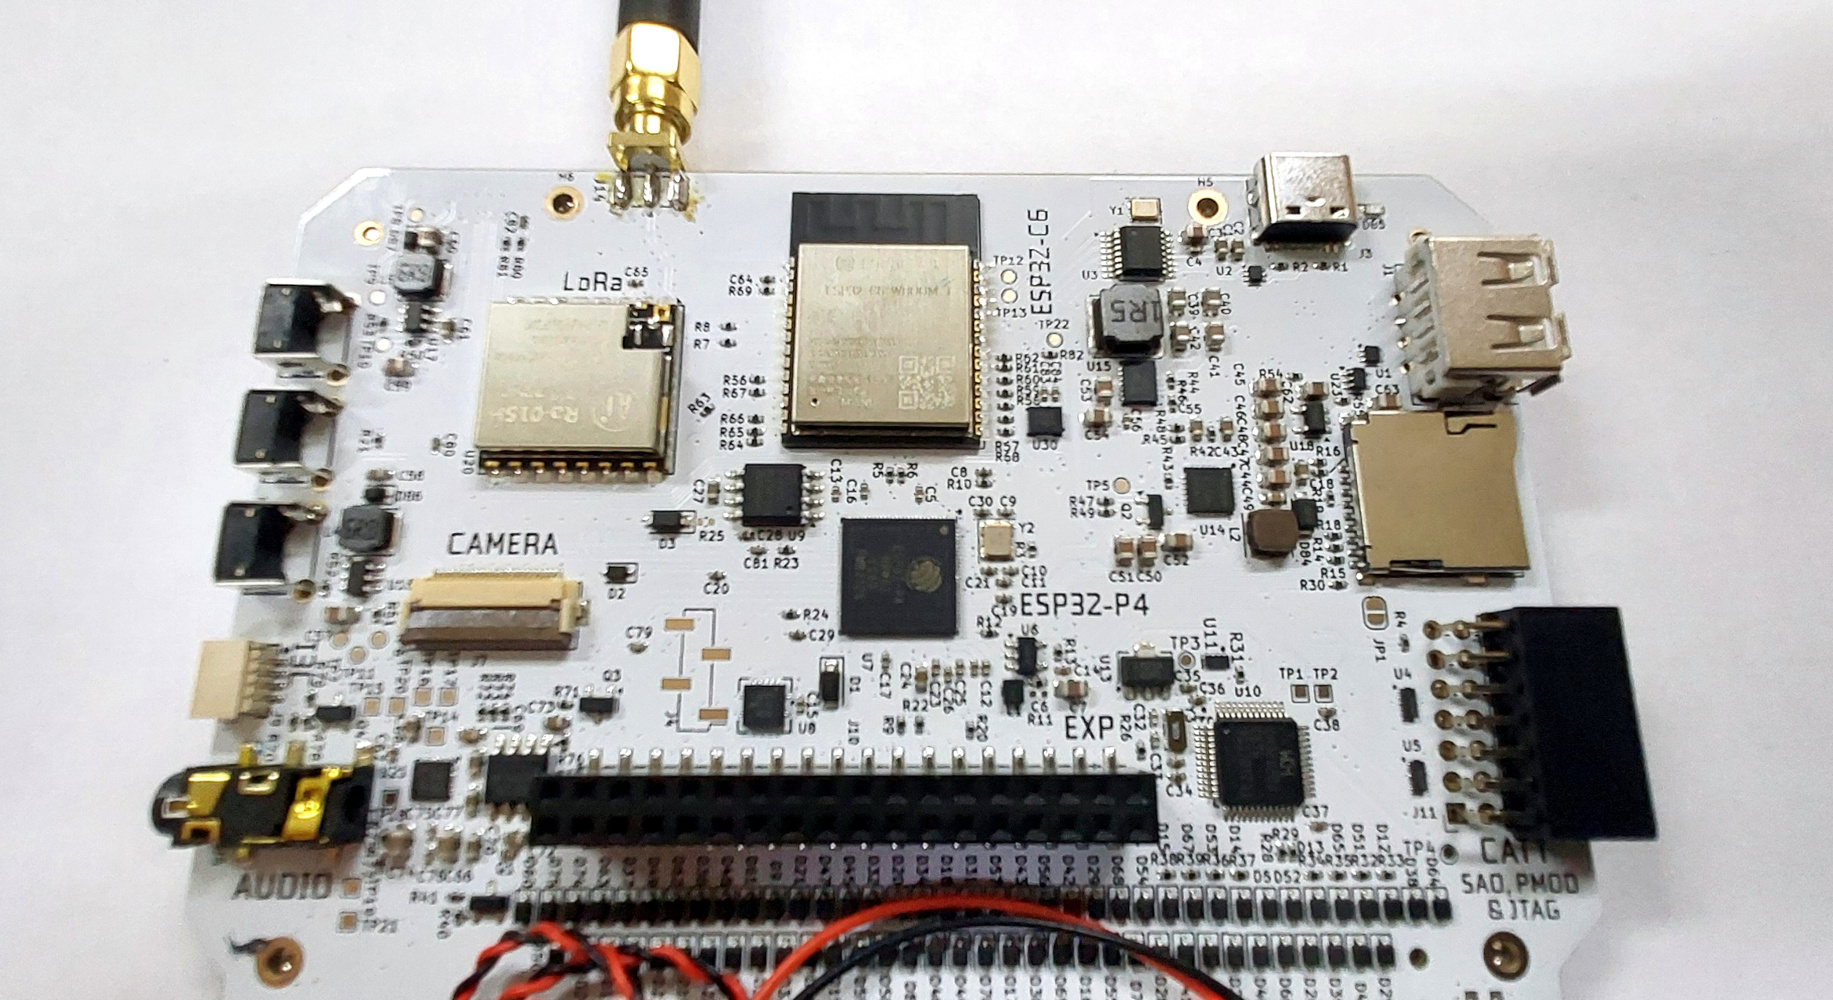
The bare PCB, with the expansion connector bottom centre.
The Tanmatsu (Japanese for “Terminal”), is a general putpose palmtop computer based around an ESP32-P4 application processor from Espressif. It takes the form of a PCB and PETG 3D printed sandwich, with the front face PCB sporting a silicone QWERTY keyboard and an 800×480 MIPI DSI display. The keyboard should be familiar to many readers, being the same moulding as the Solder Party KeebDeck which has appeared on other devices.
Under the hood that P4 has two 400MHz RISC-V cores and 32MB of PSRAM with 16MB of Flash, and there’s an ESP32-C6 for WiFi, BLE and IEEE 802.15.4 mesh networking. There’s an Ebyte LoRa module with an SMA antenna too, which can be had in 868, or 915MHz versions depending on where in the world you live. Continue reading “Review: The Tanmatsu, A Year On”→
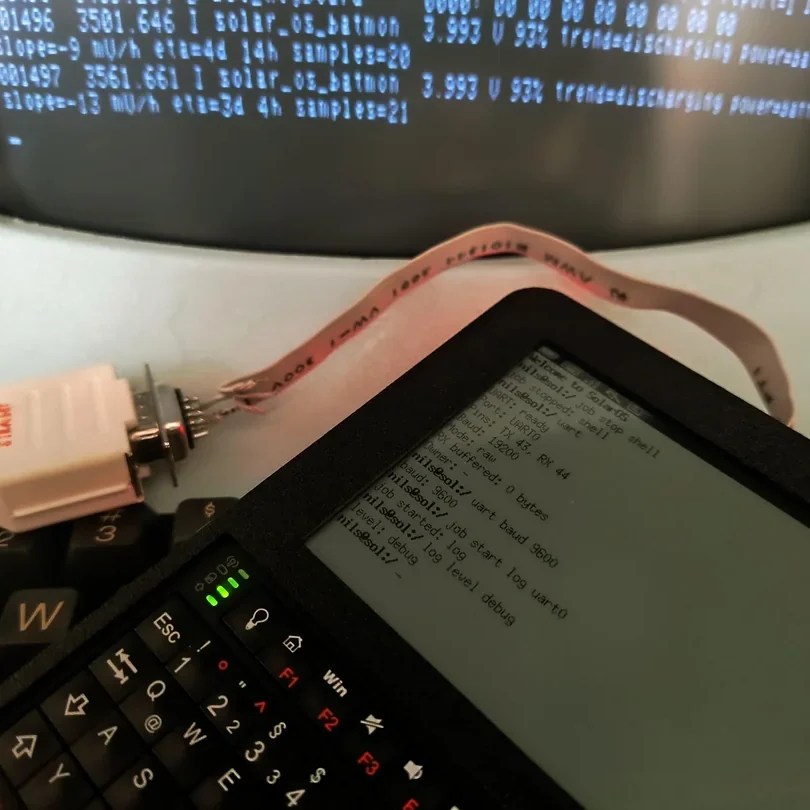
Have you ever spotted something in a catalog or on a website and just known you had to build a project around that one part? That’s how [nilseuropa] felt about the Waveshare ESP32-S3-RLCD-4.2, which — as you might guess from the name — pairs an ESP32-S3 with a reflective LCD. With a screen reminiscent of a palmtop of yore, [nilseuropa] wanted a personal device, and needed something to run on it. That’s where Solar OS comes in.
Physically he’s paired the Waveshare board with a mini keyboard and put them together in a handsome 3D printed case with a battery. The slabtop form-factor was more for ease-of-creation than any preference; in the project’s reddit thread [nils] is reaching out for help making something cooler, possibly of the palmtop form-factor. He also describes some of the thinking behind his operating system.
You had us at “terminal”.
He’s not starting entirely from scratch: it’s based on FreeRTOS and the ESP-IDE toolset. Right now all applications are built with the OS into a single binary, while the SD card on the Waveshare board handles persistent storage. The interface is pure text, with all applications launched via shell commands. That doesn’t mean you have to go back to your PC to add anything, however.
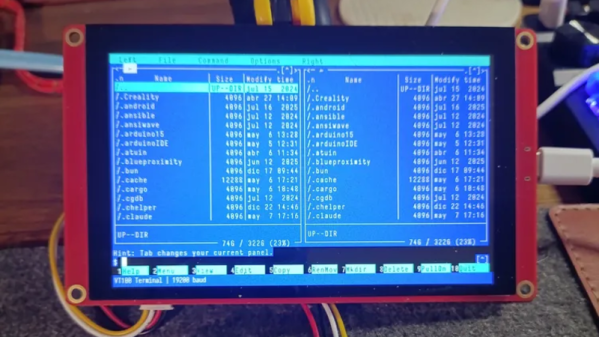
The system is user-programmable, with Python and Lua scripting as “first class citizens”, having access to the hardware through the Solar OS APIs. As for the applications built into the firmware, it looks like along with the serial terminal, you get quite a lot: an orthodox file manager à la Norton Commander, networking tools that include a web browser and chat client, MP3 player, image viewer, text editor, games, and more.
While they are obviously pretty niche projects, we do appreciate that there’s a growing collection of homebrew operating systems that you can run on your bespoke computing device.
We do sometimes go on about how absurdly powerful microcontrollers are these days, but this time it’s technically a microprocessor, not a microcontroller, at the heart of the build — specifically, an STM32MP2. Still, you know you’re living in the future when an STM32 of any sort can not only run [John Cronin]’s gk handheld game console, but provide 3D acceleration to boot.
Full disclosure: you’ve seen this handheld here before — sorta. That was version 3, which was an STM32-based handheld. V3 used the much less powerful STM32H7S7L8, with a single Cortex-M7 clocked at 600 MHz and a 2D NeoChrom GPU. The STM32MP2, by contrast, has dual Cortex-A35 cores running 1.5 GHz and a bonus Cortex-M33. It’s running a custom OS called gkos, which is mostly POSIX-compliant and boasts nigh-instantaneous boot times.
As with the last version, you can run a bevy of emulators from the 8-bit to the 32-bit era, but the added power and OpenGL support mean this handheld also runs N64 games via a fork of mupen64. There are also emulators for ‘real’ computers, namely Atari ST and XL, and a little-known thing known as a “PC”. DOSBox gets the equivalent performance of a 50 MHz 486, which means you can run all the classics, including DOOM, though that will be more performant running the native-running port of sdl-DOOM.
You also get extra inputs to play with and a bigger screen compared to the last version. Oh, and WiFi. There are accelerometers for tilt control, and did we mention the screen’s touch input is supported? If it weren’t for the form-factor, we’d call this a capable little computer. The GK handheld looks like an awesome handheld console, check it out in the demo video below.
Ever since the first Linux capable single-board computers came out, there have been projects turning them into handhelds. The Raspberry Pi Zero and in particular the Compute Modules are ideally suited to this. While there are more common projects that find their way into our feed we’ve certainly seen a few of them in our time, enough now that a new one has to be special to really catch our eye. Which brings us to the PiBrick from [Ahmad Amarullah], which sets the bar pretty high.
The device is a Compute Module 5 smartphone sized computer with a 3.92″ OLED touch display and the ubiquitous BlackBerry-derived keyboard. It’s drawn together with a PCB that holds all components and peripherals, and this and the 5000 mAH battery fit in a 3D printed shell that gives it the form factor of a chunky smartphone. You can see it at the link above, and also find it in a GitHub repository.
Handheld computers always represent something of a compromise as they can only ever offer relatively small screens and keyboards. But they live or die on their versatility and robustness, both of which this one has in spades. We like it, a lot.
If you’re of a certain vintage, you have probably looked at some of the microcomputers on the market these days and thought “that would have been a decent workstation back in the day!”. We certianly have, and so did [Roberto Alsina]. Rather than allow himself to contemplate his age and threfore rapidly approaching mortailty, [Roberto] wrote a useful operating system called ESP-Osito for the Cheap Yellow Display, which he refers to as “the cheapest computer”. He’s not wrong, and it’s certainly a better use of time than an existential crisis.
He explains some of his reasoning behind the project in an accompanying blog post, but on the project page he compares it to a Palm Pilot– it’s on quick, apps load quick, and the API is simple enough for easy app creation in a few hundred lines of C, unlike certain pocket computers we won’t name. Sure, there’s no multitasking, but when apps jump from SD card to run in memory in microseconds, who cares? Saving the current state of the app back to SD means the experience is virtually identical from a user perspective anyway.
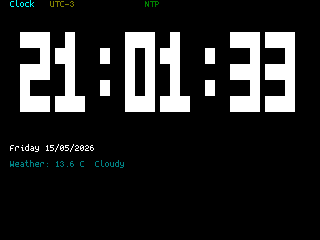
DOS knew what time it was, but how many of us wasted phone time for weather reports?
As this is a one-man show for now, the app store won’t quite rival your smart phone– but there’s everything you’d expect on the 90s-era computer this has the horsepower of: a serial terminal, a text editor, a file explorer, a calculator, a clock, but also some things that aren’t so retro. The clock app gives weather info via futuristic wireless networking, the reader app takes Markdown text, and the chat app connects to an LLM somewhere instead of your friends on IRC. The blackberry keyboard option gives it a feel of a slightly different vintage. You can also play snake, because no computer is complete without games. The OS and all its applications are released under the MIT license on GitHub, and [Roberto] is actively looking for collaborators.
If you doubt the workstation comparison at the start of this article, this CYD runs Macintosh System 3 via a 68k emulator. That’s got old-school cred, but there’s something great about having retro constraints with modern code on modern hardware. In that way, ESP-Osito is similar to the 3D graphics engine behind this Wipeout clone.
Not so long ago, e-ink devices were rare and fairly pricey. As they have become more common and cheaper, some cool form-factor devices have emerged that suffer from subpar software. [Concretedog] picked up just such a device, and that purchase led to the discovery of a cool open-source firmware project for this tiny gadget.
[Concretedog] described the process of loading the firmware, which is just about as easy a modification as one can make. You plug the e-ink display into your computer, visit a website, and can flash it right from there. Once the display is running the CrossPoint Reader firmware, it unlocks some new tricks on this affordable reader. The firmware lets you turn the device into a WiFi hotspot and upload books wirelessly, or it can connect to an existing network to add files that way. It also enables rotating the display and KOReader syncing if you have multiple devices you read from.
We love seeing the community step in and improve devices that are hardware-wise good, sometimes great, but come up lacking in the software or firmware department. Thanks [Concretedog] for sharing your experience with this device and the cool open-source firmware. Be sure to check out some other projects we’ve featured where a firmware swap breathed new life into the hardware.