Throwback Handheld Built With Modern Hobby Hardware

magpi-gaming-handheld

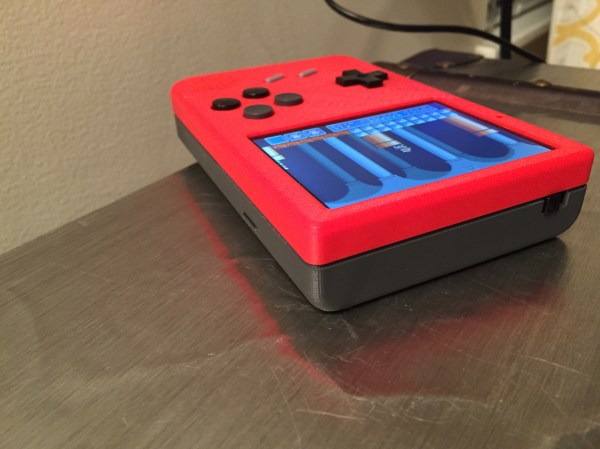
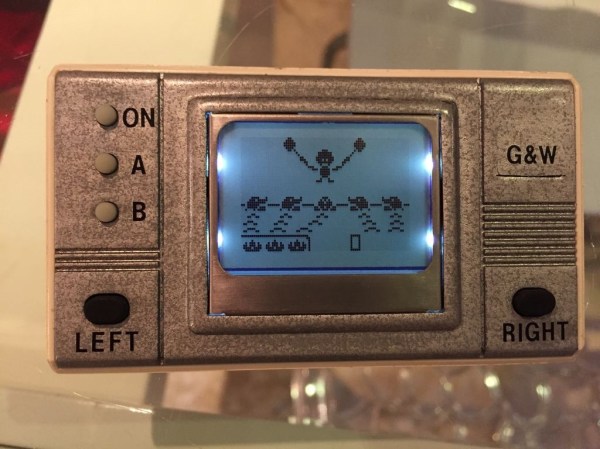
Remember all of those fantastically horrible handheld LCD games that hit the toy stores back in the ’90s. You know, the ones that had custom LCD screens to make for some fake animation. Here’s an example of what those should have been. It’s an LCD-based handheld with some soul.

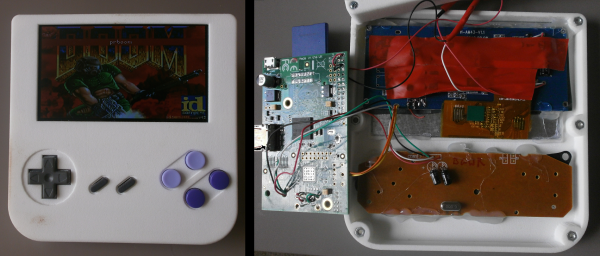
The entire thing is roughly the size of a television remote, with a 3D printed case making it very presentable. But looking at the wiring which hides inside proves this is one-of-a-kind. The Arduino Pro Mini is probably the biggest difference in technology from back in the day compared to now. It has plenty of space for all of the different settings and games shown off in the clip below. The user interface itself is definitely a throw-back though. The Nokia 3310 screen boasts a whopping 84×48 pixel monochrome area. There are four buttons serving as a d-pad, and two as action buttons. Perhaps the greatest feature (besides the printed case we already mentioned) is the ability to recharge the internal battery via USB.

[Zippy314] built this with his son. What’s more fun: learning to program the games, or mastering them and discovering the bugs you missed along the way?


Continue reading “Throwback Handheld Built With Modern Hobby Hardware”

Update: Tetris Handheld Get PCB And Case

update-handheld-tetris

Check out this sweet-piece of homemade handheld gaming! [Jianan Li] has been hard at work on the project and published the updates in two parts, one that shows off the PCB he had fabbed for the project, and another which details the 3D printed case. This is, of course, is the culmination of the Tetris project we first saw as an incredbily packed, yet thouroughly tidy breadboarded circuit.

We really enjoy the 8-sided PCB design which hosts all the parts and gives you a place to hold and control the unit, all without seeming to waste much real estate. The case itself is quite impressive. The openings for the square-pixel LED matrices (the original design had round pixels) and the bar graphs all have nice bevel features around them. The control area has a pleasant swooping cutout, with blue buttons which stand out nicely against the red. Check out the slider switch by his left thumb. He printed matching covers for this slider, and the two that stick out the bottom. Also on the bottom are female pin headers so that you don’t need to disassemble the case to interface with the electronics.

All of this and more are shown off in the clip after the break.

Continue reading “Update: Tetris Handheld Get PCB And Case”

Improve Your HT Ham Radio By Adding A Counterpoise Antenna Wire

counterpoise

We found an interesting tip that might just improve the performance of those small affordable handheld ham radios called a “Handy Talky” or HT for short in ham vernacular. [RadioHamGuy] posted an interesting video on adding a counterpoise antenna wire to an HT. He claims it will noticeably improve both transmit and receive by making a quarter-wave monopole into a makeshift dipole antenna system.

Per his instructions you basically add a short wire to the antenna’s outer ground connection or to an equivalent case screw that’s electrically connected to the antenna’s ground side. Apparently this can be referred to as a Tiger Tail and does make it look like your HT has a tail. You would construct a counterpoise antenna wire 11.5 inch for VHF, 6.5 for UHF and about 19.5 inches for an OK performing dual band VHF/UHF radio.

Normally with a handheld radio the counterpoise (ground) is your own body as you are holding the HT. This is because the capacitance of your body makes a good counterpoise under normal conditions. It would be interesting to hear what others find for performance when adding a counterpoise antenna wire.

You can watch [RadioHamGuy’s] full construction tutorial video for multiple radio types after the break.

Continue reading “Improve Your HT Ham Radio By Adding A Counterpoise Antenna Wire”

A Simple LED Flashlight Composed Of A Relay And A Magnet

In our tips line we sometimes receive hacks that are amazing just because of their ingenuity. This relay-powered flashlight is definitely one of them. It has been named RattleGen by its creator [Berto], who apparently often makes simple hacks used in his everyday life (have a look at his YouTube channel).

To understand this hack, you first need to know (in case you didn’t already) that a magnet moving near a conductor (here a coil) induces a voltage at its terminals. This is called electromagnetic induction. In the picture you see above, you may distinguish a disassembled relay with a magnet located on the lever’s end. As a ferromagnetic metal is already placed inside the coil, the lever is by default ‘stuck’ in this position. By continuously pressing the latter on its other end, important voltage spikes are created at the coils terminals. [Berto] therefore used a bridge rectifier to transform the AC into DC, and a 1000uF capacitor to smooth the power sent to his super bright LED. A video of the system in action is embedded after the break.

Continue reading “A Simple LED Flashlight Composed Of A Relay And A Magnet”

NESPoise – A Nice Looking NES Clone

[Dave] tipped us about the latest project he just finished: a posable, desktop NES clone arcade machine. This idea came to be when its creator gathered a few bits and pieces he had lying around: an NES Retro Entertainment System (Retrobit RES, found for less than $25) and an arcade stick with its buttons. [Dave] then bought a 7″ car DVD screen (less than $40) and started a first standard arcade-looking design with OpenSCAD. As the first draft was relatively boring, he let it mature for a bit until he got another idea, shown in the picture above.

The final result is made of 3D printed PLA and varnished luaun plywood which gives the console a VCS style retro look. Many hours were required to 3D print the different parts using a Makerbot Replicator 2. [Dave] disassembled his Retrobit RES to layout its parts inside the case and  also replaced the original voltage regulator with a 7805 on a big heatsink. This may be one of the best ‘nintendo’ hacks we have received over the years, but there have been others that also take cartridges.

Aluminum Unibody Nintendo 64

NES1

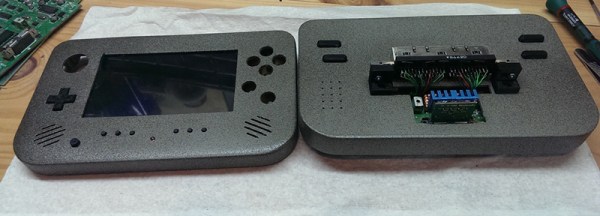
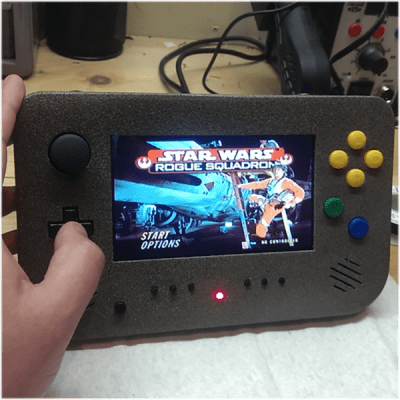
[Travis] wanted us to take a look at his N64 portable to see if it could be featured on Hackaday. By the looks of it, we’re going to say hell yeah. Everything on this portable N64, down to the buttons, is milled from aluminum. It’s an amazing build that raises the bar of what a portabalized game system can be.

Inside this anodized enclosure is the circuit board from an original N64. To cut down on the size, [Travis] milled a new heat sink for the CPU and GPU. All the games – quite possibly all the games ever released for the N64 – are stored on an SD card and accessed through an EverDrive 64. Two 5000 mAh Lipo batteries provide three hours of play time on a beautiful high-res screen.

What’s even more amazing is that [Travis] machined all the parts on an exceedingly small, manual mini-mill. Truly a portabalized console for the ages.

You can check out a gallery of pics [Travis] sent in and his demo video below.

Continue reading “Aluminum Unibody Nintendo 64”

DIY Metal Detector

Looking for a light project to teach young hackers some very basic electronics? Here’s a quick and easy weekend project, a simple metal detector!

We all know 555 timers are very useful and pop up in a wide range of projects, but did you know a metal detector is one of them? [vonPongrac] stumbled upon this handy guide, a free eBook on 50 555 Circuits, which contains many cool project ideas, including a simple metal detector circuit. It’s a very basic concept that uses a coil of copper wire as a home-made choke — when metal or a magnet comes near the coil, it varies the output frequency, and the 555 timer in turn, varies the output sound, alerting you of the presence of something metal nearby.

After the break there’s a video of it during its testing phases. If you don’t have a 555 on hand (tisk tisk) but still want to have some treasure hunting fun you can also build one based on an Arduino.

Continue reading “DIY Metal Detector”