Out of the box, the Yamaha YAS-207 soundbar can be remotely controlled over Bluetooth, but only when using a dedicated application on iOS or Android. Users who want to command their hardware with their computer, or any other Bluetooth device for that matter, are left out in the cold. Or at least they were, before [Wejn] got on the case.
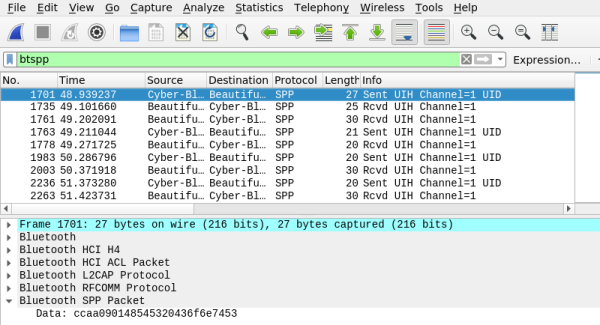
To capture the communication between the soundbar and the application, [Wejn] first installed Android-x86 in a virtual machine on his computer and then enabled the “Bluetooth HCI snoop log” within Developer Settings. From there, a netcat command running on the virtual Android device continually sent the contents of the btsnoop_hci.log file out to Wireshark on his Linux desktop. As he hit buttons in the Yamaha application, he could watch the data come in live. We’ve seen plenty of people use Android’s integrated Bluetooth packet capture in the past, but never quite like this. It’s certainly a tip worth mentally filing away for the future.

From there, things move pretty quickly. [Wejn] is able to determine that the devices are communicating over a virtual serial port, and starts identifying individual command and response packets. It turns out the commands closely mirror the NEC IR codes that he’d previously decoded on a whim, which helped clear things up. Once the checksum was sorted out, writing some code that can talk to the soundbar from his Raspberry Pi media player was the next logical step.
[Wejn] combined this with the Shairport Sync project, which lets the Raspberry Pi turn on the speaker and switch the input over when he wants to stream AirPlay from his phone. But of course, the same technique could be applied to whatever source of digital audio captures your fancy.
This is one of those posts you should really read in its entirety to truly appreciate. While every device is going to be different, the basic principles and workflow that [Wejn] demonstrates in this project will absolutely be useful in your own reverse engineering adventures. If you’re more of a visual learner, we recently covered a series of YouTube tutorials that cover sniffing BLE devices that’s not to be missed as well.