 In the wake of Google’s purchase of connected devices interest Nest, the gents at [Spark] set about to making one in roughly a day and for a fraction of the cost it took Nest to build their initial offering. [Spark]’s aim is to put connected devices within reach of the average consumer, and The Next Big Thing within the reach of the average entrepreneur.
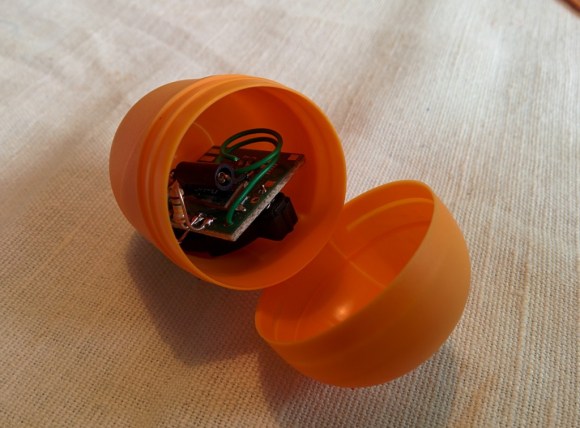
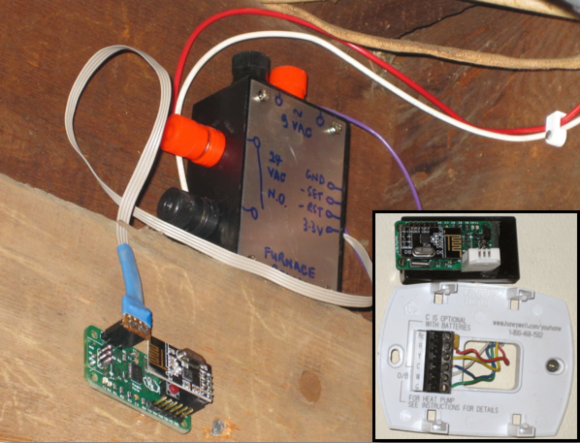
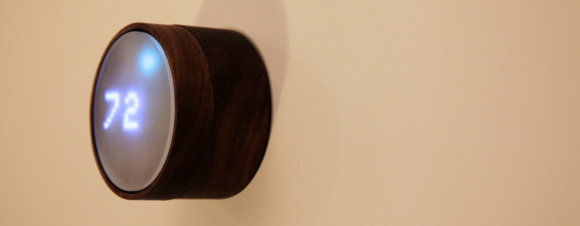
The brain is, of course, [Spark]’s own Spark Core wi-fi dev board. The display is made of three adafruit 8×8 LED matrices driven over I²C. Also on the bus is a combination temperature and humidity sensor, the Honeywell HumidIcon. They added some status LEDs for the furnace and the fan, and a Panasonic PIR motion detector to judge whether you are home. The attractive enclosure is made of two CNC-milled wood rings. The face plate, mounting plate, and connection from the twistable wood ring to the potentiometer is laser-cut acrylic.
[Spark]’s intent is for this, like the Nest, to be a learning thermostat for the purpose of increasing energy efficiency over time, so they’ve built a web interface with a very simple UI. The interface also displays historical data, which is always nice. This project is entirely open source and totally awesome.
If you have an old Android phone lying around, you could make this open source Android thermostat.