[Tony] wanted to clean up his bedside table by getting rid of the cables used for charging his devices. He accomplished his goal by integrating an inductive charging station inside his furniture.
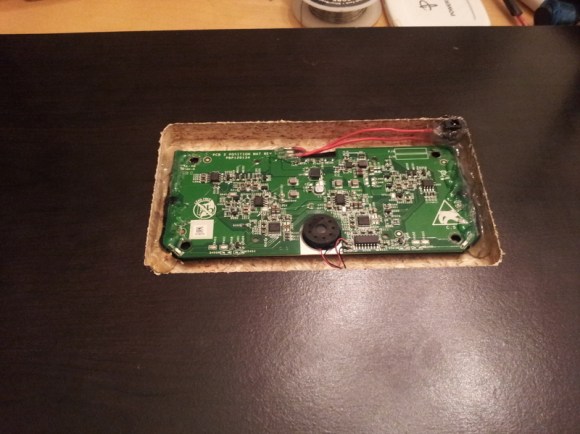
He chose to go with a product called Powermat. The base station for the device includes two inductive charging areas. [Tony] started by using a router to make a pocket in the underside of this shelf. He mentions that the remaining wood is only 2mm thick to allow for proper transmission. Before gluing the PCB in place he relocated the power jack so that it is still easy to get to. As you can see in the clip after the break, the system works just fine this way.
One note on the forums hosting this content. We must have loaded the thread three or four times when writing the feature and ended up locked out unless we registered. You can get around this by loading the link in a private/incognito browser.
Continue reading “Hiding An Inductive Charging Station Inside Furniture”