When it comes to chat, you have many choices. Facebook Messenger, Google Talk, Whatsapp, Kik, and Slack are all viable options. However, all of these choices are proprietary, and require you to use servers that you can’t run yourself. They’re highly centralized, closed source tools.
In the open source world, IRC has been the go to solution for chat for many years, and for good reason. Anyone can run a server, there’s many clients, and it’s built on open standards. But IRC comes from a pre-mobile world, and relies on clients to maintain persistent connections to the server. It’s not the best experience on a phone.
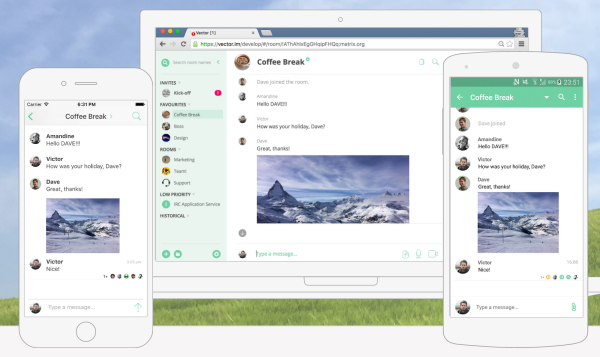
Matrix.org and Vector.im aim to be a modern solution to chat. Matrix is a standard for passing messages around, and Vector is a chat solution built on top, with support for iOS, Android, and your browser.
What makes this solution different is the concept of Homeservers. A Homeserver manages messages for users, recording them when they are received and providing them to users when they connect. Homeservers also “federate” to communicate amongst each other. This means anyone can run a Homeserver and connect it to the greater network of Matrix, providing a distributed approach to building a chat network.
Under the hood, Matrix is just HTTP. You send messages into the network with POST requests, and receive new messages by polling with GET requests. This means no persistent connections are required, which is perfect for mobile and low power devices.
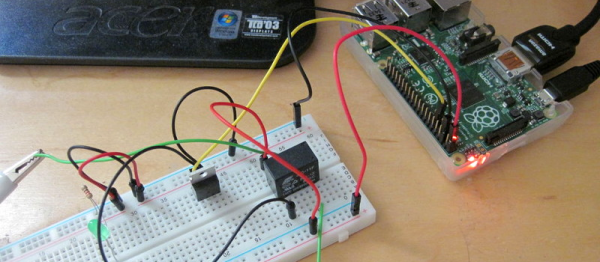
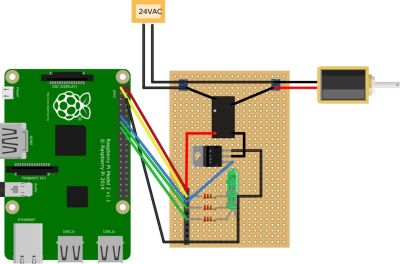
On the topic of devices, Matrix is designed for general purpose messaging, not just chat. It should be pretty simple to connect hardware up to Matrix, which would provide a simple way to get data in and out of connected devices. Since it’s all HTTP, a device based on the ESP8266 could hop into your chat room with relative ease.
Matrix and Vector are very much in beta, but are definitely usable and worth a try. To get started, you can create an account on Vector.im and start chatting. We’re awaiting some of the features in the works, including end-to-end encryption, and hope to see some future hacks talking to the Matrix infrastructure.

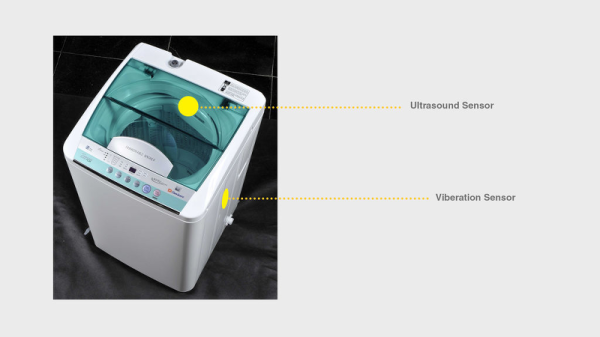
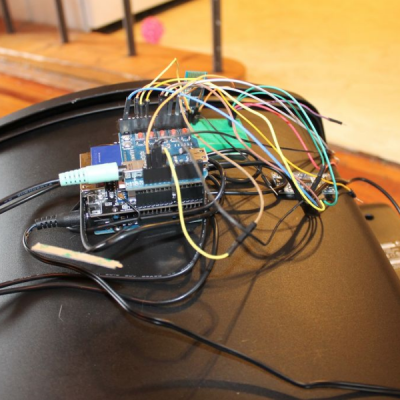 The build itself is uncomplicated and can be replicated with ease. A servo motor helps flip the lid open and close. This is triggered by an ultrasonic ping sensor, which responds when someone waves a hand in front of the trash can. A second ping sensor helps inform the user when it is full and needs to be emptied. A Leonardo with the