[Brainiac75] is a fan of fiber optic lamps, except for one thing—they’re often remarkably dim. Thus, they set out to hack the technology to deliver terrifying amounts of light while still retaining their quirky charm.
Older fiber optic lamps use a dim filament lamp or halogen lamp to light them up. They also often feature a spinning color disk to vary the light patterns, which does have the side effect of absorbing some of the already-limited light output.
When it came to upgrading his own decades-old lamp, [Braniac75] decided to initially stick within the specs of the original halogen lamp. The fixture was rated for 12 volts at 5 watts, with a GU4/GZ4 compatible base, and white light was desired so the color wheel could still do its thing. Swapping out the original 5 W halogen for a 2.5 W LED unit brought a big upgrade in brightness, since the latter is roughly equivalent to a 20 W halogen in light output. Upgrading to a 4.2 W LED pushed things even further, greatly improving the look of the lamp.
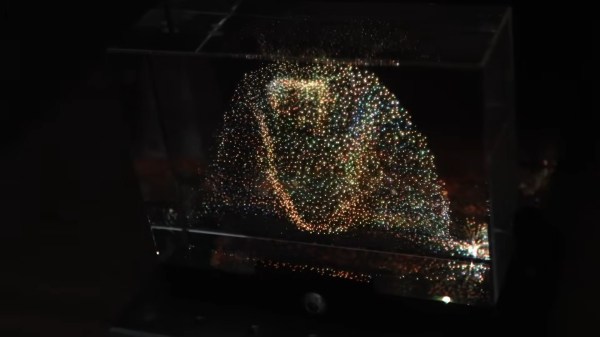
The video also explores modding a modern fiber optic lamp, too. It was incredibly cheap, running off batteries and using a single color-changing LED to illuminate the fibers. [Braniac75] decided to try illuminating the plastic fibers with an RGB stage lighting laser rig—namely, the LaserCube Ultra 7.5 W from Wicked Lasers. With this kind of juice, the fiber lamp is eye-searingly bright, quite literally, and difficult to film. However, with the laser output dialed way down, the lamp looks amazing—with rich saturated colors dancing across the fiber bundle as the lasers do their thing.
If you’ve ever wanted to build a fiber lamp that doesn’t look like a cheap gimmick, now you know how. We’ve looked at weird applications for these lamps before, too.
Continue reading “Fiber Optic Lamp Modified To Be Scarily Bright”