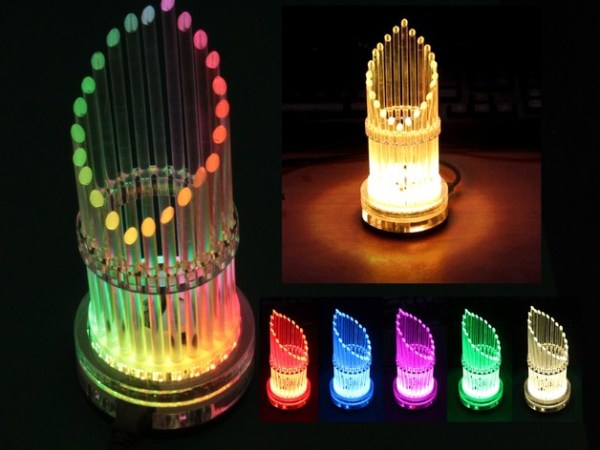
Light pipes are a pretty tricky feature to pull off. If the generic set on Digikey doesn’t meet your size and shape constraints, you’ll need to either find a vendor who can fabricate a specific shape for you or redesign that feature altogether. [Folker’s] LED Organ does an excellent job in piping light out from the source, and he does so in a way that’s reproducible with just a couple hours at the hand tools and a couple minutes on a laser cutter.
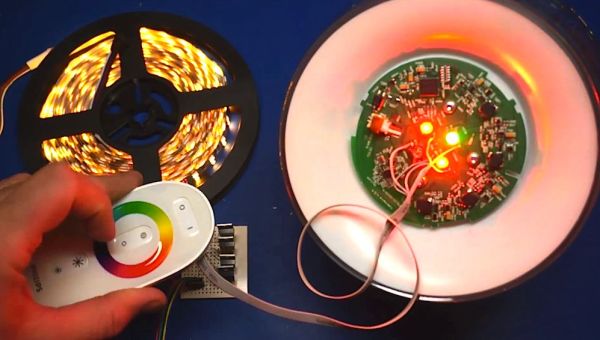
Hidden inside the base is a cluster of hardware that orchestrates the outer piece. 24 RGB LEDs are broken out into a ring and hidden in the base. [Folker’s] design enables control of the ring through either the LED player or LED Stamp with pattern-generation made possible by the free software, Jinx!
These days, exposed LEDs are ubiquitous enough among DIY electronics to almost be considered a hallmark of the DIY-enthusiast. Sure, “getting the project off the ground” is a great mindset to adopt when trying out some new firmware or components, but it can often leads us to a project’s finish with most of the wiring still exposed. While we’re certainly not offended by exposed LEDs, the task of concealing the shape of these components while also achieving the desired lighting effects is a challenge and rare sight to see. Our hats are off to the execution of this visual symphony.