Sometimes it seems like ideas for projects spring out of nothingness from a serendipitous set of circumstances. [Maarten] found himself in just such a situation, with a combination of his existing Tetris novelty lamp and an awkwardly-sized window on a second-floor apartment, he was gifted with the perfect platform for a giant playable Tetris game built into that window.
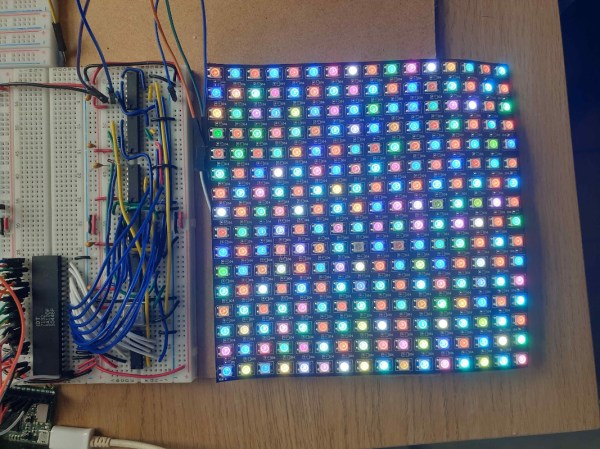
To make the giant Tetris game easily playable by people walking by on the street, [Maarten] is building as much of this as possible in the browser. Starting with the controller, he designed a NES-inspired controller in JavaScript that can be used on anything with a touch screen. A simulator display was also built in the browser so he could verify that everything worked without needing the giant display at first. From there it was on to building the actual window-sized Tetris display which is constructed from addressable LEDs arranged in an array that matches the size of the original game.
There were some issues to iron out, as would be expected for a project with this much complexity, but the main thorn in [Maarten]’s side was getting his controller to work in Safari on iPhones. That seems to be mostly settled and there were some other gameplay issues to solve, but the unit is now working in his window and ready to be played by any passers-by, accessed by a conveniently-located QR code. Tetris has been around long enough that there are plenty of unique takes on the game, like this project from 2011 that uses Dance Dance Revolution pads for controllers.

 Each Pixie module is designed to host two gorgeous little