For those of you who might have forgotten, let’s go over the rules of Centurion. The object of the game is for every minute, for 100 minutes, drink a shot of beer. It doesn’t sound like a lot, but after completing the challenge you’ll have had 3 liters of beer (or about eight and a half 12 oz cans) in just under two hours. When [Peter] played Centurion, he found the biggest problem was – understandably – keeping track of the time and who drank what. For an upcoming weekend of drinking, [Peter] decided to solve this problem once and for all with shift registers and seven-segment displays.
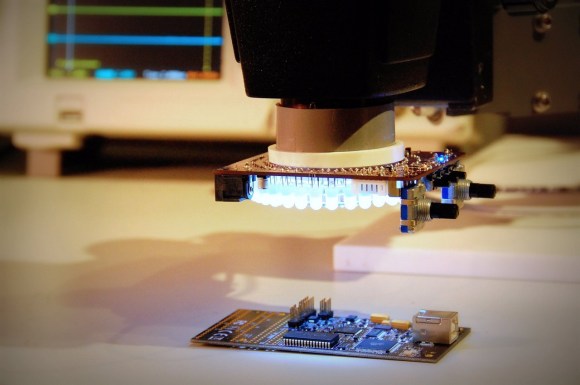
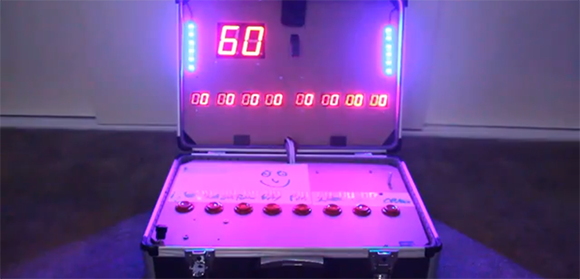
[Peter]’s Centurion score box comes in two parts. The first and largest part of the build is the main board housing an ATMega8 microcontroller and a huge two digit seven-segment display to keep track of the countdown until the next shot. Two other boards house eight additional two digit seven-segment displays for each player, incremented every time a player presses a giant arcade button.
The entire build is designed around a small travel case that also holds a large battery for cordless drinking parties. Let’s just hope the project is reasonably water-resistant; we can see a lot of spills happening in the future. Check out the video demo below.