[4RM4] over at the Stuttgart hackerspace Shackspace ran into a guy selling individually addressable RGB LED strips when he attended the 29th Chaos Communication Congress last December. He had a Raspberry Pi with him, and after a little bit of work he rigged up an LED display that wrapped around a trash can. A respectable hack, but not quite ready for prime time.
After getting back to the Shackspace, [4RM4] decided to go in a more classic direction by building an RGB Snake clone. A few neat features were implemented like a high score list, a free play bot, and a clock.
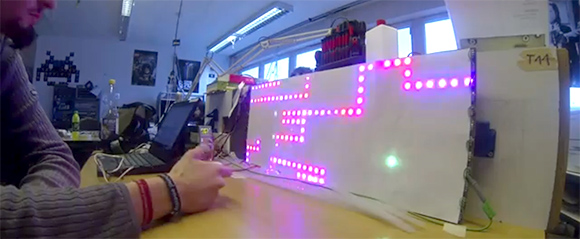
To control his pixel-munching snake, [4RM4] used a Wii Nunchuck controller hooked up to the Raspberry Pi’s GPIO pins. It looks like a whole lot of fun, and given the absurdly high scores shown in the video after the break, it looks like this build is getting a lot of use at the Shackspace.