Have you already broken that New Year’s resolution to get more exercise? Yeah, us too. Maybe the problem is simply that we didn’t gamify the goal. A simple visual aid that shows your progress can help make a goal more achievable and easier to stick to, day after January day. That’s the idea behind [skhackett]’s Slither, the visual pedometer.
 Although Slither uses the Fit Bit app, no actual Fit Bit is required — great news for those of us who don’t like to wear accessories. But you will have to carry your phone everywhere if you want your steps to count. By tracking the steps taken each day, the sum of Slither’s segments signifies a weekly total goal of 50,000 steps.
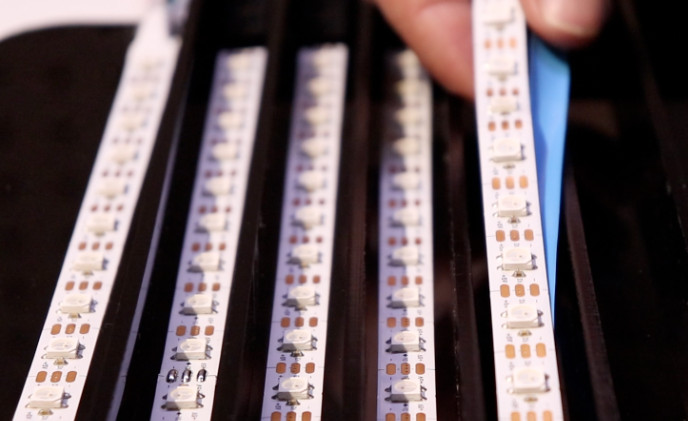
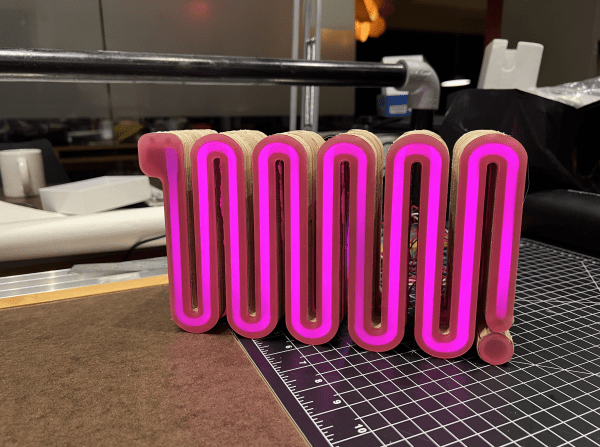
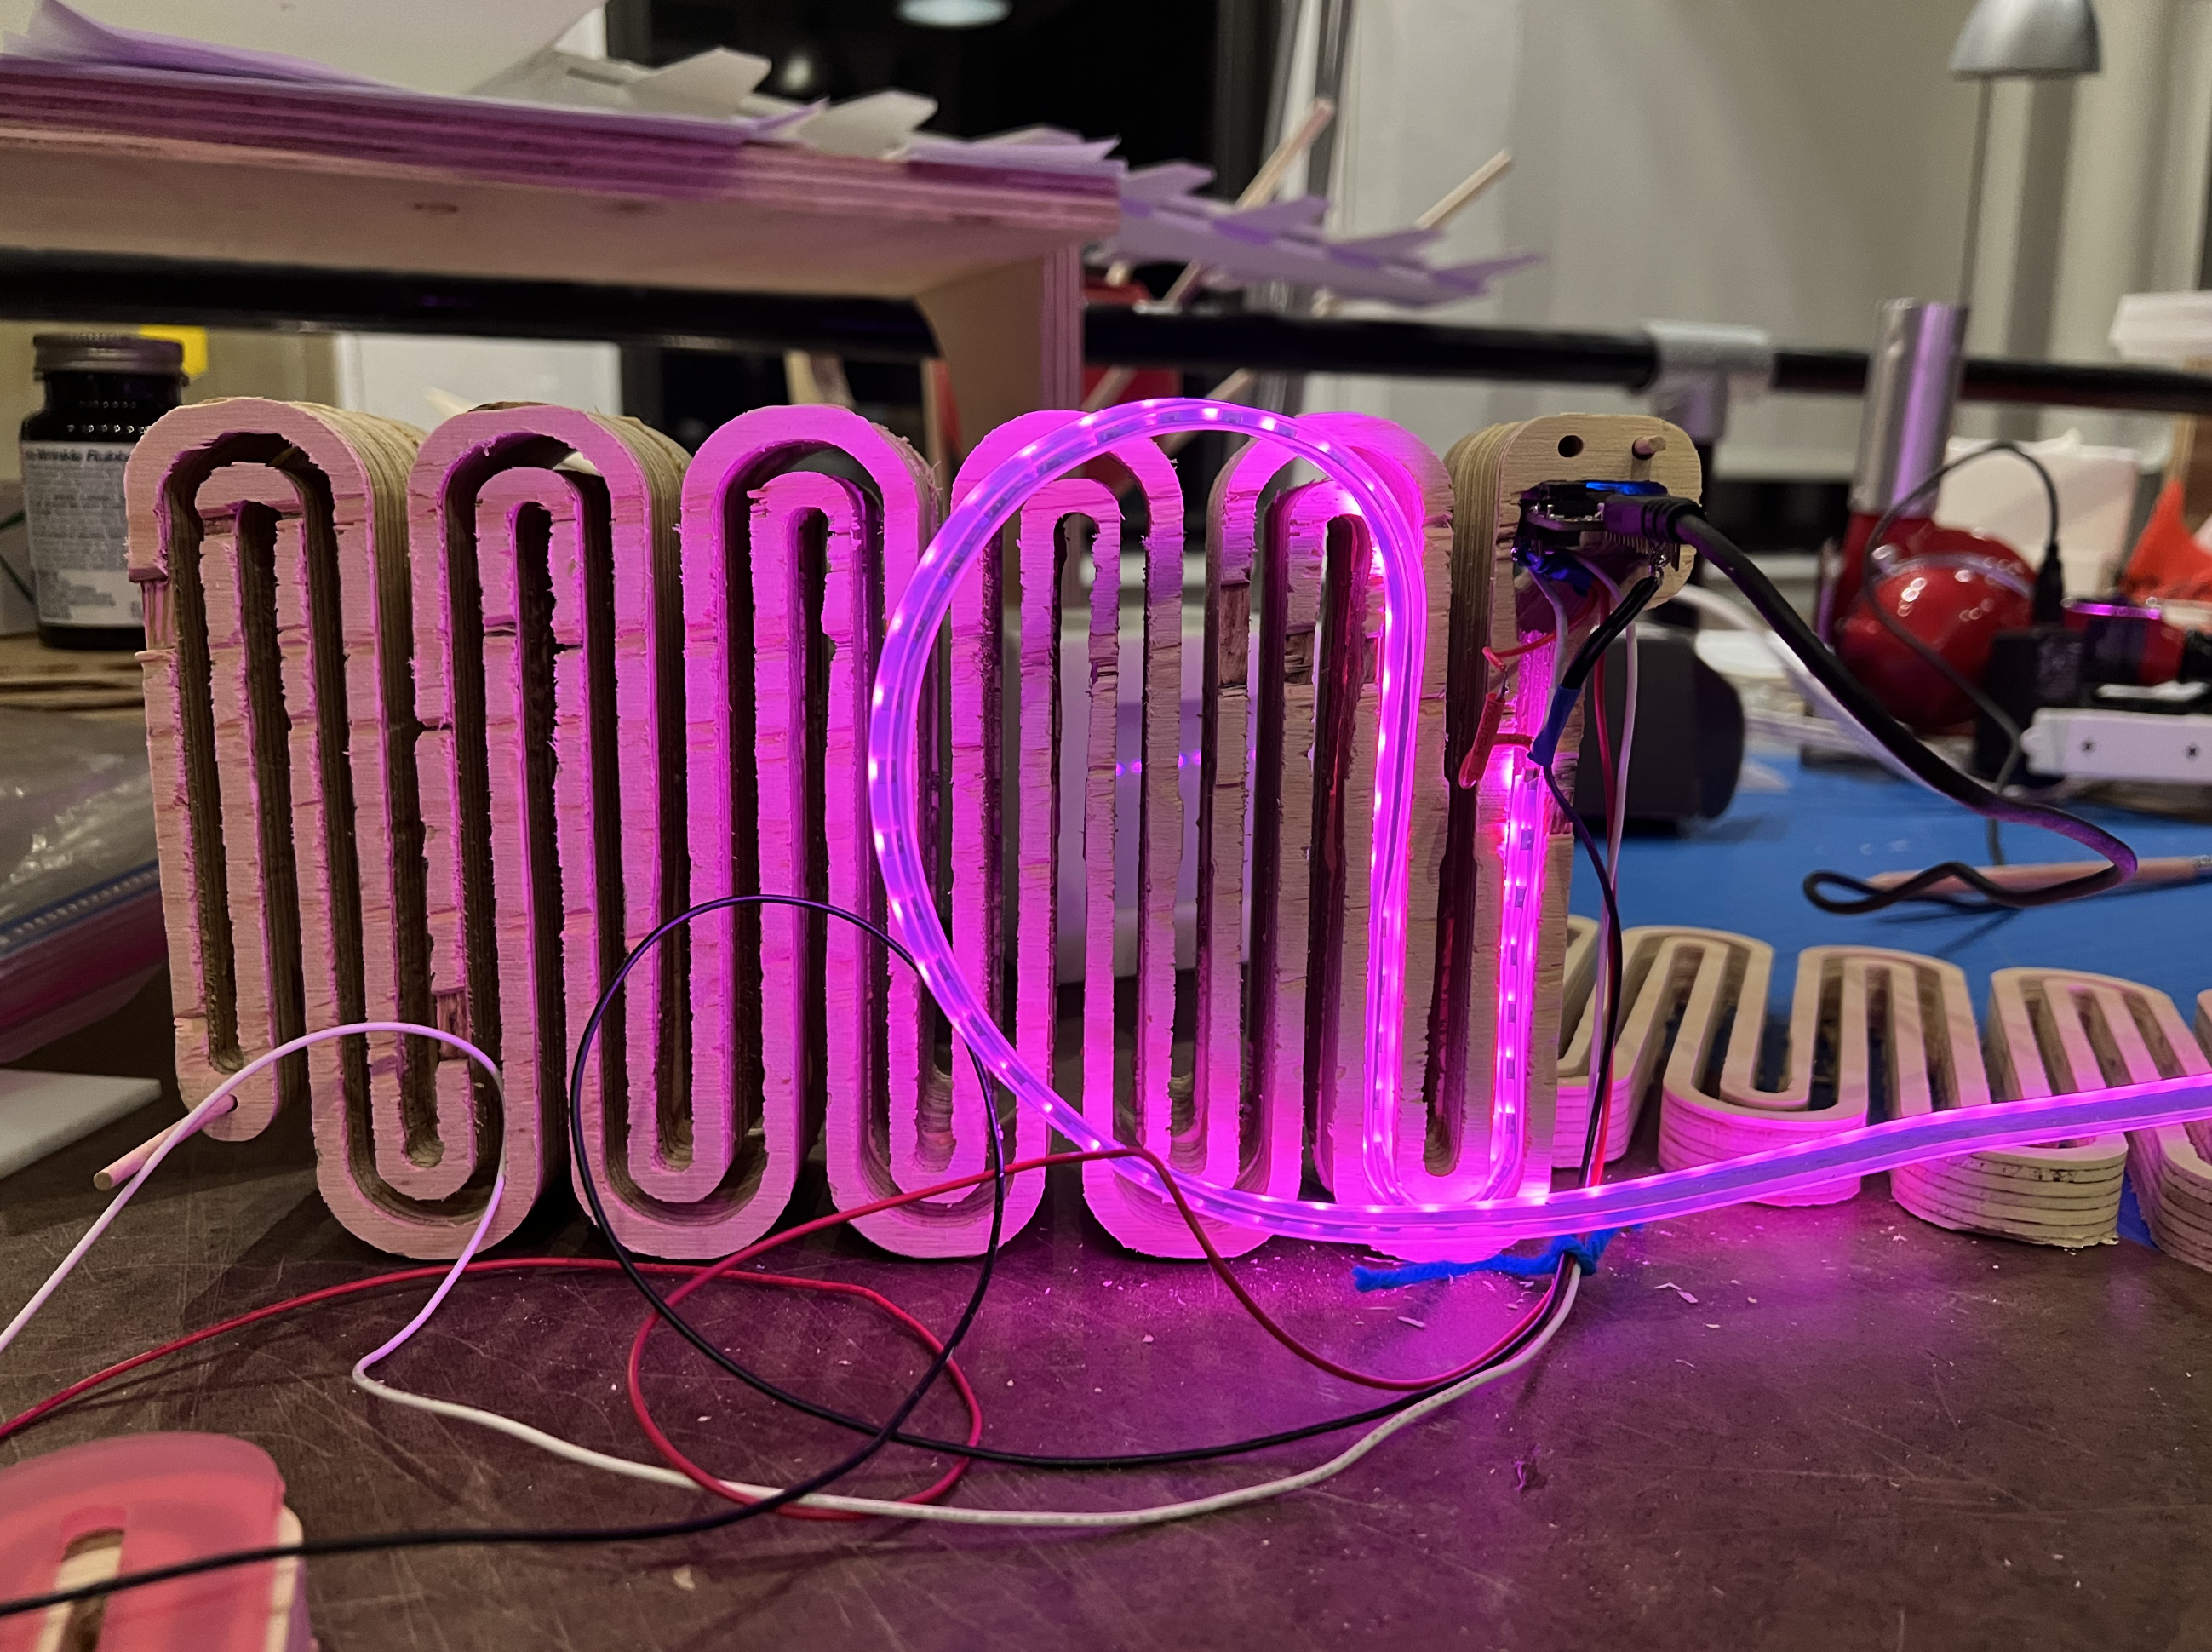
Around back is a Feather Huzzah that receives step data from the phone and drives a strand of side-lit LED strips. There’s a Hall effect sensor in the tail, and Slither is powered on and off with a small, separate piece of wood and acrylic with a magnet embedded inside. Isn’t that a classy way to switch a snake?
We really like the look of the plywood here, though [skhackett] recommends using MDF instead because they experienced a fair amount of chipping. If you just want to watch the snake light up, it shouldn’t be too hard to cheat the pedometer.