[Foone] saw a tweet a few weeks ago alleging that digital pregnancy tests are a rip-off. Regular, cheap tests have an absorbent strip running the length of the plastic, with one end exposed for collecting urine. A few excruciating minutes later, a little plastic window in the middle will show one line, two lines, or a plus or minus sign depending on the presence of human chorionic gonadotropin (HCG) in the urine.
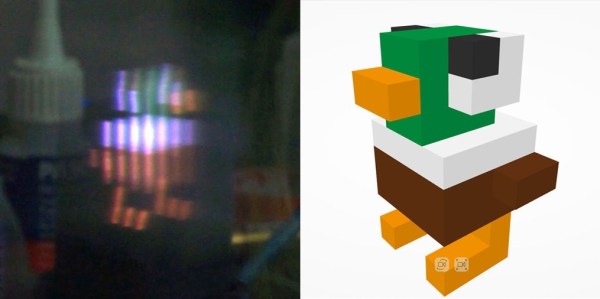
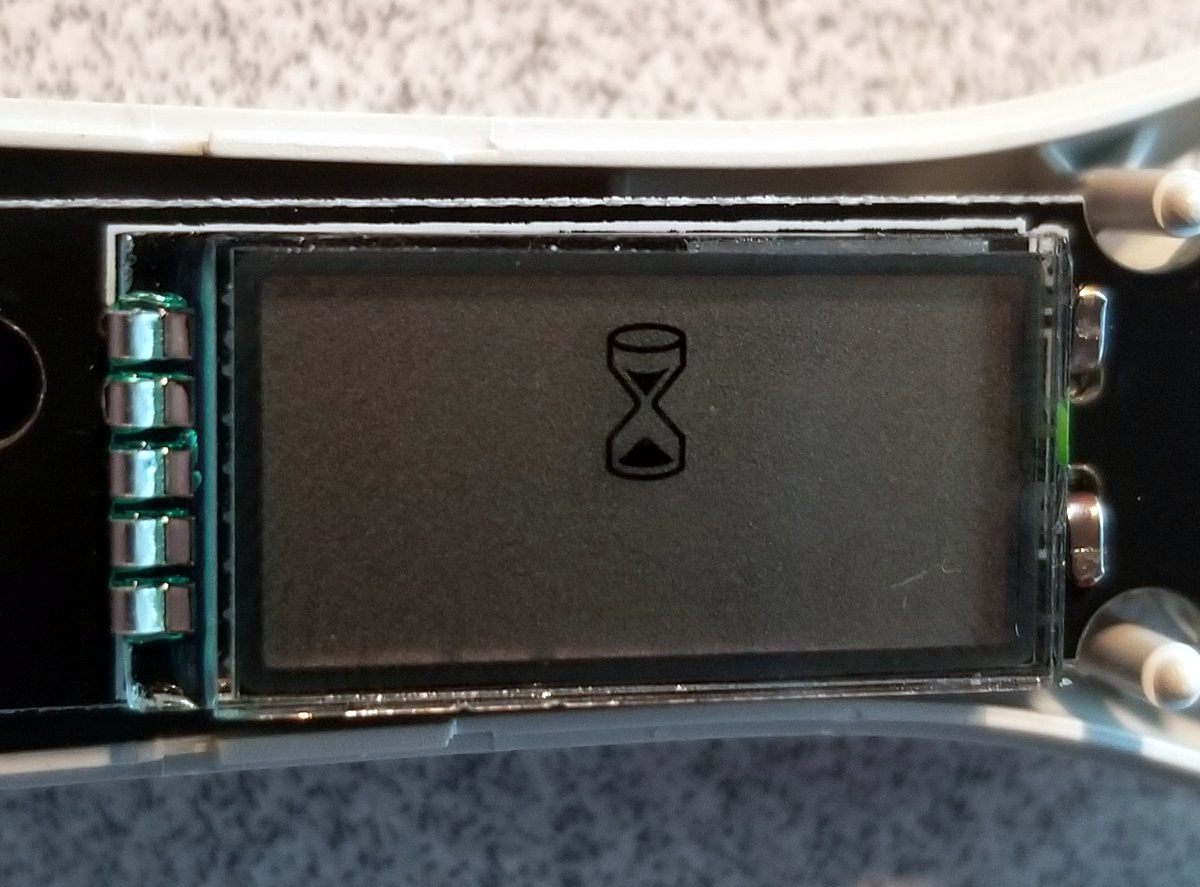
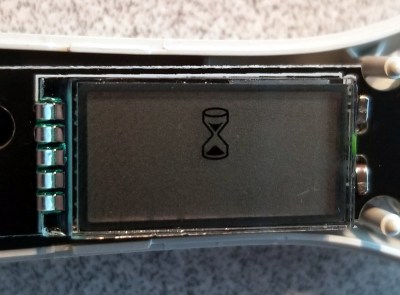 As it turns out, at least two digital tests out there are the exact same thing, but with more steps. Instead of a window, they include circuitry that interprets the lines and publishes the result to a little screen in plain English. It can even tell you if you’re doing it wrong by flashing a little RTFM icon.
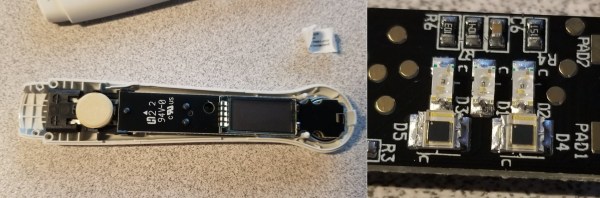
[Foone]’s teardown reveals a CR1616 coin cell, an 8-bit microcontroller, and a little phototransistor setup that shines LEDs on the strip and reads the incoming light. Unfortunately, the micro is the mask ROM version, so [Foone] can’t reprogram it to run Doom.
The original tweet’s author is probably not alone in assuming that digital tests are supposed to be more accurate somehow. We think the accuracy claim is more about removing the frazzled and/or incompetent human variable from the equation. If the test interprets the results for you, then there’s no mistaking the results, which is technically a higher degree of accuracy. But if you’re in doubt, you get a test from a doctor.
There’s been some discussion about the e-waste aspect of these all these tests — that it’s a shame to produce a microcontroller just to pee on it and throw it away. Sure, you could look at it that way, but unlike a lot of e-waste, these are tools. It’s unfortunate that this is the industry’s idea of higher accuracy, but what should we expect? It’s just testing for the presence of a hormone in urine. Interpreting the results is up to the viewer. We should probably be astounded that they got the cost down to two for $7.
Many people choose to wait a while to start spreading the news. With a Bluetooth-enabled pregnancy test, everyone can find out together.
Thanks for the tip, [Jay]!