The biggest news this week comes from Apple. There’s a new Mac Mini (the press copy says it makes a great digital signage platform but we’ll stick to our Raspberry Pis), a gigantic iPad that costs $1900, and the MacBook Air gets a display with more than 900 pixels of horizontal resolution. It’s big news, but this isn’t the biggest news from Cupertino. [Aki-Baidya] reports Apple is bringing back the old-school rainbow logo to t-shirts sold in the Apple Park visitor center. The move follows Apple’s trademark renewal of the rainbow logo earlier this year.
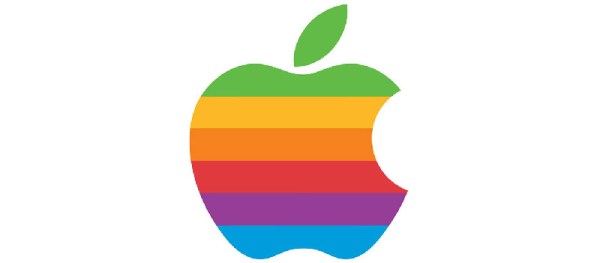
 The O.G. rainbow Apple logo was not Apple’s first logo — this honor belongs to the ‘Newton woodcut’ logo designed by [Jobs] and [Ronald Wayne] in 1976. [Wayne] is best known for selling his 10% stake in Apple for $800. The ‘rainbow Apple’ appeared in 1977 after [Jobs] commissioned [Rob Janoff] to design a logo based on the Apple itself. Newton is of course missing from this logo but his contributions to the sciences — the laws of motion and optics — are alluded to with the rainbow apple.
The rainbow Apple logo was phased out in 1998 with the release of the original Bondi Blue iMac and gradually replaced the logo on all four of Apple’s computer lines. The rainbow logo was last seen on Apple laptops with the Wall Street II / PDQ Powerbook, replaced by the Lombard PowerBook in May, 1999. On desktops, the last rainbow logo was found on the beige G3 tower, replaced with the Blue and White G3 in January, 1999.
Despite being discontinued twenty years ago, the rainbow Apple logo has remained one of the most loved corporate logos of all time. To this day, you can still find rainbow Apple logo stickers on the back of old Volvos and pinned to the windows of offices. It is a staple of 80s and 90s-era design. The Rainbow Apple logo t-shirt is available exclusively at the Apple Park Visitor Center gift shop, price is $40.
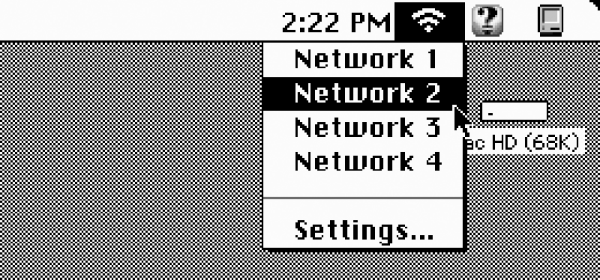

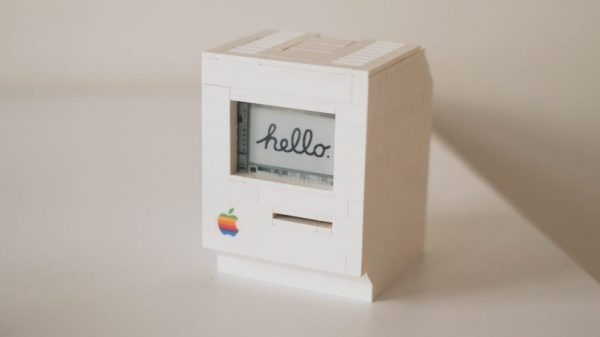
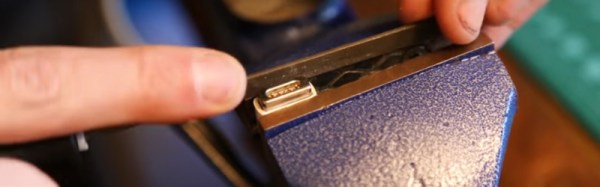
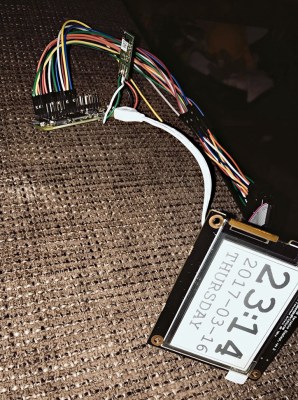 [Jannis Hermanns] couldn’t find a reason to control this outburst of nostalgia for the good old days of small, expensive computers and long hours spent clawing through the LEGO bin to find The Perfect Piece to finish a build. It turns out that the computer part of this replica was the easy part — it’s just an e-paper display driven by a Raspberry Pi Zero. Building the case was another matter, though.