
[Kert Gartner]’s ASCII Aquarium turns a cheap yellow display (CYD) into a tiny simulated aquarium, complete with ASCII sea creatures each with their own behaviors. There’s all kinds of options and even timekeeping functionality, so the miniature water world can also pull its weight as a desk clock.
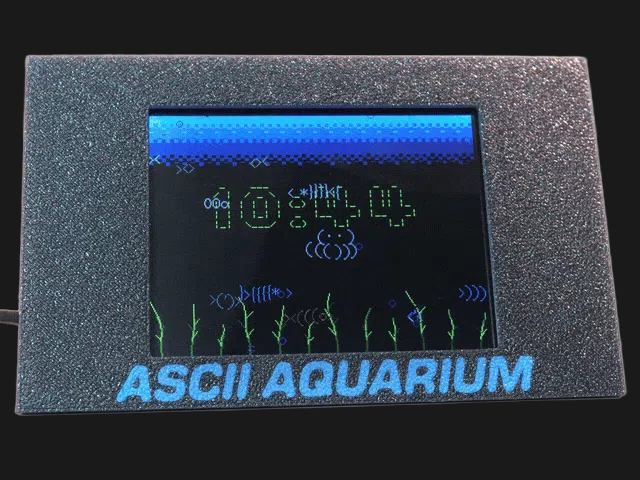 The fish and other animal movements are not a series of canned animations; each creature has its own behaviors and responses to things like feeding, which is accomplished by tapping on the screen. A hidden menu offers a wide range of configuration and display options, and there’s even an option to export screen contents as bitmaps.
Add a 3D-printed enclosure and the whole thing looks like a pretty nice weekend project. There’s even a display flip mode, just in case you have a spare 50 mm beamsplitter kicking around.
It’s a very clever use of a CYD that shows how good color and graphics can look when one designs with the hardware’s capabilities (and limitations) in mind.
The CYD is an ESP32-based development board with integrated touchscreen display, and is known for its affordable price and wide availability. This one would look great next to a CYD electric jellyfish.


