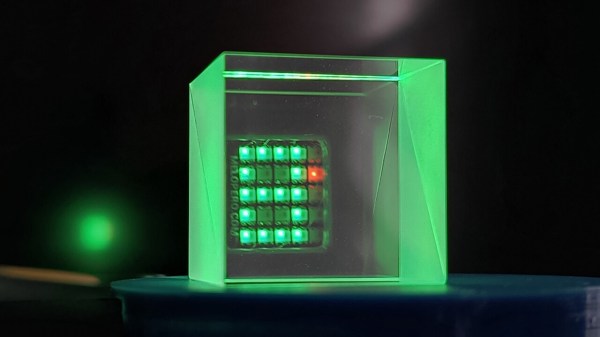
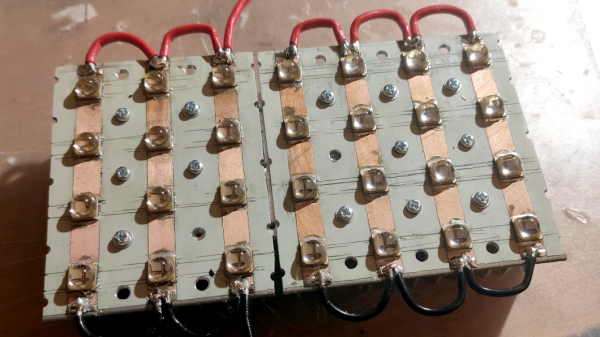
Before the past year, many of us took computer memory for granted. It was one of the lower-cost parts of a PC build and was usually available in whatever quantity one desired. As its cost has skyrocketed, a lot of PC builders and other users of computers in general are taking a deeper look at memory, how much is really needed, and what its functions truly are. [Igor] is working on a drum sequencer project which needs a small amount of memory, and has built this dynamic RAM from discrete components.
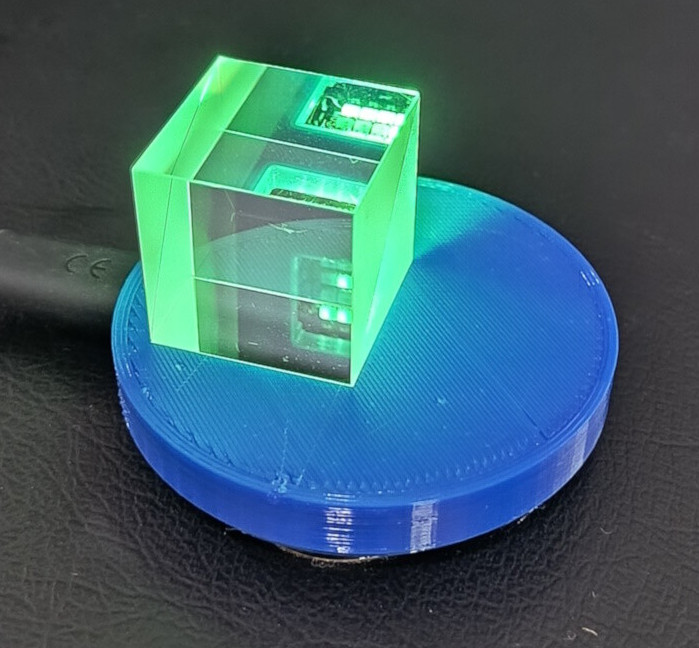
The first video goes into the construction of the memory array and how its addressed. It’s only eight bytes total, and using fairly large electrolytic capacitors to store data means that a gigabyte of this memory would take up well over a thousand acres, but it’s still enough memory for [Igor]’s needs. In addition to the capacitor, each bit uses a pair of diodes to determine if a read or write is occuring, and a set of transistors on the read and write busses to perform those actions. Worth noting here is that dynamic RAM like this needs to be refreshed because the capacitors lose charge over time, but these large capacitors can hold charge sometimes overnight, as [Igor] has confirmed experimentally.
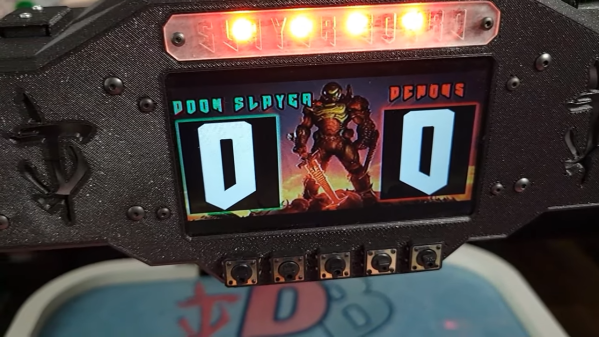
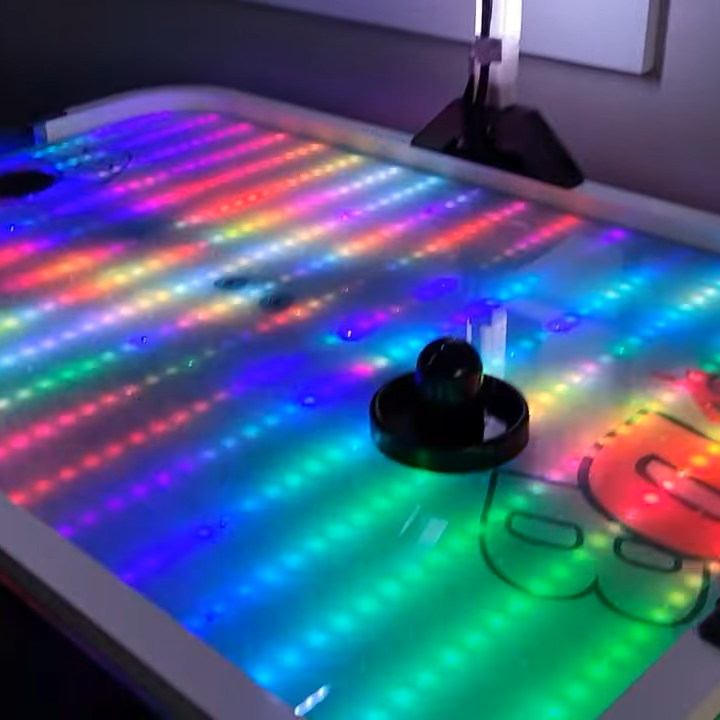
There’s a followup video to the construction of these modules as well, where [Igor] demonstrates a number of ways this module can be used, from controlling LED arrays, 7-segment displays, and then installs it into his drum machine. With 64 bits available it’s capable of creating up to eight beats with eight samples available per beat. Although there are complete machines available for all of this, we appreciate his goal of not buying any pre-manufactured hardware and instead constructing it all from the ground up. There are analog drum machine options available in this same style as well.