Herbs are a great way to spice up any dish. Often they don’t need much, meaning that it’s possible to grow a useful amount in a fairly compact area. [Sunyecz22] wanted to do just that, so built a convenient indoor herb garden, giving it some smarts along the way.
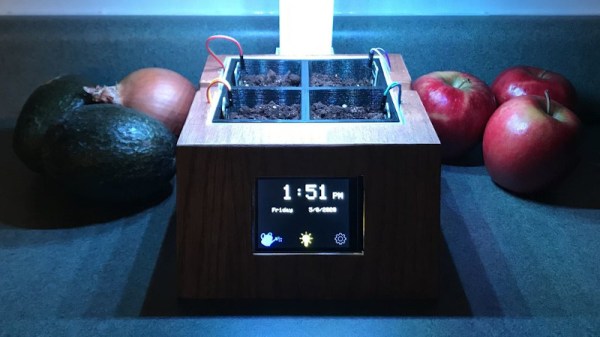
The project is built around an Arduino Mega, a venerable stalwart of the scene that comes in handy on projects requiring plenty of digital I/O. It’s paired with four soil moisture sensors, one per planter pot to keep an eye on water levels. The system also controls LEDs which provide light based on the time of day to help the herbs grow. Finally, a tidy 3D printed enclosure gives the project a neat, finished look.
It’s a build that’s a straightforward way to get into automatic plant maintenance, and leaves plenty of scope for future work. With the capable Arduino Mega on hand, it would be a cinch to upgrade to automatic watering down the track. We’ve seen similar builds before, too. Video after the break.
Continue reading “Herb Garden Is Smarter Than The Average… Garden”