A sauna is a great place to feel warm and toasty and refreshed, but few of us have one at home. [Linus Strothmann] decided to build his own, using an old boat as the perfect base for his steamy build.
Finding the right boat was the first challenge; the vessel should be big enough to fully house the intended number of occupants, and be able to withstand sitting outside in the weather year-round. If it’s to be used in a place where it gets icy in winter, it’s best to go with a steel-hulled vessel. [Linus] found a steel-hulled boat just under 8 m in length for less than 1000 Euros, and set to work on his project.
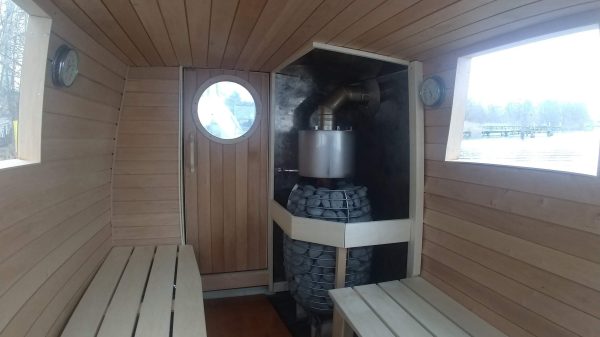
The boat was stripped out, and given high-quality glass windows capable of resisting the steam and high temperatures inside. A stove was installed for producing steam, and the boat-sauna was designed with multiple entries and exits for safety reasons. Insulation was also fitted to help keep heat in.
The result is a floating sauna that is an absolute pleasure to use in the winter months. Floating out on the lake, one can take in a steam, have a quick dip in the icy water, and then return to warm back up inside. [Linus] hopes to soon fit a small motor in order to allow the vessel to head out to the middle of the lake for an even better view during a steam session.
It’s not the first mobile sauna we’ve seen; a trailer-based design graced these pages last year. If you’re working on your own hot and steamy build, though, do share your work with us promptly!