Have you ever imagined what the Nintendo Switch would look like if Nintendo had produced it in the mid-1990s? [Joel Creates] evidently did, because that’s exactly what this retro CRT-toting Switch 2 dock looks like.
Yes, it is portable, thanks to a 100W power bank torn apart and built into the 3D printed case. The full-color CRT comes from a portable TV, so it’s got portability in its heritage. Fitting all that chunky CRT goodness into a hand-held was, of course, a challenge. [Joel] credits AI slop with inspiring the 45-degree angle he eventually settled on. However, the idea of recessing handles inside the case so it could be thick enough but still comfortable to hold was all base-model H.Sap brainpower. There are shoulder controls hidden in those recesses, too, for the games that can use them.
We particularly like the cartridge-like way the Switch 2 slides into place with a satisfying click as its USB-C port connects. It’s plugging into an extension cable that leads to the guts of an official Nintendo dock, buried deeply (and conveniently) inside the 3D-printed box, stacked neatly with the HDMI-to-VGA and VGA-to-Composite converters [Joel] needed to get a nice 4:3 image on the CRT. No word on if he blows on the Switch 2 before plugging it in, but we certainly would.
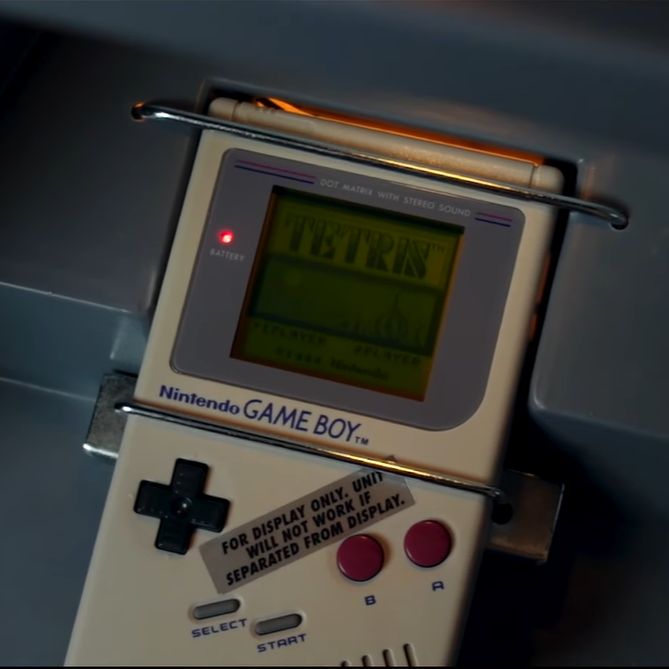
We’ve featured plenty of portable game systems over the years, and some have been very well done, like this exquisitely done PS2 conversion — but very few have brought CRTs to the party. This retrofitted Game Boy is about the only exception, and [Joel] calls it out in his video as inspiration.
It looks like this is the first Switch 2 hack we’ve featured (with the exception of a teardown or two), so if you know of more, please let us know.