One of the joys of writing up the entries for the 2025 Component Abuse Challenge has come in finding all the different alternative uses for the humble transistor. This building block of all modern electronics does a lot more than simply performing as a switch, for as [Aleksei Tertychnyi] tells us, it can also function as a temperature sensor.
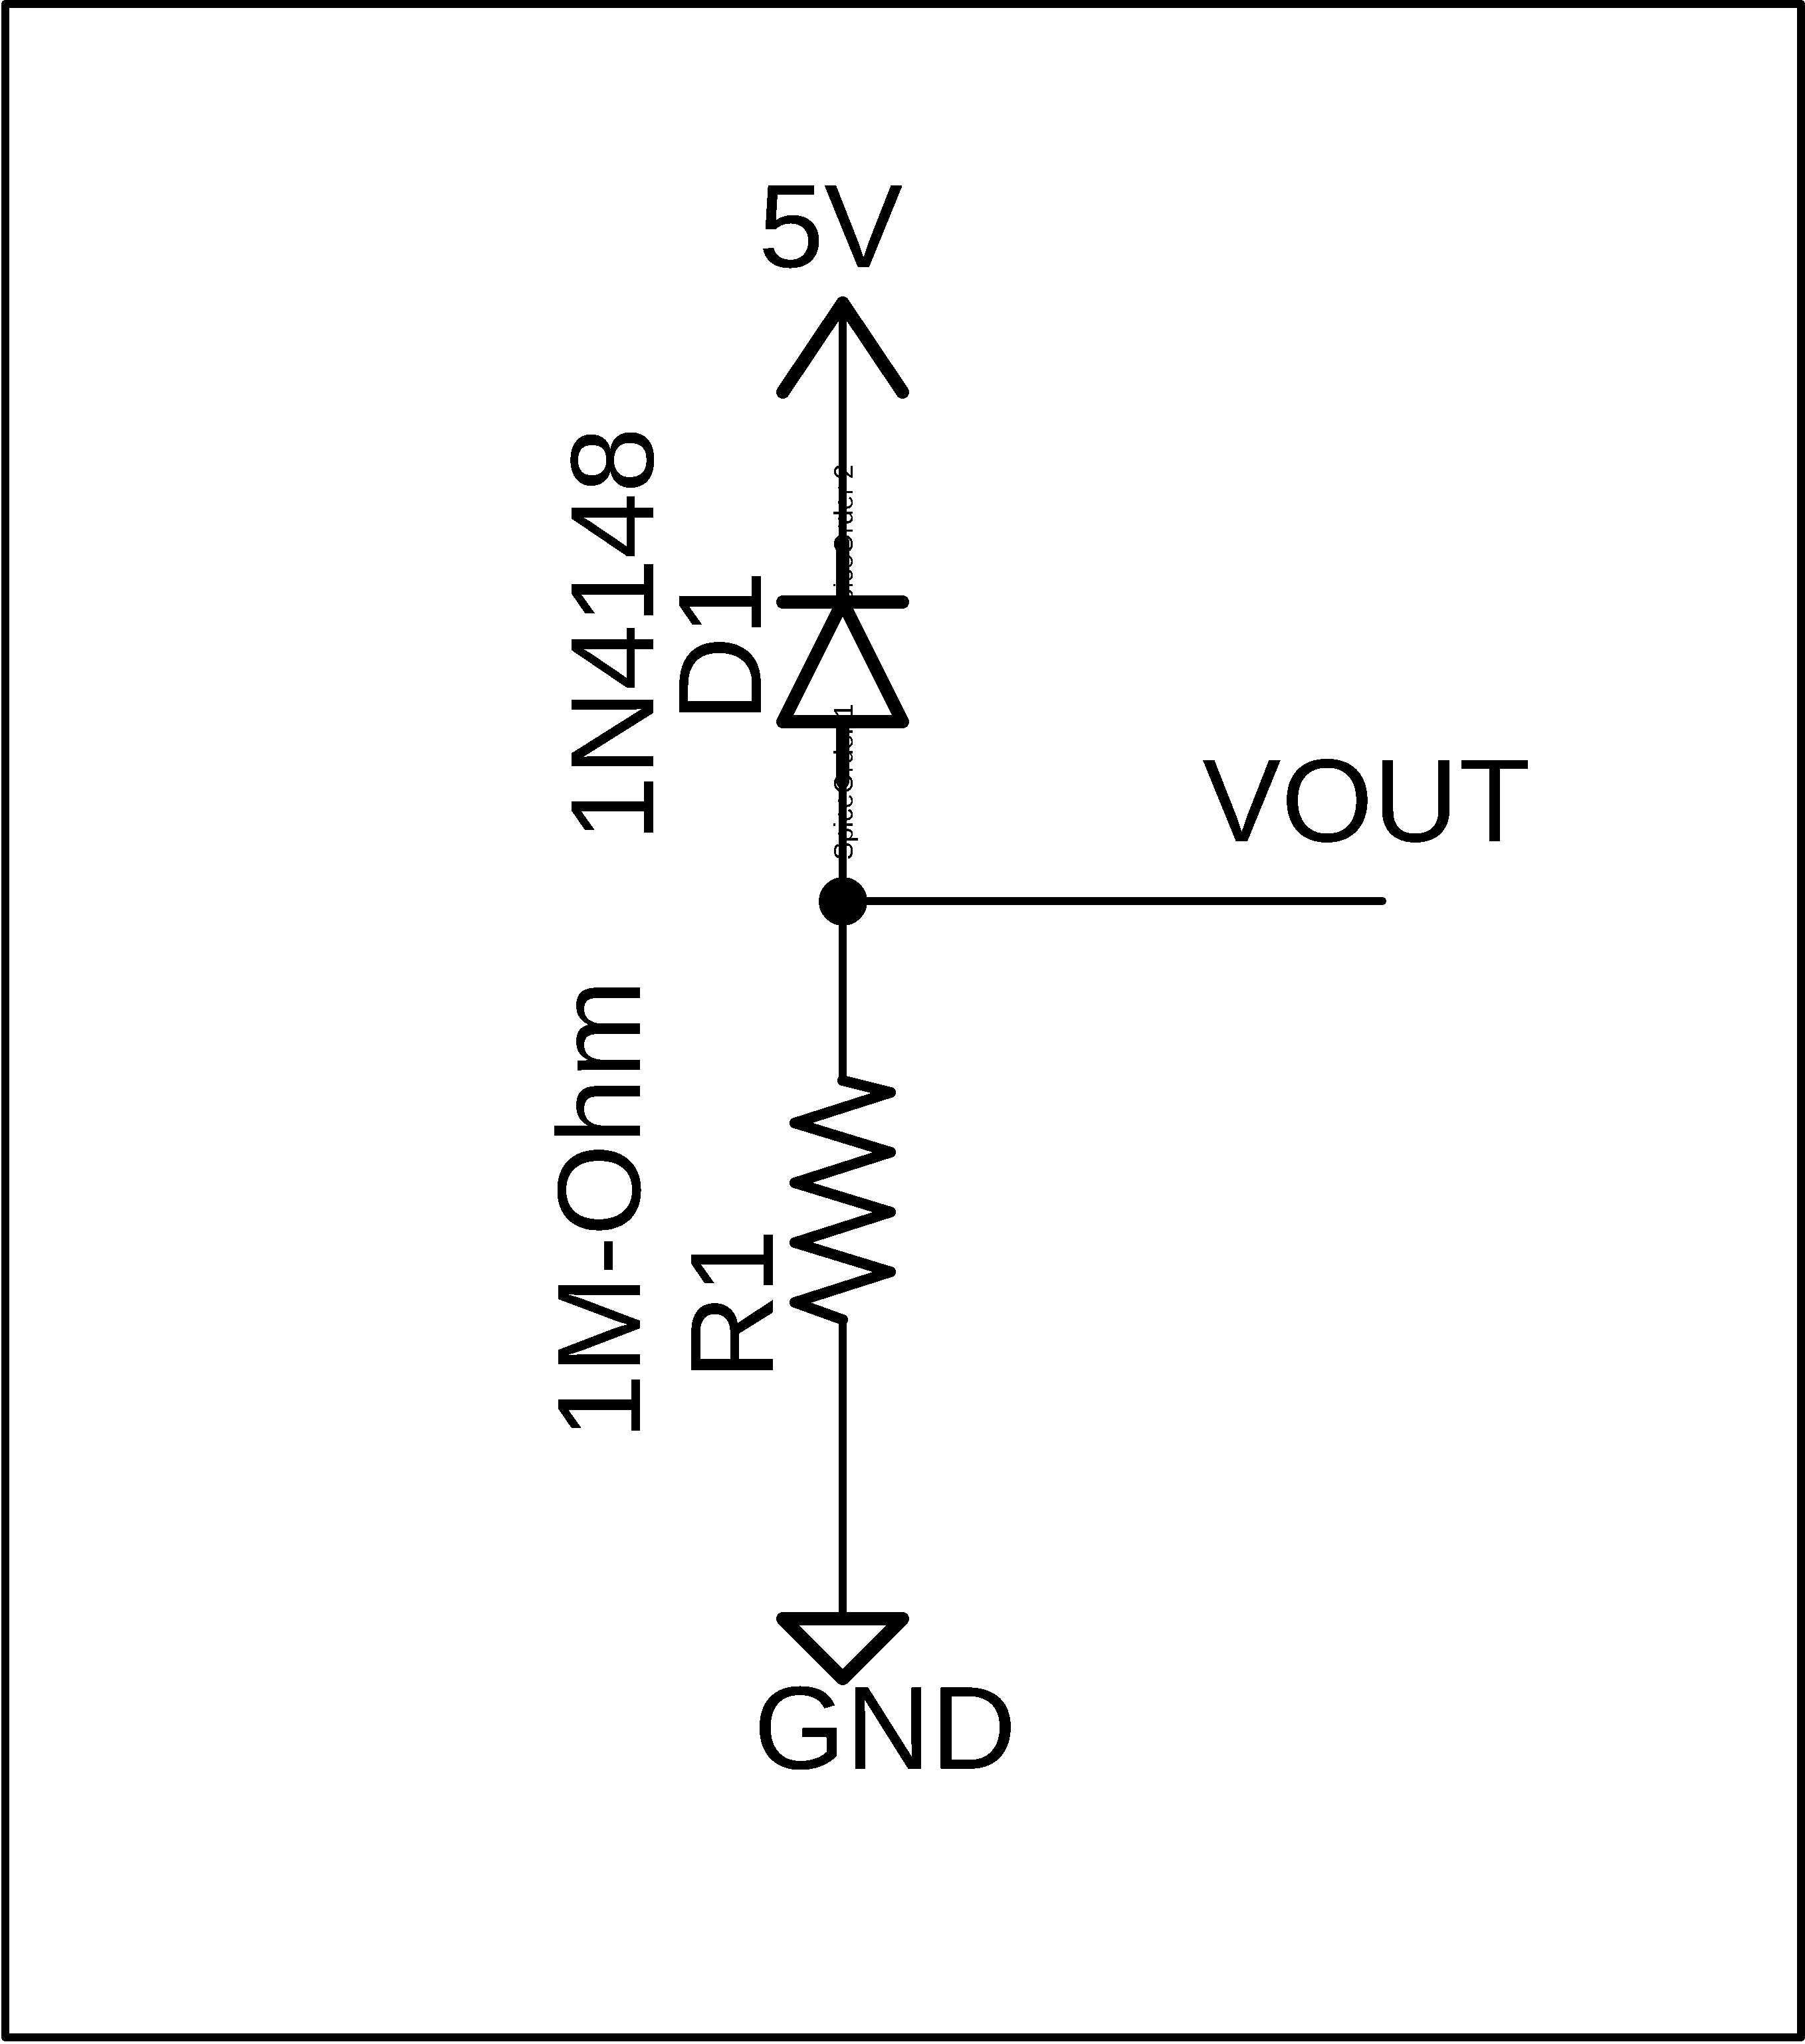
How does this work? Simple enough, the base-emitter junction of a transistor can function as a diode, and like other diodes, it shows a roughly 0.2 volt per degree voltage shift with temperature (for a silicon transistor anyway). Taking a transistor and forward biasing the junction with a 33 K resistor, he can read the resulting voltage directly with an analogue to digital converter and derive a temperature reading.
The transistor features rarely as anything but a power device in the projects we bring you in 2025. Maybe you can find inspiration to experiment for yourself, and if you do, you still have a few days in which to make your own competition entry.