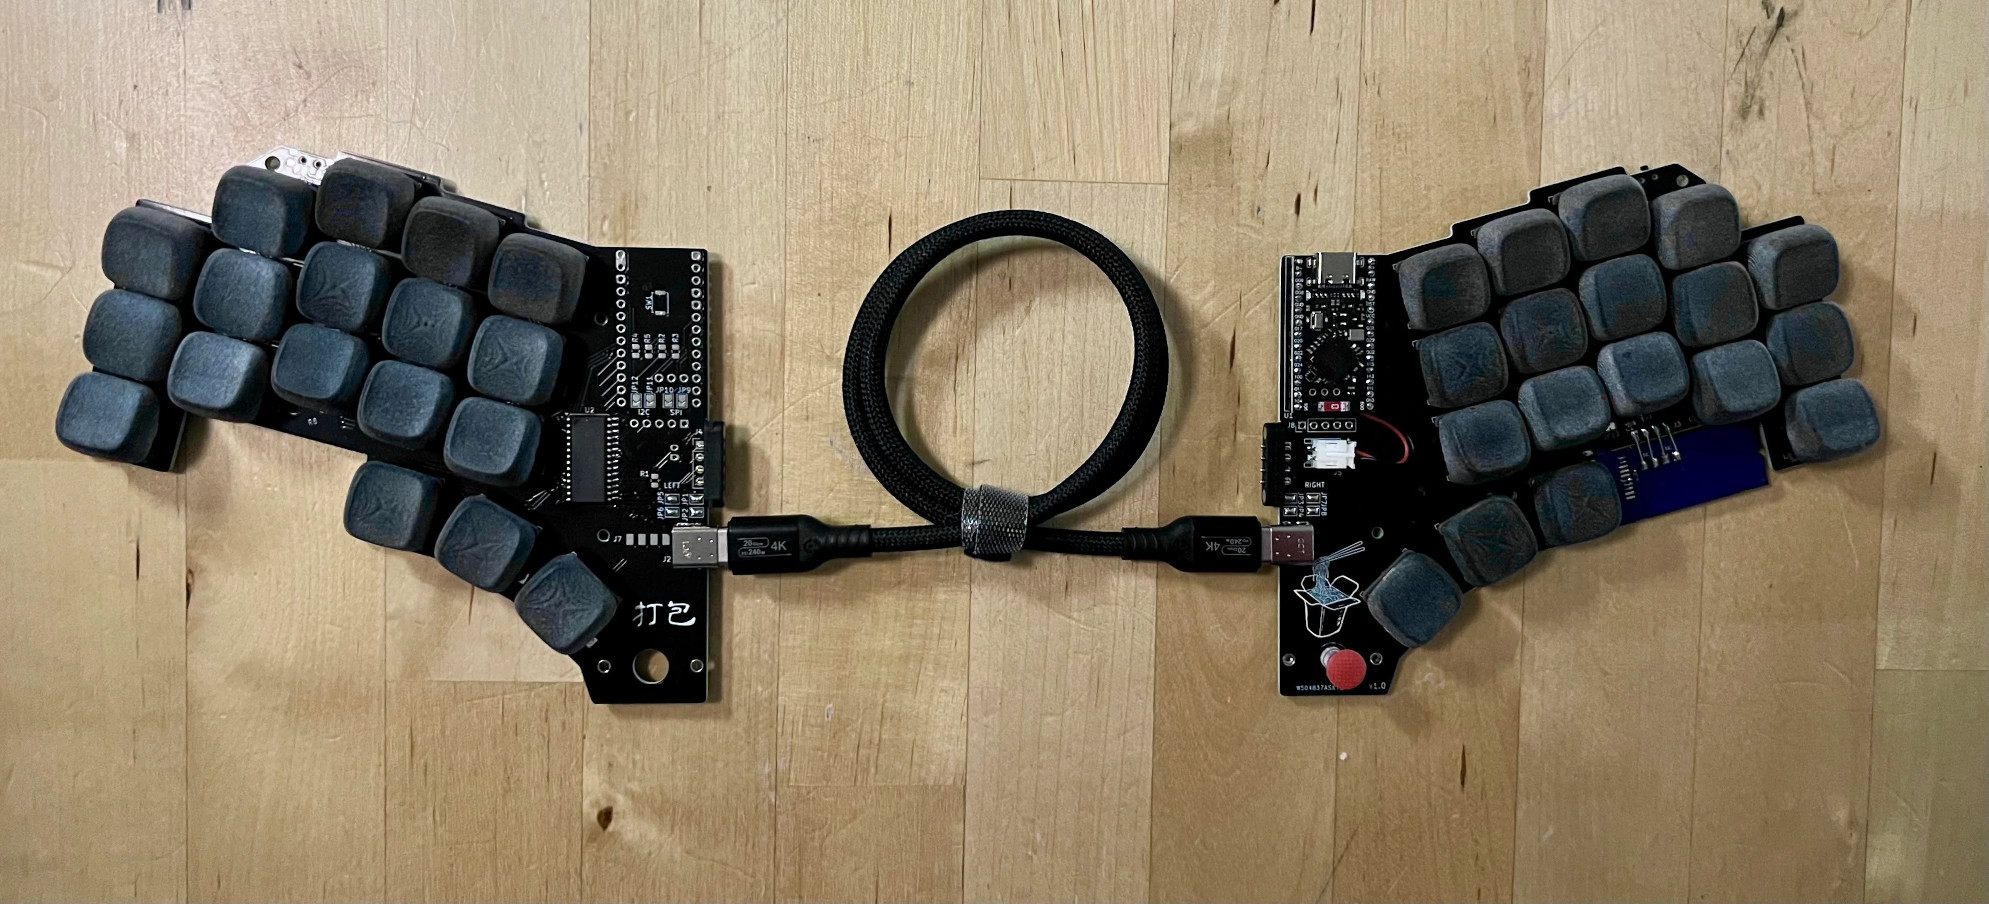
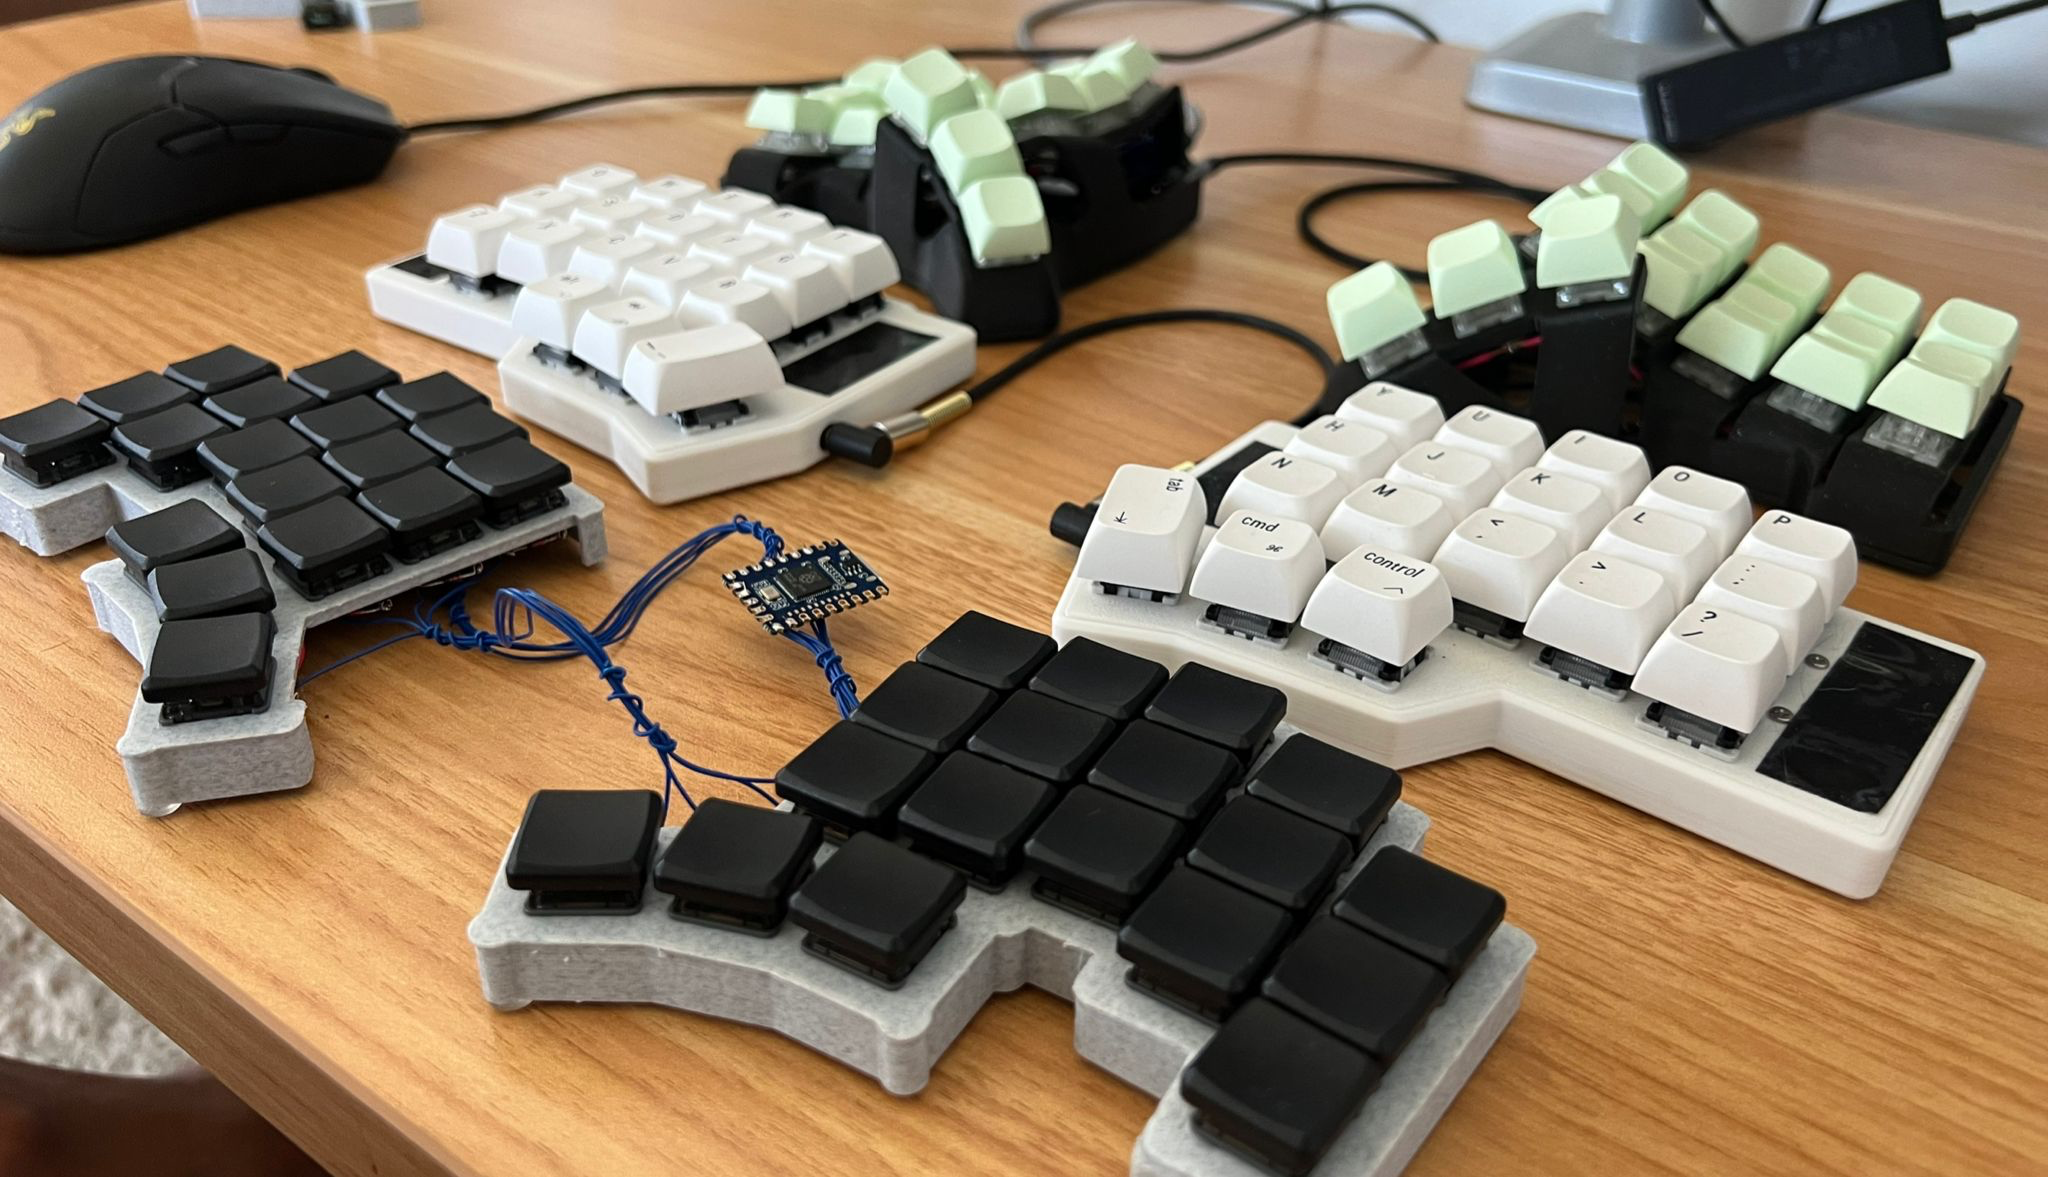
Open source mute button

Silent No More: Open-Source Fix For Mic Mishaps

“Sorry, my mic was muted…” With the rise of video calls, we’ve all found ourselves rushing to mute or unmute our mics in the midst of a call. This open-source Mute Button, sent in by [blackdevice], aims to take out the uncertainty and make toggling your mic easy.

It’s centered around a small PIC32MM microcontroller that handles the USB communications, controls the three built-in RGB LEDs, and reads the inputs from the encoder mounted to the center of this small device. The button knob combo is small enough to easily move around your desk, yet large enough to toggle without fuss when it’s your turn to talk.

To utilize all the functions of the button, you’ll need to install the Python-based driver on your machine. Doing so will let you not only toggle your microphone and volume, but it will also allow the button to light up to get your attention should you be trying to talk with the mic muted.

Although small, it’s also quite rugged, knowing it will spend its life being treated much like a game of Whac-A-Mole—slapped whenever needed. The case is designed to be 3D printed by any FDM printer, with the top knob section printed in translucent material to make the notification light clearly visible.

All of the design files, firmware, and parts list are available over on [blackdevices]’s GitHub page, and they are open-source, allowing you to tweak the design to fit your unique needs. Thank you for sending in this well-documented project, [blackdevices]; we look forward to seeing future work. If you like this type of thing, be sure to check out some of our other cool featured desk gadgets.

Continue reading “Silent No More: Open-Source Fix For Mic Mishaps”

Debugging The Instant Macropad

Last time, I showed you how to throw together a few modules and make a working macropad that could act like a keyboard or a mouse. My prototype was very simple, so there wasn’t much to debug. But what happens if you want to do something more complex? In this installment, I’ll show you how to add the obligatory blinking LED and, just to make it interesting, a custom macro key.

There is a way to print data from the keyboard, through the USB port, and into a program that knows how to listen for it. There are a few choices, but the qmk software can do it if you run it with the console argument.

The Plan

In theory, it is fairly easy to just add the console feature to the keyboard.json file:

{
...
    "features": {
        "mousekey": true,
        "extrakey": true,
        "nkro": false,
        "bootmagic": false,
        "console": true
    },
...

That allows the console to attach, but now you have to print.

Continue reading “Debugging The Instant Macropad”

Pinout of 74HC595

Using The 74HC595 Shift Register To Drive 7-Segment Displays

In a recent video our hacker [Electronic Wizard] introduces the 74HC595 shift register and explains how to use it to drive 7-segment displays.

[Electronic Wizard] explains that understanding how to apply the 74HC595 can increase the quality of your projects and also help keep the demands on the number of pins from your microcontroller to manageable levels. If you’re interested in the gory details you can find a PDF datasheet for the 74HC595 such as this one from Texas Instruments.

[Electronic Wizard] explains further that a shift register is like a small one byte memory where its data is directly available on its eight output pins, no input address required. When you pulse the clock pin (CLK) each bit in the eight bit memory shifts right one bit, making room for a new bit on the left. The bits that fall off the right hand side can daisy chain into another 74HC595 going out on pin 9 and coming in on pin 14.

Continue reading “Using The 74HC595 Shift Register To Drive 7-Segment Displays”

Instant Macropad: Just Add QMK

I recently picked up one of those cheap macropads (and wrote about it, of course). It is surprisingly handy and quite inexpensive. But I felt bad about buying it. Something like that should be easy to build yourself. People build keyboards all the time now, and with a small number of keys, you don’t even have to scan a matrix. Just use an I/O pin per switch.

The macropad had some wacky software on it that, luckily, people have replaced with open-source alternatives. But if I were going to roll my own, it would be smart to use something like QMK, just like a big keyboard. But that made me wonder, how much trouble it would be to set up QMK for a simple project. Spoiler: It was pretty easy.

The Hardware

Simple badge or prototype macropad? Why not both?

Since I just wanted to experiment, I was tempted to jam some switches in a breadboard along with a Raspberry Pi Pico. But then I remembered the “simple badge” project I had up on a nearby shelf. It is simplicity itself: an RP2040-Plus (you could just use a regular Pi Pico) and a small add-on board with a switch “joystick,” four buttons, and a small display. You don’t really need the Plus for this project since, unlike the badge, it doesn’t need a battery. The USB cable will power the device and carry keyboard (or even mouse) commands back to the computer.

Practical? No. But it would be easy enough to wire up any kind of switches you like. I didn’t use the display, so there would be no reason to wire one up if you were trying to make a useful copy of this project.

Continue reading “Instant Macropad: Just Add QMK”

Project Scribe thermal printer printing out a receipt

Project Scribe: Receipts For Life

Here’s a fun project. Over on their YouTube page [Urban Circles] introduces Project Scribe.

The idea behind this project is that you can print out little life “receipts”. Notes, jokes, thoughts, anecdotes, memories. These little paper mementos have a physical reality that goes beyond their informational content. You can cut them up, organize them, scribble on them, highlight them, stick them on the wall, or in a scrapbook. The whole idea of the project is to help you make easier and better decisions every day by nudging you in the direction of being more mindful of where you’ve been and where you’re going.

Continue reading “Project Scribe: Receipts For Life”

Volume Controller Rejects Skeumorphism, Embraces The Physical

The volume slider on our virtual desktops is a skeuomorphic callback to the volume sliders on professional audio equipment on actual, physical desktops. [Maker Vibe] decided that this skeuomorphism was so last century, and made himself a physical audio control box for his PC.

Since he has three audio outputs he needs to consider, the peripheral he creates could conceivably be called a fader. It certainly has that look, anyway: each output is controlled by a volume slider — connected to a linear potentiometer — and a mute button. Seeing a linear potentiometer used for volume control threw us for a second, until we remembered this was for the computer’s volume control, not an actual volume control circuit. The computer’s volume slider already does the logarithmic conversion. A Seeed Studio Xiao ESP32S3 lives at the heart of this thing, emulating a Bluetooth gamepad using a library by LemmingDev. A trio of LEDs round out the electronics to provide an indicator for which audio channels are muted or active.

Those Bluetooth signals are interpreted by a Python script feeding a software called Voicmeeter Banana, because [Maker Vibe] uses Windows, and Redmond’s finest operating system doesn’t expose audio controls in an easily-accessible way. Voicmeeter Banana (and its attendant Python script) takes care of telling Windows what to do. 

The whole setup lives on [Maker Vibe]’s desk in a handsome 3D printed box. He used a Circuit vinyl cutter to cut out masks so he could airbrush different colours onto the print after sanding down the layer lines. That’s another one for the archive of how to make front panels.

If volume sliders aren’t doing it for you, perhaps you’d prefer to control your audio with a conductor’s baton. 

Continue reading “Volume Controller Rejects Skeumorphism, Embraces The Physical”

Smallest Gaming Mouse Has Crazy Fast Polling Rate And Resolution

[juskim] wanted to build a tiny mouse, but it couldn’t just be any mouse. It had to be a high-tech gaming mouse that could compete with the best on raw performance. The results are impressive, even if the final build is perhaps less than ideal for pro-level gameplay.

The build riffs on an earlier build from [juskim] that used little more than a PCB and a 3D-printed housing to make a barebones skeleton mouse. However, this one ups the sophistication level. At the heart of the build is the nRF54L15 microcontroller, which is paired with a PAW3395 mouse sensor which is commonly used in high-end gaming mice. It offers resolution up to 26K DPI for accurate tracking, speeds up to 650 ips, and 8 kHz sampling rates. Long story short, if you want fine twitch control, this is the sensor you’re looking for. The sensor and microcontroller are laced together on a custom PCB with a couple of buttons, a battery, and a charging circuit, and installed in a barebones 3D-printed housing to make the final build as small as possible.

The only real thing letting the design down is the mouse’s key feature—the size. There’s very little body to grab on to and it’s hard to imagine being able to play most fast-paced games at a high level with such a tiny device. Nevertheless, the specs are hardcore and capable, even if the enclosure isn’t.

[juskim] loves building tiny peripherals; we’ve featured his fine work before, too. Video after the break.

Continue reading “Smallest Gaming Mouse Has Crazy Fast Polling Rate And Resolution”