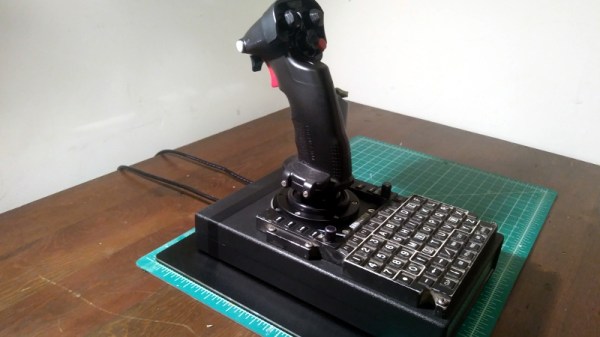
If you’re looking to add some realism to your flight setup without converting the guest bedroom into a full-scale cockpit simulator, you might be interested in the compromise [MelkorsGreatestHits] came up with. He bolted a genuine military keypad to his PC joystick and instantly added 100% more Top Gun to his desktop.
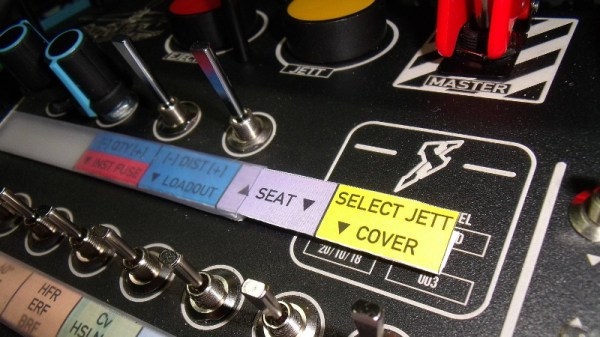
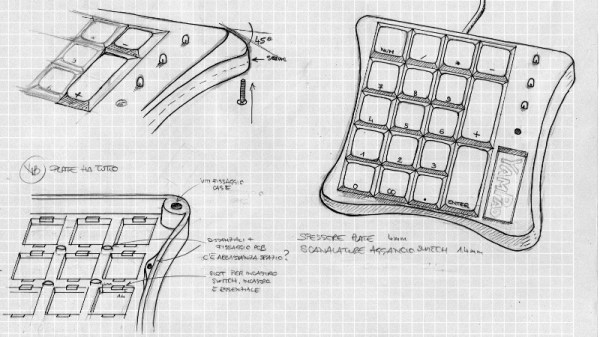
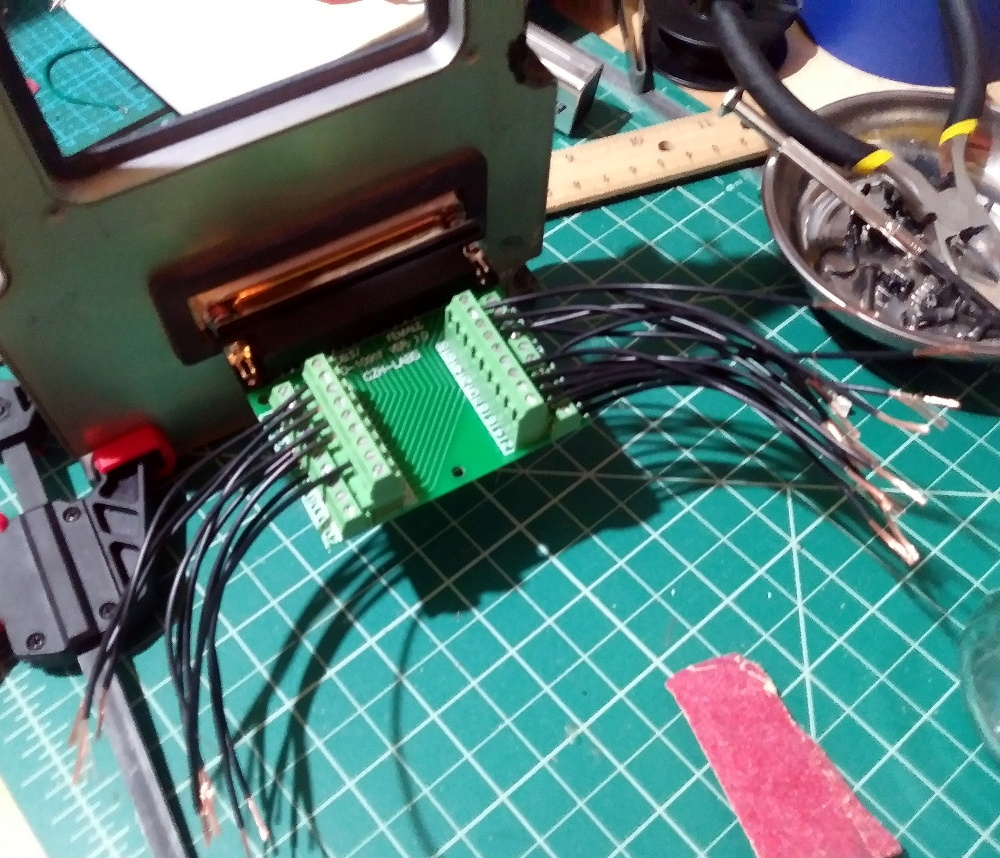 The Rockwell Collins manufactured keypad came from eBay, and appears to have been used in aircraft such as the EA-6B Prowler and Lockheed C-130 Hercules for data input. Each key on the pad is wired to the 37 pin connector on the rear, which [MelkorsGreatestHits] eventually mapped out after some painstaking work with a breakout board.
Once the matrix was figured out, he made up a cable that would go from the connector to a Teensy 2.0 microcontroller. The Teensy reads the keypad status and converts button presses over to standard USB HID that can be picked up in any game.
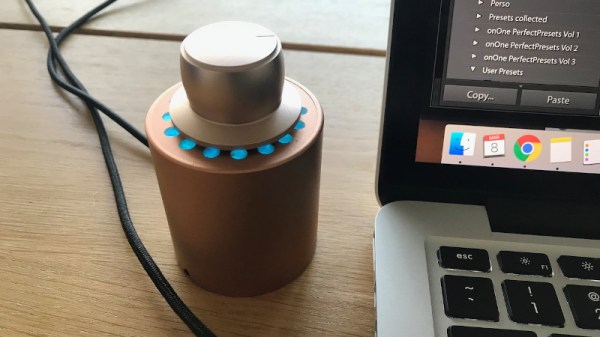
The joystick side of the build is a VKB Gunfighter, which is already a pretty nice piece of kit on its own. No modifications were necessary to the joystick itself, other than the fact that it’s now mounted to the top of a black project enclosure. It still connects directly to the computer via its original USB cable, as the keypad has its own separate connection. As luck would have it, the joystick is almost a perfect fit in the opening on the keypad, which presumably would have been for a small screen when installed in the aircraft.
Finding cockpit components from military aircraft on eBay is not as hard as you may think; something to keep in mind if you ever decide to tackle that custom flight simulator build.


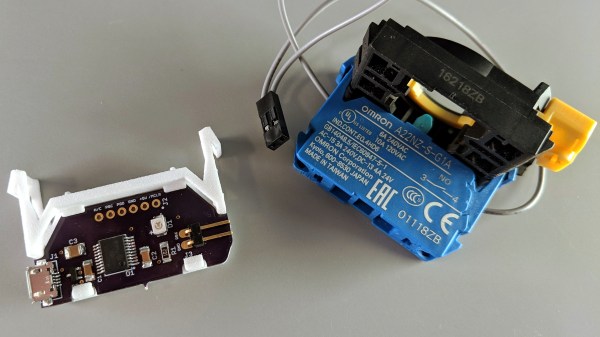
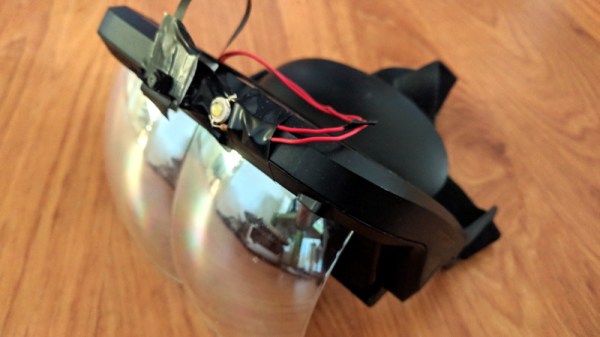
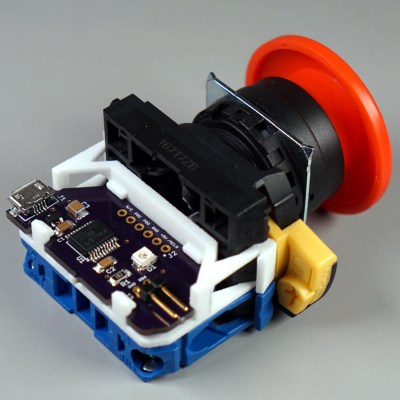 It turns out that industrial push buttons have standardized components which can be assembled in an almost LEGO-like manner, with components mixed and matched to provide different switch actions, light indicators, and things of that nature. [Glen] decided to leverage this feature to make his custom PCB (the same design used in his