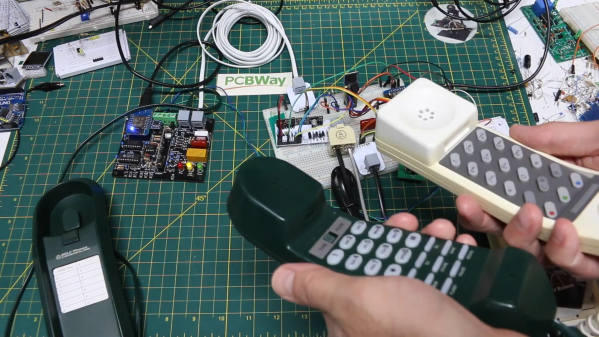
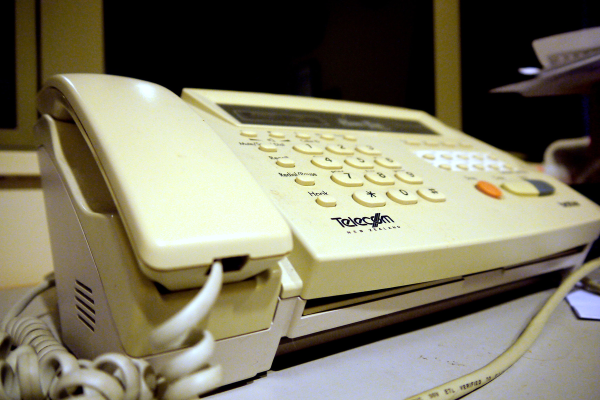
Analog phones may be nearly obsolete today, but having served humanity for well over a century they’re quite likely to pop up in drawers or attics now and then. If you’ve got a few of them lying around and you think it’d be cool to hook them up and make your own local telephone system, check out [Gadget Reboot]’s latest work. His video series shows all the steps towards making a fully-functional wired phone system.
Of course, dedicated phone exchanges for home or small business use are not hard to find, but [Gadget Reboot] decided it would be way more interesting to design his own system from the ground up. To begin with, he used off-the-shelf subscriber line interface circuits (SLICs) to implement the correct voltages, currents and impedances to drive analog phones. He then added a DTMF decoder chip to allow the phone to dial a number, and hooked up both systems to an ESP8266 which controls the entire system. It implements the different states of picking up, dialing, ringing and hanging up, and also generates the corresponding audio signals.
The system becomes even more interesting through the implementation of a multi-exchange layout, just like in large-scale phone systems: when a number is dialled that’s connected to a different exchange, then a connection must be made between two exchanges in order to complete the call. Large-scale systems use dedicated protocols like SS7, but [Gadget Reboot] preferred to keep things simple and used an RS-485 connection. The two ESPs check each others status and if everything’s in order, a relay connects the two lines and the circuit is completed.
The current system is a bit of a mess of wires, but it works, and [Gadget Reboot] plans to make a cleaner setup based on custom circuit boards, possibly expanding it with functions like modem support. In any case it’s already way more advanced than a simple electromechanical system. Want to know more about classic phone networks? We’ve got you covered.
Continue reading “How To Build Your Own Analog Phone Network”
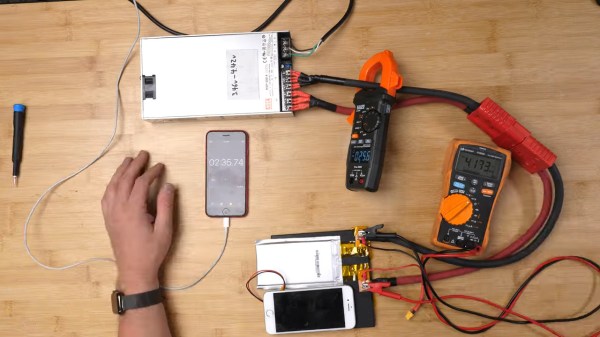
 What people commonly encounter is that charging speed depends on the charger involved, but even one hundred chargers in parallel won’t speed up this iPhone’s charging rate, so what’s up? First off, the phone’s charger chip and the battery’s BMS will both limit charging current, so for experiment purposes, those had to be bypassed. First attempt was using a hefty DC power supply with the original cell, and, unsatisfied with the lack of fire and still relatively slow charging, [Scotty] decides to up the ante.