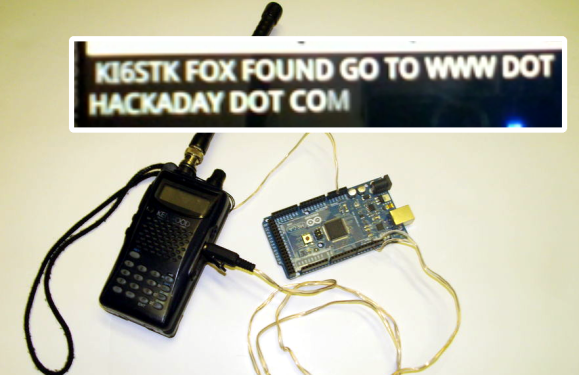
[Scott] and his buddies were having some fun with their handheld transmitters one day when they decided it was time to build some add-on hardware that could transmit and receive location data. They set their sights on a set of Audio Frequency Shift Keying units that could each encoded and decipher location from the counterpart.
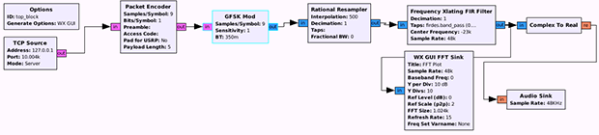
The build got off to an easy start, centering around an Arduino board with a GPS module for capturing precise location data. Next it was time to implement AFSK. On the transmitting side this was done by bit banging the output pins. After a look at the resulting signals on an oscilloscope the team was able to tune the firmware for a pretty tight 1200 and 2200 Hz output. But trouble was brewing on the decoding side of the equation.
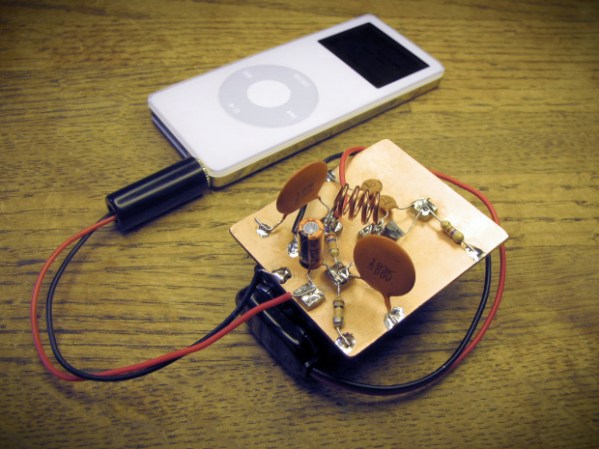
The first decoding attempt used the FreqMeasure library written by [Paul Stoffregen]. After no success they moved to a hardware solution in the form of the XR-2211 FSK Demodulator chip. It should have been simple, feed it the signals and read the digital output pins to capture the desired data. This is the point at which you need to click the project link at the top to soak in all of the gory details. Long story short, a noisy power rail was causing sporadic performance of this chip. By the time this issue was discovered interest had waned and the project was ditched as a failure. Was there a quick fix that could have salvaged it such as adding a filtering circuit for that chip? Let us know how you would get this back on track by leaving a comment below.
[Thanks Lewin]
 Fail of the Week is a Hackaday column which runs every Wednesday. Help keep the fun rolling by writing about your past failures and sending us a link to the story — or sending in links to fail write ups you find in your Internet travels.