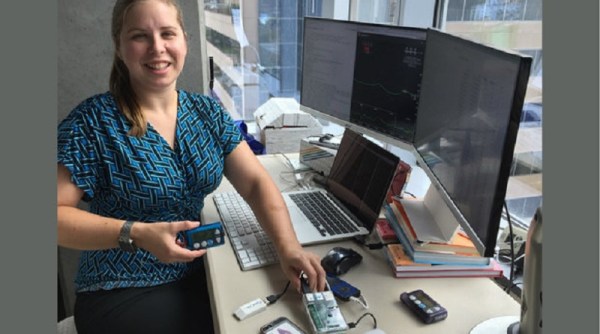
For the most part, when we break out the soldering iron to make a project for ourselves – we do so for fun. Sometimes we do so for necessity. Rarely do we, however, do so to save our own lives. [Dana Lewis] is one of the 30 million people in the US who suffer from diabetes. It’s a condition where the pancreas fails to make insulin, resulting in a buildup of sugar in the bloodstream. Managing the levels of insulin and sugar in their bodies is a day-to-day struggle for the millions of diabetics in the world. It’s a great deal more for [Dana], however. She sleeps with machines that monitor the glucose levels in her blood, but lives with constant worry.
“I was afraid at night because I am a super-deep, champion sleeper,” Lewis said, “I sleep through the alarms on the device that are supposed to wake me up and save my life…”
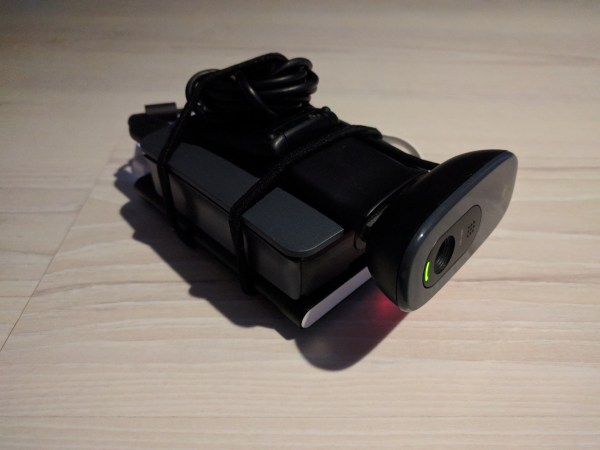
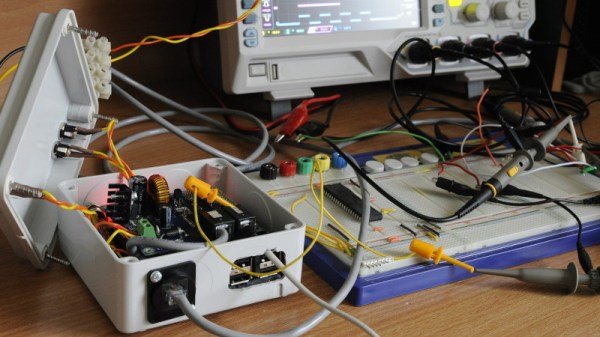
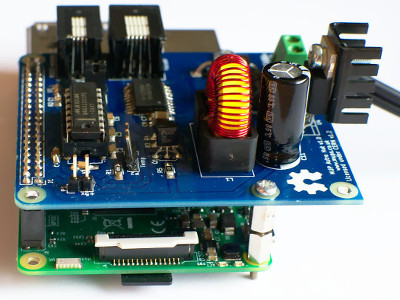
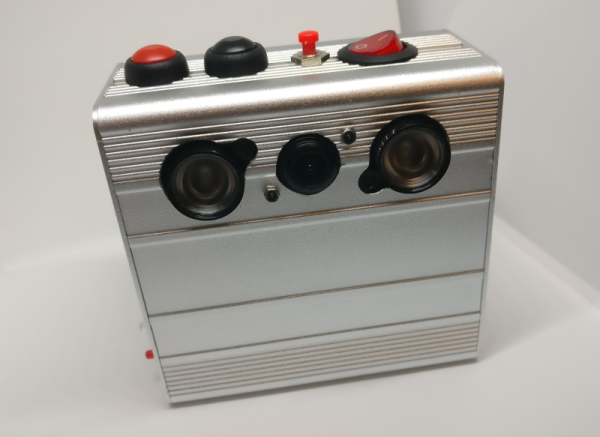
What she needed was the glucose data from the device and use it to trigger a louder alarm. It wasn’t long until she found someone who had done just this. Using a Raspberry Pi, she was able to capture the data and then alarm her via her phone. She then setup a web interface so others could see her data and call her if she didn’t wake.
The next step is obvious. Why not make the state of the insulin pump a function of the data? And thus, a sort of artificial pancreas.
The project is open source for anyone to use and improve upon. She was placed on a list for the 100 most creative people in the US for 2017. We’re not strangers to the idea of an artificial pancreas, but it’s always great to see people using things we make video game consoles out of to save lives.
Thanks to [Dave Zzzz] for the tip!