Everyone’s talking about the Internet of Things (IoT) these days. If you are a long-time Hackaday reader, I’d imagine you are like me and thinking: “so what?” We’ve been building network-connected embedded systems for years. Back in 2003, I wrote a book called Embedded Internet Design — save your money, it is way out of date now and the hardware it describes is all obsolete. But my point is, the Internet of Things isn’t a child of this decade. Only the name is.
The big news — if you can call it that — is that the network is virtually everywhere. That means you can connect things you never would have before. It also means you get a lot of data you have to find a reason to use. Back in 2003, it wasn’t always easy to get a board on the Internet. The TINI boards I used (later named MxTNI) had an Ethernet port. But your toaster or washing machine probably didn’t have a cable next to it in those days.
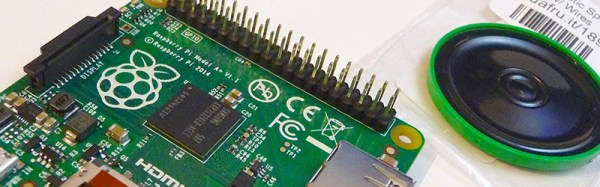
Today boards like the Raspberry Pi, the Beagle Bone, and their many imitators make it easy to get a small functioning computer on the network — wired or wireless. And wireless is everywhere. If it isn’t, you can do 3G or 4G. If you are out in the sticks, you can consider satellite. All of these options are cheaper than ever before.
The Problem
There’s still one problem. Sure, the network is everywhere. But that network is decidedly slanted at letting you get to the outside world. Want to read CNN or watch Netflix? Sure. But turning your computer into a server is a little different. Most low-cost network options are asymmetrical. They download faster than they upload. You can’t do much about that except throw more money at your network provider. But also, most inexpensive options expose one IP address to the world and then do Network Address Translation (NAT) to distribute service to local devices like PCs, phones, and tablets. What’s worse is, you share that public address with others, so your IP address is subject to change on a whim.
What do you do if you want to put a Raspberry Pi, for example, on a network and expose it? If you control the whole network, it isn’t that hard. You usually use some kind of dynamic DNS service that lets the Pi (or any computer) tell a well-known server its current IP address (see figure below).