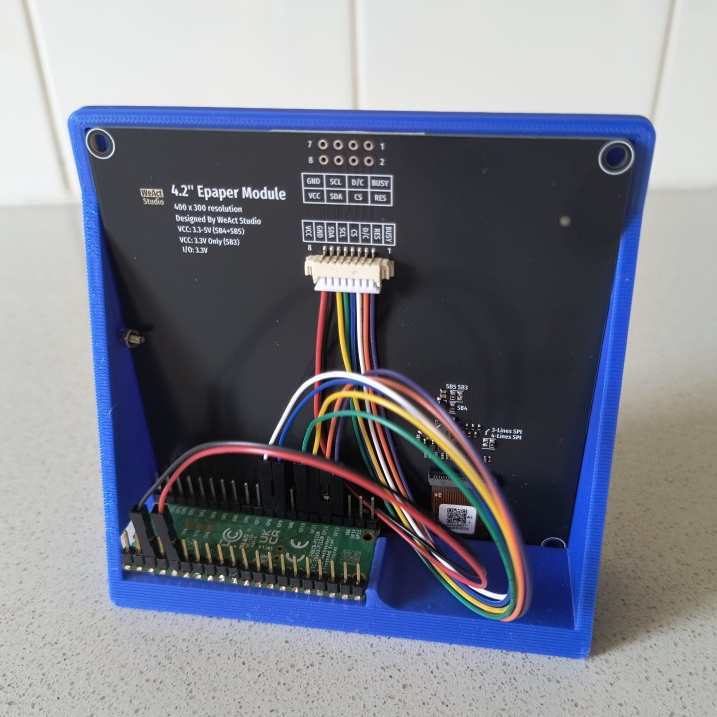
[Bob] recently completed LanguageLearner, a desktop device that increases his exposure to a second language by offering up bite-sized news items in Italian, with a complementary English translation. Even better, it’s a project made almost entirely from inexpensive parts he had on hand; it consists of little more than a Raspberry Pi Pico W, a 4.2″ E-paper display, and a 3D-printed stand.
Here’s how it works: once every few hours, the system wakes up and uses its WiFi connection to fetch news from an Italian RSS feed. Having chosen a slice of current events, it translates to English with an API call then displays both versions on the display: original Italian up top, translated English below.
E-paper is ideal for a semi-passive project like this because once data is written to the display, there it remains without needing power or upkeep of any kind. Perfect for a device that only wakes up every few hours for an update before going right back to sleep.
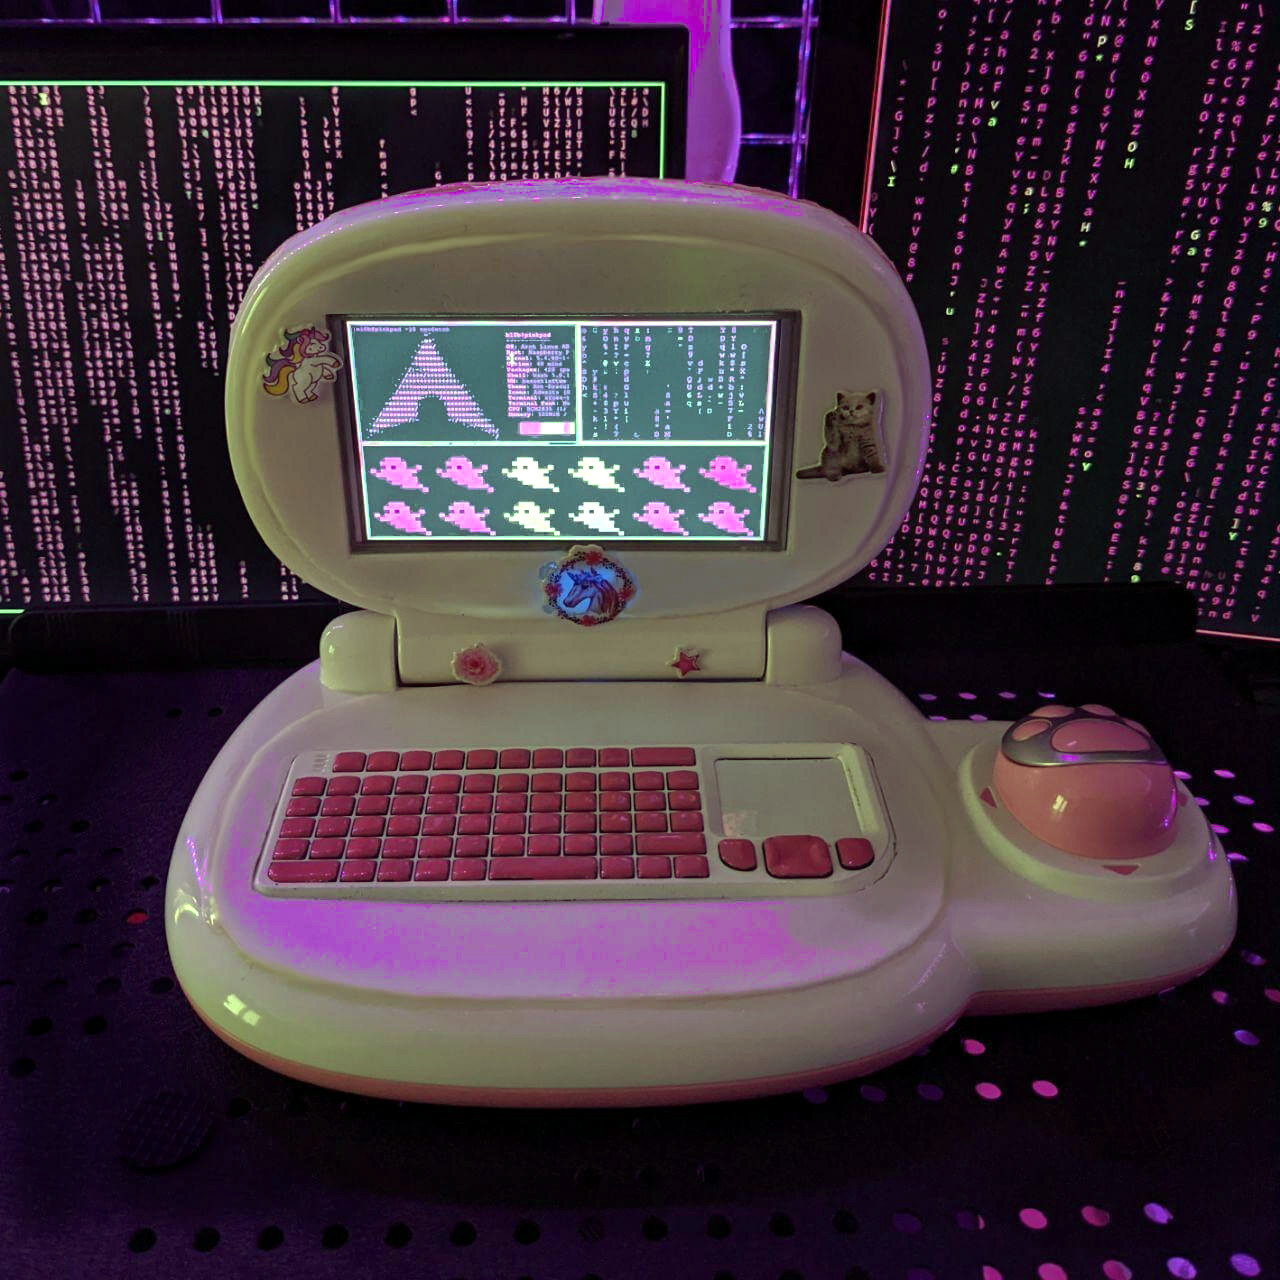
Due to the limited RAM of the Raspberry Pi Pico [Bob] has to be purposeful about fetching data, so he relies on text from a simple RSS feed to avoid running out of memory while making web requests. The other minor quibble is that the driver for the display only handles plain ASCII; characters that cannot be rendered are displayed as grey boxes, which you can see in the image up top. Still, it gets the job done.
Increasing exposure to a language one is learning is beneficial, and people like to experiment. From trying to optimize human wait times by inserting language micro-lessons to a calculator that works in Toki Pona, technology offers new ways for folks to experiment with how we learn and play with language.