It’s quite fascinating to see the world of hackers rise up and start messing around with new hardware as soon as it’s released. As everyone knows, the Raspberry Pi Zero only has two micro USB ports… a bit lacking for any computer — even one the size of a credit card. While there will probably be an official USB hub coming out someday, we’ve already seen a few home-made versions — though we think this might be the nicest layout so far!
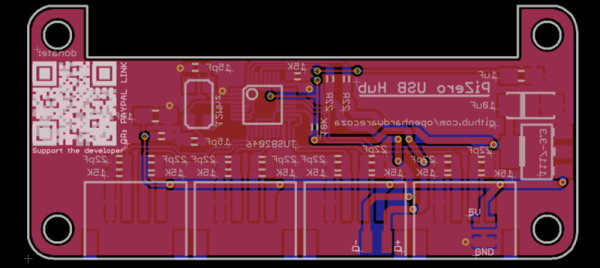
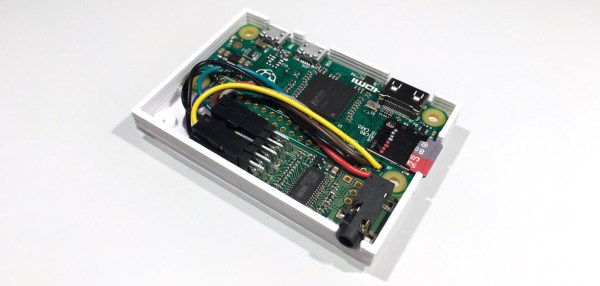
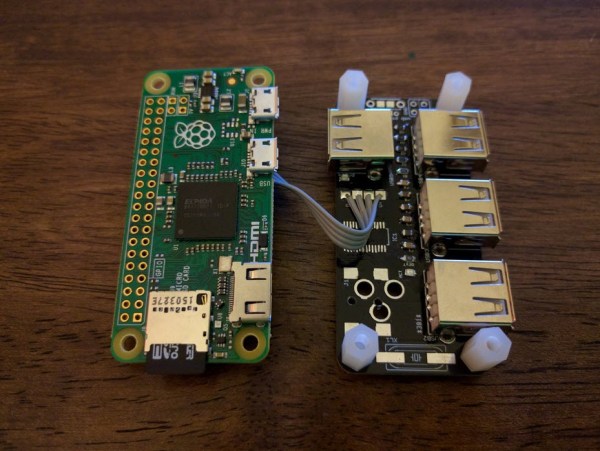
[Richard Hawthorn] threw this PCB design together to give the Pi Zero four USB 2.0 ports. It can be attached by either a USB connector, or by soldering 4 pins between the two boards. It can either be powered off of the Pi Zero, or with an external power connector jack. In a future design he hopes to add pogo pins so it can just be attached and detached whenever you need it.
It’s a bit more involved than simply strapping a mini USB hub to the back of your Pi, but if you’re interested in a more sleek solution, [Richard’s] got all the details on his GitHub.
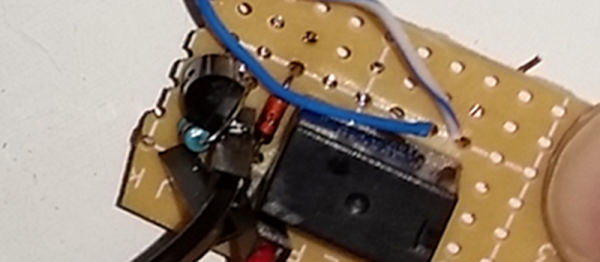
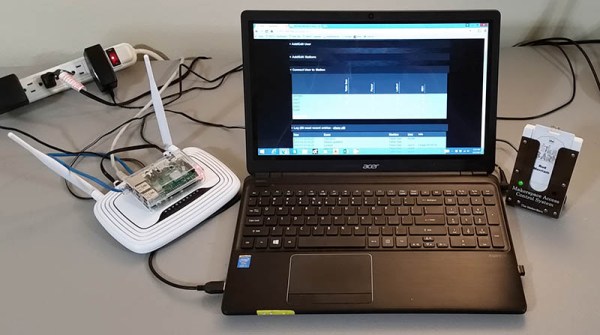
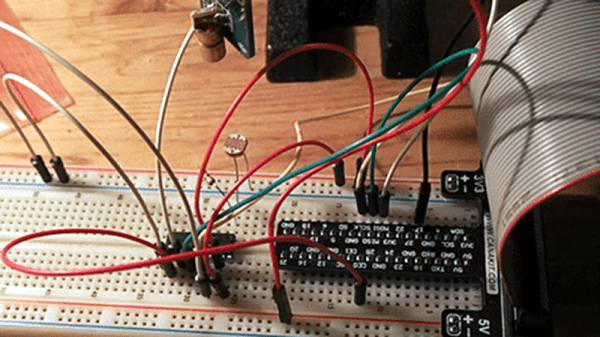
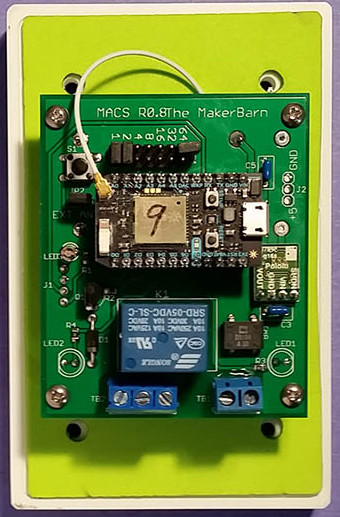 A control box, [George] calls them stations, controls the power to a machine. Member badges have an RFID tag that is read when inserted into the station’s reader. If the member is authorized to use the machine, the power is enabled. For safety, the member’s badge must remain in the reader to maintain power. The reader uses a Photon board from Particle with a WiFi link to a Raspberry Pi server.