Slimming The Raspberry Pi Pico With A Hacksaw

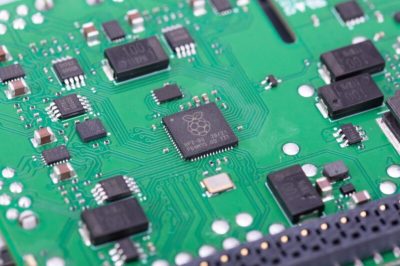
The Raspberry Pi Pico is the hot new star of the microcontroller scene, with its fancy IO hardware and serious name recognition. Based on the RP2040 “Raspberry Silicon” chip, it’s introducing fans of the single-board computer line to a lower level of embedded development. The Pico isn’t big, as its name suggests, but miniaturization is a never ending quest for improvement – so [That Dragon Guy] decided to see if the devboard could be smallified further at a minimum of cost.

While other smaller RP2040 boards are reaching the marketplace, they all cost a lot more than the $4 of the Pico. Thus, [That Dragon Guy] got creative. Having realised that the bottom section of the board was only full of passive traces and pads, he simply hacked it off with a scroll saw and sander. This gives a 30% reduction in footprint, at the cost of some mounting holes, GPIO pins and the debug interface.

In testing, the rest of the board continued to function perfectly well, so we’re calling this a win. It builds on amusing experiments [That Dragon Guy] had done before with the Raspberry Pi B+ which gave us a good chuckle. The Raspberry Pi has always been a minimalist darling, with the Pi Zero of 2015 being a bit of a gamechanger, and much beloved by this writer. Video after the break.

Continue reading “Slimming The Raspberry Pi Pico With A Hacksaw”

A Floppy Controller For The Raspberry Pi

The Raspberry Pi is the darling single board computer that is everything to everyone. It even has lit up the eyes of the older set with the Pi 400 mimicking the all-in-one keyboard computer design so popular in the 1980s. Another project that harkens back to that golden era is this Raspberry Pi floppy controller board from [Dr. Scott M. Baker].

[Scott] is no stranger to floppy controllers, having worked with the popular WD37C65 floppy controller IC before with the RC2014 homebrew Z80 computer. Thus, it was his part of choice when looking to implement a floppy interface on the Raspberry Pi. The job was straightforward, and done with just the IC itself. Despite the Pi running at 3.3 V and the controller at 5 V, [Scott] has found no problems thus far, implementing just a resistor pack to try and limit damage from the controller sending higher voltage signals back to the Pi. With that said, he plans to implement a proper level shifter down the road to ensure trouble-free operation long term.

The project is rounded out with a bunch of Python tools used to interface with the controller, available on Github. Performance is limited by the non-realtime nature of the Raspberry Pi’s user mode operation, which [Scott] notes could be fixed with a kernel module. With that said, if you’re looking for performance, floppies aren’t it anyway.

We do love the Pi put to use in retro tasks; it can even be a SCSI Swiss Army Knife if you need one. Video after the break.

Continue reading “A Floppy Controller For The Raspberry Pi”

NVMe Boot Finally Comes To The Pi Compute Module 4

Since the introduction of the Raspberry Pi Compute Module 4, power users have wanted to use NVMe drives with the diminutive ARM board. While it was always possible to get one plugged in through an adapter on the IO Board, it was a bit too awkward for serious use. But as [Jeff Geerling] recently discussed on his blog, we’re not only starting to see CM4 carrier boards with full-size M.2 slots onboard, but the Raspberry Pi Foundation has unveiled beta support for booting from these speedy storage devices.

The MirkoPC board that [Jeff] looks at is certainly impressive on its own. Even if you don’t feel like jumping through the hoops necessary to actually boot to NVMe, the fact that you can simply plug in a standard drive and use it for mass storage is a big advantage. But the board also breaks out pretty much any I/O you could possibly want from the CM4, and even includes some of its own niceties like an RTC module and I2S DAC with a high-quality headphone amplifier.

Once the NVMe drive is safely nestled into position and you’ve updated to the beta bootloader, you can say goodbye to SD cards. But don’t get too excited just yet. Somewhat surprisingly, [Jeff] finds that booting from the NVMe drive is no faster than the SD card. That said, actually loading programs and other day-to-day tasks are far snappier once the system gets up and running. Perhaps the boot time can be improved with future tweaks, but honestly, the ~7 seconds it currently takes to start up the CM4 hardly seems excessive.

NVMe drives are exciting pieces of tech, and it’s good to see more single-board computers support it. While it might not help your CM4 boot any faster, it definitely offers a nice kick in performance across the board and expands what the system is capable of. Continue reading “NVMe Boot Finally Comes To The Pi Compute Module 4”

Raspberry Pi Zero Beams Back Video From 100,000 Feet

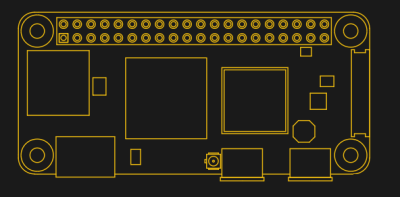
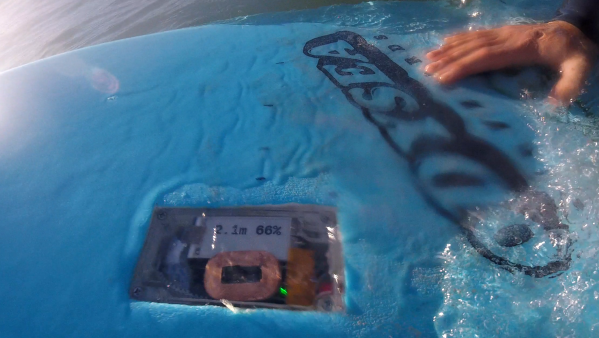
The Project Horus team routinely launches high-altitude balloons in Australia. However, despite their desire for it, they haven’t beamed back live video. Until now. Horus 55 beamed video back to the ground from over 100,000 feet using a Raspberry Pi and some software-defined radio gear. Be sure and check out their video, below.

You might think this is easy, but there are many technical hurdles. First, the transmitter needs some power, but the thin atmosphere creates problems with cooling. In addition a really good receiving station is required, and the project wanted to stream that video to the Internet, which they were able to do.

The balloon carried a Raspberry Pi Zero W to capture and compress video. A LimeSDR Mini provided the DVB-S transmission on 70cm along with a power amplifier to get to about 800mW. Power dissipation in the payload was about 6 watts and required a special heat sink system to operate. The payload was powered by eight lithium AA primary cells, which perform well at low temperatures.

Continue reading “Raspberry Pi Zero Beams Back Video From 100,000 Feet”

Data Blaster Is A Hip RPi Cyberdeck

Cyberdecks were once a science fiction approximation of what computing might look like in the future. In the end, consumer devices took a very different path. No matter, though, because the maker community decided cyberdecks were too awesome to ignore and started making their own. After lusting after some of the amazing builds already out there, [Zach Freedman] decided it was time to start his own build, resulting in the Data Blaster.

Epoxy holds the printed parts to the Pi 400

The Raspberry Pi has always been popular in the nascent cyberdeck scene, providing real Linux computing power in a compact, portable package. Now, we have the Raspberry Pi 400, which is exactly that, built into a shell that is, approximately, half of a cyberdeck. This formed the base of [Zach]’s build, coming in handy with its full-sized keyboard.

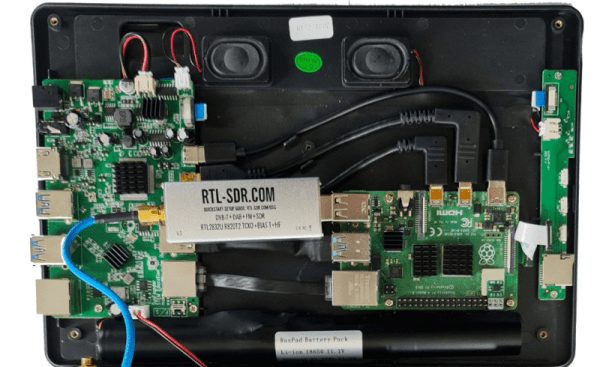
To that, he added a widescreen 1280×480 LCD, wearable display, and a USB powerbank, turning it into a true go-anywhere terminal. The 3D-printed handles are a particularly nice touch, making it easy to use the deck from a standing position, something that no laptop really does well. As a bonus, there’s even a tiny software defined radio on the side, complete with a collapsible antenna for that added cool factor. 

It’s a fun build, and a useful one too. We suspect the chunky plastics and grabbable design might actually make the Data Blaster preferable to a laptop in rugged field use versus a more traditional laptop. We’ve seen some other great work in this area, too. Video after the break.

A Raspberry Pi Tablet, With A DSI Screen

Since the Raspberry Pi arrived back in 2012, we’ve seen no end of interesting and creative designs for portable versions of the little computer. They often have problems in interfacing with their screens, either on the very cheap models using the expansion port or on more expensive ones using an HDMI screen with associated controller and cabling. The official Raspberry Pi touchscreen has made life easier with its DSI convector, but as [jrberendt] shows us with this neat little tablet, there are other DSI-based options. This one uses a 5″ DSI touchscreen available through Amazon as well as a Pi UPS board to make a tablet that is both diminutive and self-contained.

Having fooled around ourselves in the world of Pi tablets we like this one for its clean look and a bezel that is little bigger than the screen itself. As is the case with so many Pi tablets though it has to contend with the bulk of a full-sized Model B board on its behind, making it more of a chunky brick than a svelte tablet. The screen has potential though, and we can’t help wondering whether there’s any mileage in pairing it with a much thinner Pi Zero board and a LiPo board for a slimmer alternative.

Probably the nicest Pi tablet we’ve brought you was this one, which managed to remain impressively slim despite its HDMI screen.

Surf’s Up, A Styrofoam Ball Rides The Waves To Create A Volumetric Display

We are big fans of POV displays, particularly ones that move into 3D. To do so, they need to move even faster than their 2D cousins. [danfoisy] built a volumetric display that doesn’t move LEDs or any other digital display through space, or project light onto a moving surface. All that moves here is a bead of styrofoam and does so at up to 1 meter per second. Having low mass certainly helps when trying to hit the brakes, but we’re getting ahead of ourselves.

danfoisy vdatp 3d simulation

[danfoisy] and son built an acoustic levitator kit from [PhysicsGirl] which inspired the youngster’s science fair project on sound. See the video by [PhysicsGirl] for an explanation of levitation in a standing wave. [danfoisy] happened upon a paper in the Journal Nature about a volumetric display that expanded this one-dimensional standing wave into three dimensions. The paper described using a phased array of ultrasonic transducers, each with a 40 kHz waveform.

After reading the paper and determining how to recreate the experiment, [danfoisy] built a 2D simulation and then another in 3D to validate the approach. We are impressed with the level of physics and programming on display, and that the same code carried through to the build.

[danfoisy] didn’t stop with the simulations, designing and building control boards for each 100 x 100 10 x 10 grid of transducers. Each grid is driven by 2 Intel Cyclone FPGAs and all are fed 3D shapes by a Raspberry Pi Zero W. The volume of the display is 100 mm x 100 mm x 145mm and the positioning of the foam ball is accurate down to .01 mm though currently there is considerable distortion in the positioning.

Check out the video after the break to see the process of simulating, designing, and testing the display. There are a number of tips along the way, including how to test for the polarity of the transducers and the use of a Python script to place the grids of transducers and drivers in KiCad.

danfoisy vdatp schematic  danfoisy vdatp board layout

Continue reading “Surf’s Up, A Styrofoam Ball Rides The Waves To Create A Volumetric Display”