Remote access is great, but if the machine stops booting, ceases to connect to the network, or needs low-level interaction like BIOS settings or boot management, remote access is worthless because it’s only available once the host computer is up and running. The usual solution is to drag a keyboard and monitor to the machine in question for physical access.
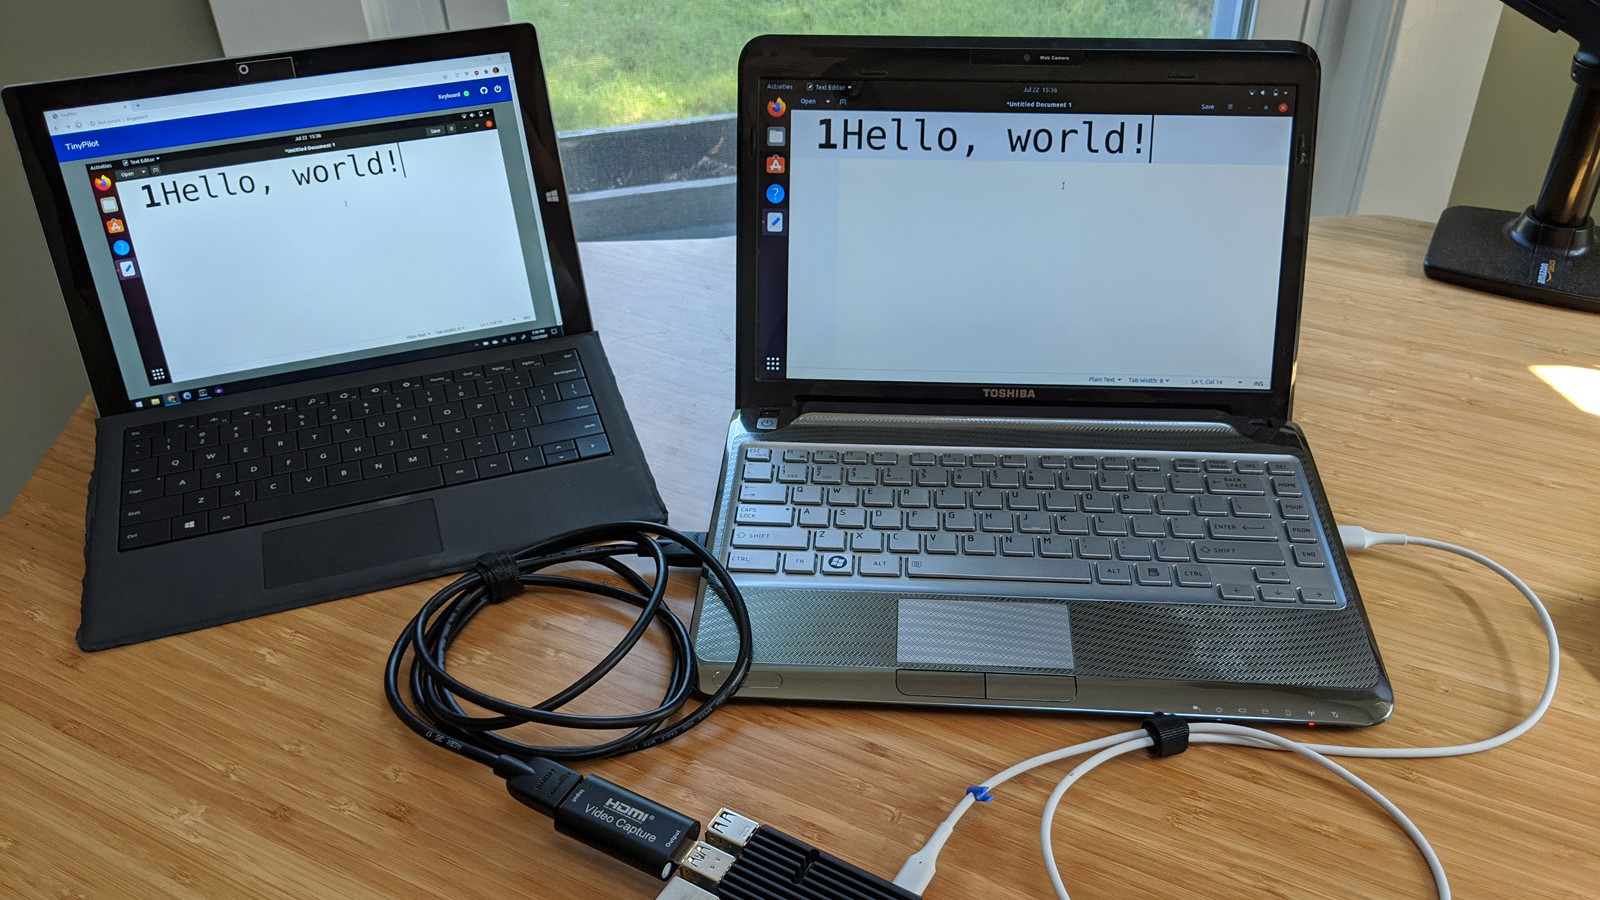
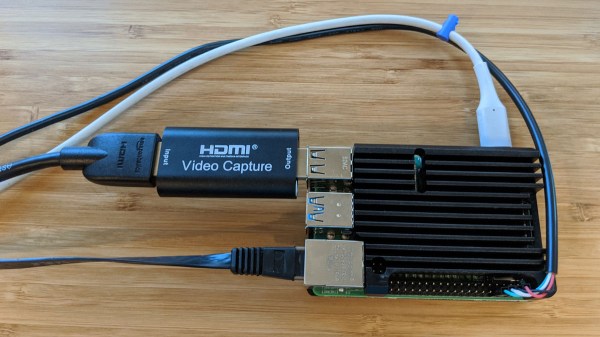
For most people, swapping cables in this way is an infrequent task at best. But for those who work more closely with managing hardware or developing software, the need to plug and unplug a keyboard and monitor into machines that otherwise run headless can get tiresome. The modern solution is KVM (keyboard, video, mouse) over IP, but commercial options are expensive. [Michael Lynch]’s TinyPilot on the other hand clocks in at roughly $100 of parts, including a Raspberry Pi and USB HDMI capture device. It does have to drop the ‘M’ from KVM (meaning it does not support a mouse yet) but the rest of it hits all the bases, and does it all from a web browser.
What exactly does TinyPilot do? It provides remote access via web browser, but the device is an independent piece of hardware that — from the host computer’s point of view — is no different from a physical keyboard and monitor. That means keyboard and video access works before the host machine even boots, so even changing something like BIOS settings is no problem.
[Michael] demonstrates his design in the video embedded below, but we encourage you to check out the project page for a fascinating exploration of all the challenges that were part of TinyPilot’s development.
Continue reading “TinyPilot Provides KVM-over-IP, With Low Cost And Even Lower Latency”