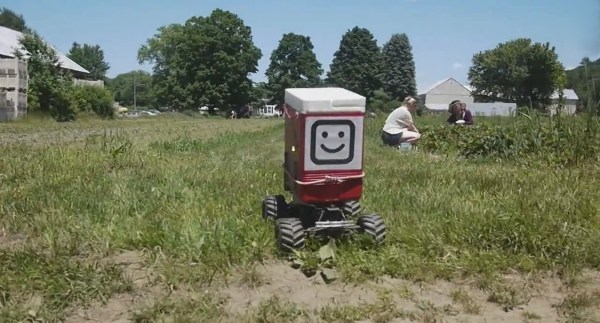
Don’t let the friendly smile on this RC cart fool you, it will take your strawberries away — though that’s kinda the point. It’s an RC car that [transistor-man] and a few friends modified for carrying freshly picked strawberries at strawberry fields so that you don’t have to.
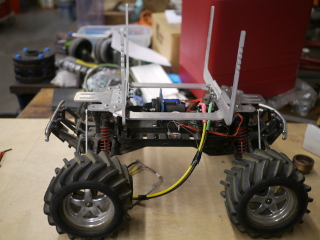
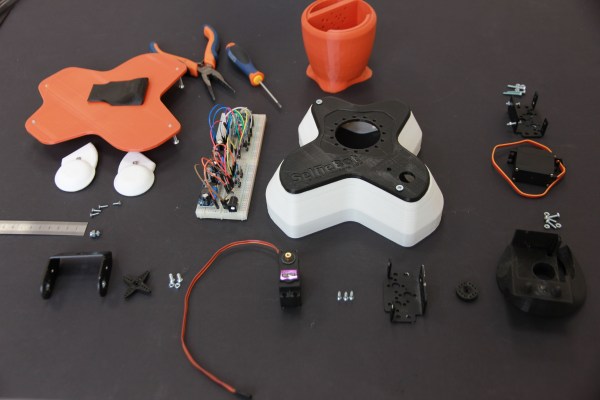
They started with an older Traxxas Emaxx, a 4-wheel drive RC monster truck. The team also bought a suitable sized water cooler at a local hardware store. A quick load test showed that 5lbs collapsed the springs and shock absorbers, causing the chassis to sink close to the ground. The team had two options: switching to stronger springs or locking out the springs altogether. They decided to replace one set of shocks with metal plates effectively locking them. After that it was time for some CAD work, followed by the use of a water jet to cut some aluminum plate. They soon had a mounting plate for the water cooler to sit in. This mounting plate was attached to 4 posts which originally held the vehicle’s Lexan body. A bungee cord wrapped around the cooler and posts on the mounting plate holds the cooler in place.
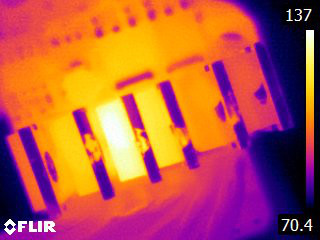
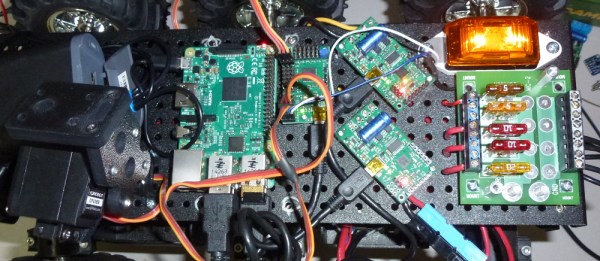
Some initial testing showed that the vehicle moved too fast even in low gear and tended to tip over, as you can see in the first video below. Some practice helped but a 3:1 reduction planetary gearbox brought the vehicle down to walking speed, making a big difference. A trip was arranged to go to local strawberry picking field at Red Fire Farms, but not without some excitement first. At 1AM the UNIK 320A High Voltage Speed controller emitted some magic smoke. A quick check with a thermal-camera found the culprit, one of the MOSFETs had failed, and after swapping it with one that was close enough they were back in business.
As you can see in the second video below, testing in the strawberry field went very well, though it wasn’t without some tipping. Kids also found it a fun diversion from picking strawberries, alternating between mock fright and delight.