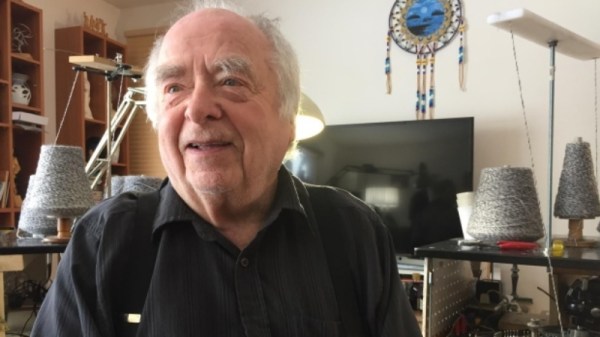
No, this article is not about SOCKS4 or SOCKS5 or Proxies. It’s about real socks, the ones that go onto your feet. Meet [Bob Rutherford], 88 years old, who lives in Saskatoon, Canada. He and his gang ([Glynn Sully], 92 years old , [George Slater] 85 year old, and young [Barney Sullivan] 65 years old) have made 10,000 socks for shelters in the community and across the country. That’s almost 8 miles of socks. Last year alone “operation Socks by Bob” as he likes to call it, produced 2,000 socks.
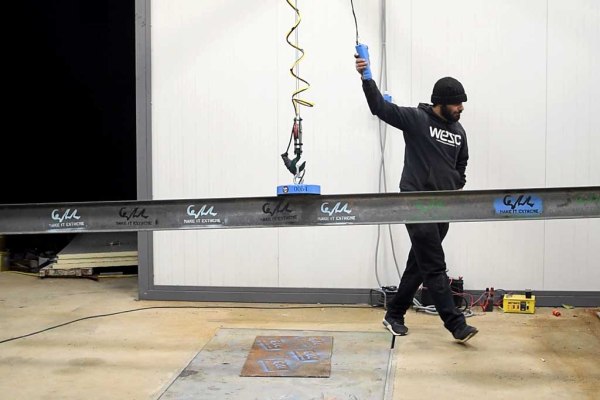
So how did these 4 fellows manage to pull this off? Turns out that [Bob] has a bit of a maker spirit in him and he actually built a fast, cheap, knitting machine for the purpose of making socks. Using a sewer tubing as a base, the machines can knit at 90 stitches a second.
He made it a while back but it didn’t have much of a use in mind for it. Sadly, seven years ago his wife passed away, leaving him facing a void in his life. Following his son advice “If you want to help yourself, help somebody else”, he decided to start this project.
“There’s a lot of us, as we grow older, we sit at home and look at the wall with nothing to do! Socks by Bob has given me that something to do.” [Bob]
Nowadays the gang has 2 machines working steadily and, once a week, they cut the long tubes of wool into socks. Half the yarn is donated, the other plus shipping costs are raised by [Bob’s] son. The knitting machines look pretty awesome in action. See for yourself in the video below.
Continue reading “Socks By Bob” →