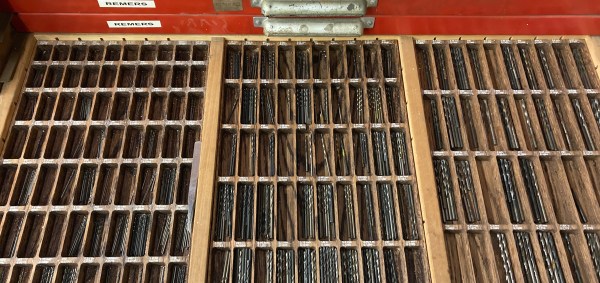
[Austin Adee] came into some drill bits. A lot of them actually. But when thousands of assorted sizes are delivered in one disorganized box, are they actually useful? Not unless you’re drilling holes where diameter doesn’t matter.
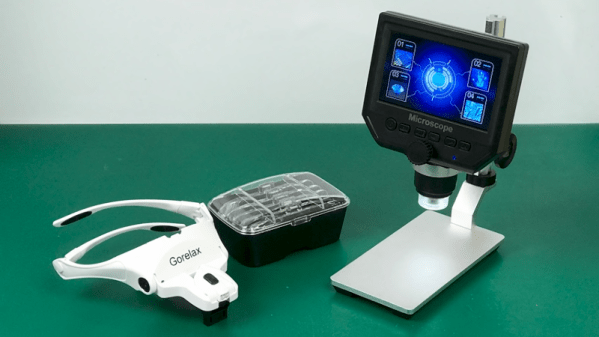
So two projects were at hand: finding a place to store a few hundred different sizes of bits, and tackling the actual sorting itself. In the end, he used input from a digital caliper alongside a Python script that showed him where to put them.
The start of the tray design process was a bit of a research project, establishing the common sizes and how many would fit into a given space. This data was used to spin up the layout for trays with 244 different pockets to hold the bits. The pockets were CNC milled, but getting labels for each to work with the laser engraver was a bit of a hack. In the end, filling in the letters with white crayon really makes them pop, despite [Austin’s] dissatisfaction with the level of contrast.
 But wait, we promised you an epic sorting hack! Unfortunately there’s no hopper, vibration feed, and sorting gantry that did this for him (now if it were perler beads he’d have been all set). Still, the solution was still quite a clever one.
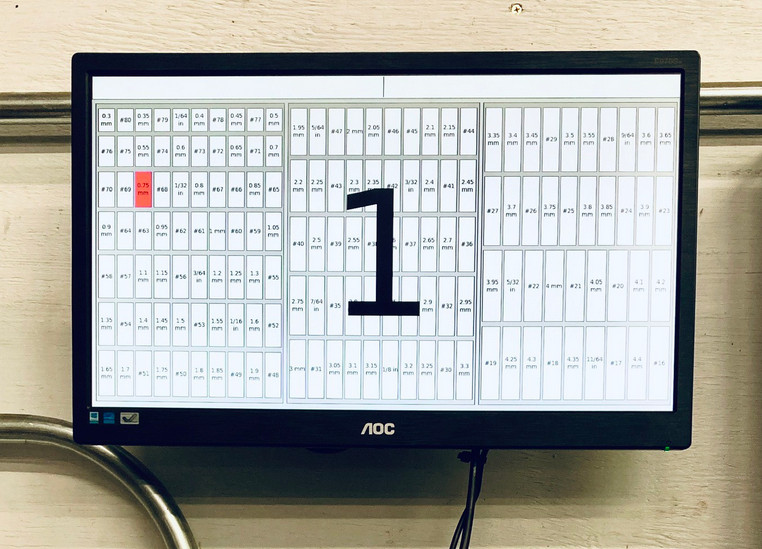
A set of digital calipers with a Bluetooth connection sends the dimension back to a python script every time you press the capture button. That script find the pocket for the nearest size and then highlights it on a map of the drill bit drawer displayed on the computer monitor. In the end the trays fit into a wide tool chest drawer, and are likely to keep things organized through exactly one project before everything is once again in disarray.
[Austin] mentions a lag of up to one second for the Bluetooth calipers to do their thing. For assembly-line style work, that adds up. We remember seeing a really snappy reaction time on these digital calipers hacked for wireless entry.