As a kid, one of the stories my dad told me was about mowing a fairly large field of grass on the farm with a gas-powered push mower. One day, some sort of farm tool was left in the field and the old industrial mower shredded it, sending a large piece of sharp metal hurtling toward his leg. Luckily for my dad, the large plastic wheel managed to stop the piece of metal, destroying the wheel. My grandfather was frustrated that he needed to repair the lawnmower but was grateful that my dad still had both feet attached.
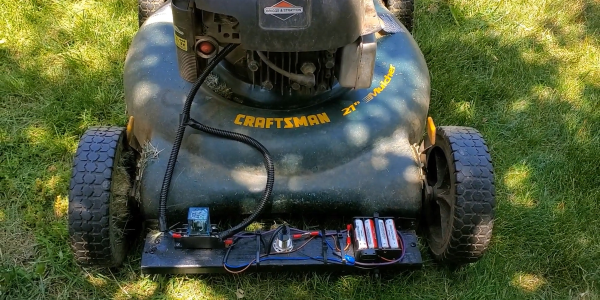
Of course, this story was used as a lesson for me not to gripe about having to mow the lawn when it was my turn, but there was also the lesson that lawnmowers can be dangerous. [DuctTape Mechanic] took it upon himself to see if he could prevent that sort of accident altogether and has created an automatic safety shutdown mechanism for his family lawnmower. (Video embedded below.)
This uses an inductive sensor that can detect metal before it gets sucked into the mower itself. The sensor trips a relay which forcibly shuts the mower down by grounding the ignition coil. While it doesn’t physically stop the blade like other safety mechanisms, it does prevent a situation from escalating by turning off power to the blade as soon as possible. Getting to the ignition coil wasn’t easy as it required getting deep into the engine itself, but now [DuctTape Mechanic] has a mower that could be expanded further with things such as with a capacitive sensor or more smarts to determine if it is detecting underground or above ground metal.
Someday we’ll have robotic mowers, but until then, we laud the efforts of hackers out there trying to make the world a little safer.
Continue reading “A Lawnmower That Looks Where You’re Going”


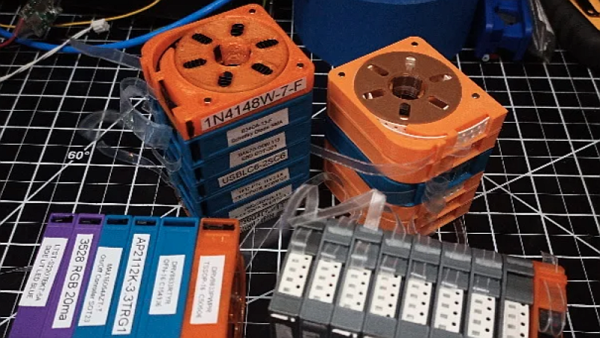
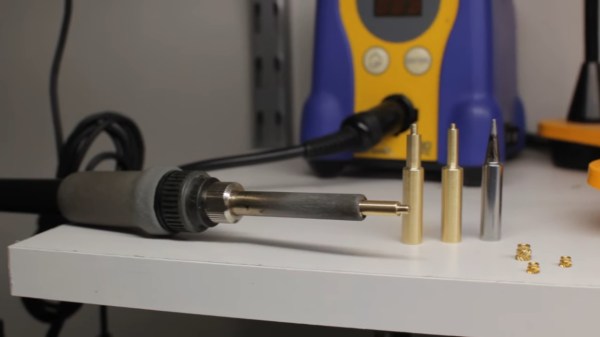
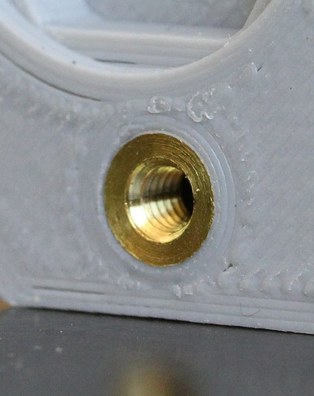 Like many of us, [Sean] has embraced the use of heat-set threaded inserts to beef up the mechanical connections on his 3D-printed parts. [Sean] dedicated a soldering iron to the task, equipping it with a tip especially for the job. But it was the flavor of iron proverbially known as a “fire stick” and he found that this iron was too hot for PLA prints. As the new owner of a lathe, he was able to make quick work of the job using a piece of brass rod stock. Luckily, Hakko tips just slip on the heating element, so no threading operations were needed. [Sean] made insert tips for multiple sized inserts, and the results speak for themselves.


