What does one do with old circuit boards and projects? Throwing them out doesn’t feel right, but storage space is at a premium for most of us. [Gregory Charvat] suggests doing what he did: combining them all into a wall-mountable panel in order to memorialize them, creating a functional digital clock in the process. As a side benefit, it frees up storage space!

Memorializing and honoring his old hardware is a journey that involved more than just gluing components to a panel and hanging it on the wall. [Gregory] went through his old projects one by one, doing repairs where necessary and modifying as required to ensure that each unit could power up, and did something once it did. Composition-wise, earlier projects (some from childhood) are mounted near the bottom. The higher up on the panel, the more recent the project.
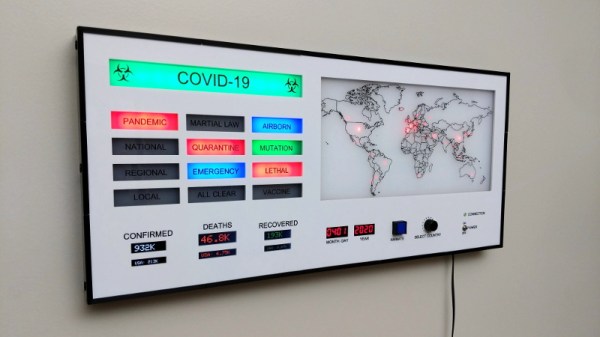
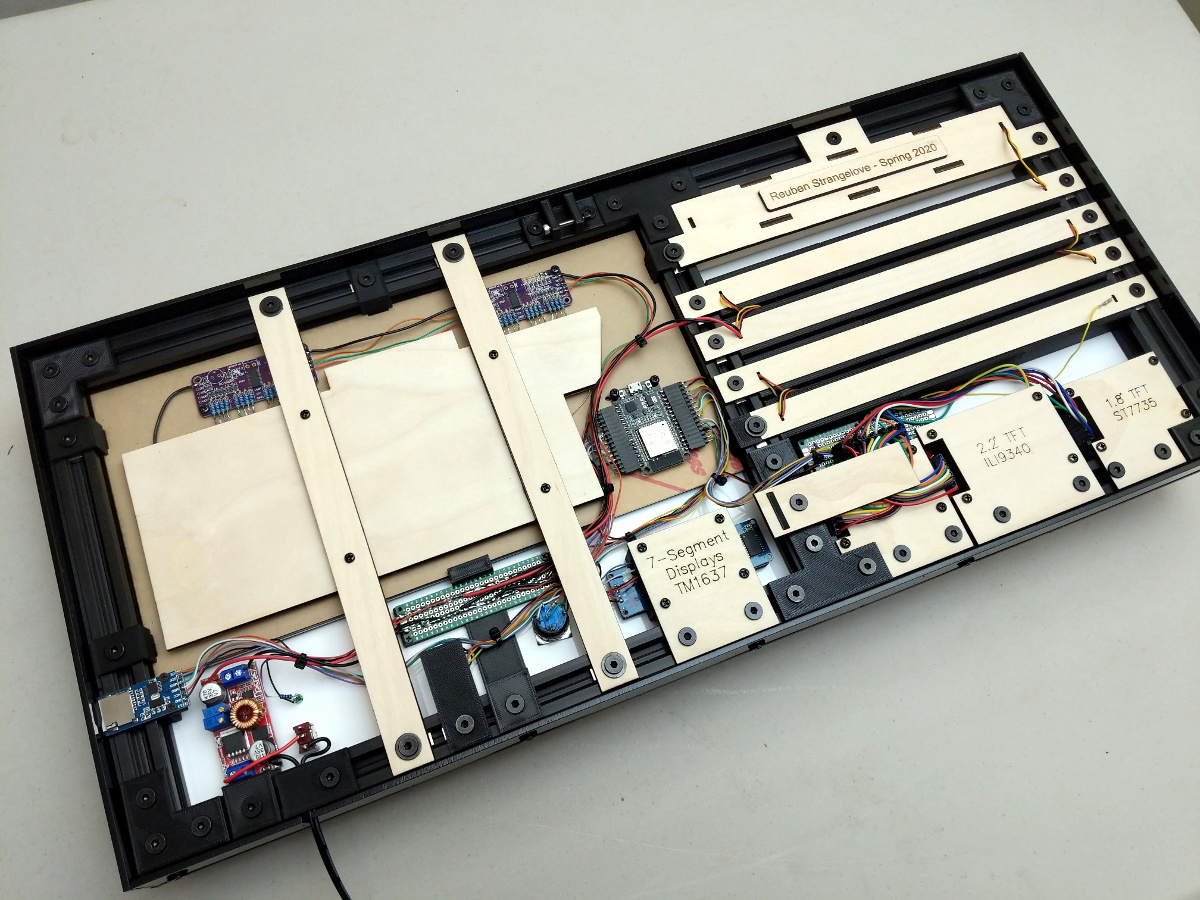
As mentioned, the whole panel is more than just a collage of vintage hardware — it functions as a digital clock, complete with seven-segment LED displays and a sheet metal panel festooned with salvaged controls. Behind it all, an Arduino MEGA takes care of running the show.
Creating it was clearly a nostalgic journey for [Gregory], resulting in a piece that celebrates and showcases his hardware work into something functional that seems to have a life of its own. You can get a closer look in the video embedded below the page break.
This really seems like a rewarding way to memorialize one’s old projects, and maybe even help let go of unfinished ones.
And of course, we’re also a fan of the way it frees up space. After all, many of us do not thrive in clutter and our own [Gerrit Coetzee] has some guidance and advice on controlling it.
Continue reading “Old Projects? Memorialize Them Into Functional Art”