It’s a problem we all have at one time or another: your five-meter radio astronomy dish gets out of calibration and you don’t have a ridiculously expensive microwave holography rig on hand to diagnose it. OK, maybe this isn’t your problem, but when [Joe Martin]’s parabolic antenna got out of whack, he set out to diagnose and repair it, and then wrote up how he did it. You can download the PDF from his radio astronomy articles collection.
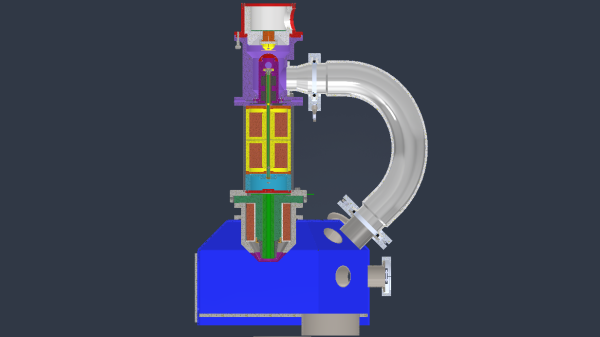
At the heart of the measurement rig is a laser rangefinder connected to a Porcupine Labs interface that passes the data on to a Pi 4. This is placed on the end of a two-degree-of-freedom servo gimbal that scans over the surface of the dish, measuring its shape. After measuring and math, [Joe] found out that it’s a little bit long here and short there, he attached two cables with turnbuckles to the front of the dish and pulled it back into shape — the sort of thing that you should probably only do if you’ve got a measurement rig already set up.
The Fluke rangefinder and Porcupine labs interface combo is pretty sweet, but it comes with a fairly hefty price tag. (Nothing compared to a professional dish measurement rig, we presume.) We’ve seen a few attempt at hacking into el-cheapo laser rangefinders, but other than [iliasam]’s heroic effort where he ended up writing his own firmware, it doesn’t seem like there are any successes. A shame, because applications like [Joe]’s prove that there’s a need for one. Let us know if there’s anything we missed?
Thanks [Ethan] for the tip!