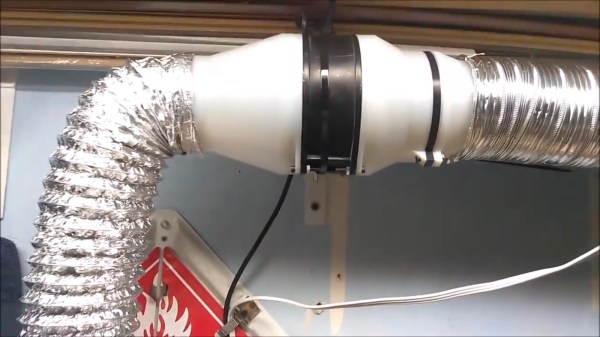
Nobody wants to breathe solder fumes; that’s a given. For most of us, an industrial-looking fan-and-filter made in China and picked up cheap feels like more than enough to keep our lungs clear. Other people, people like [George Conneely], have more refined tastes. Why have a fume extractor when you can have a work of art?
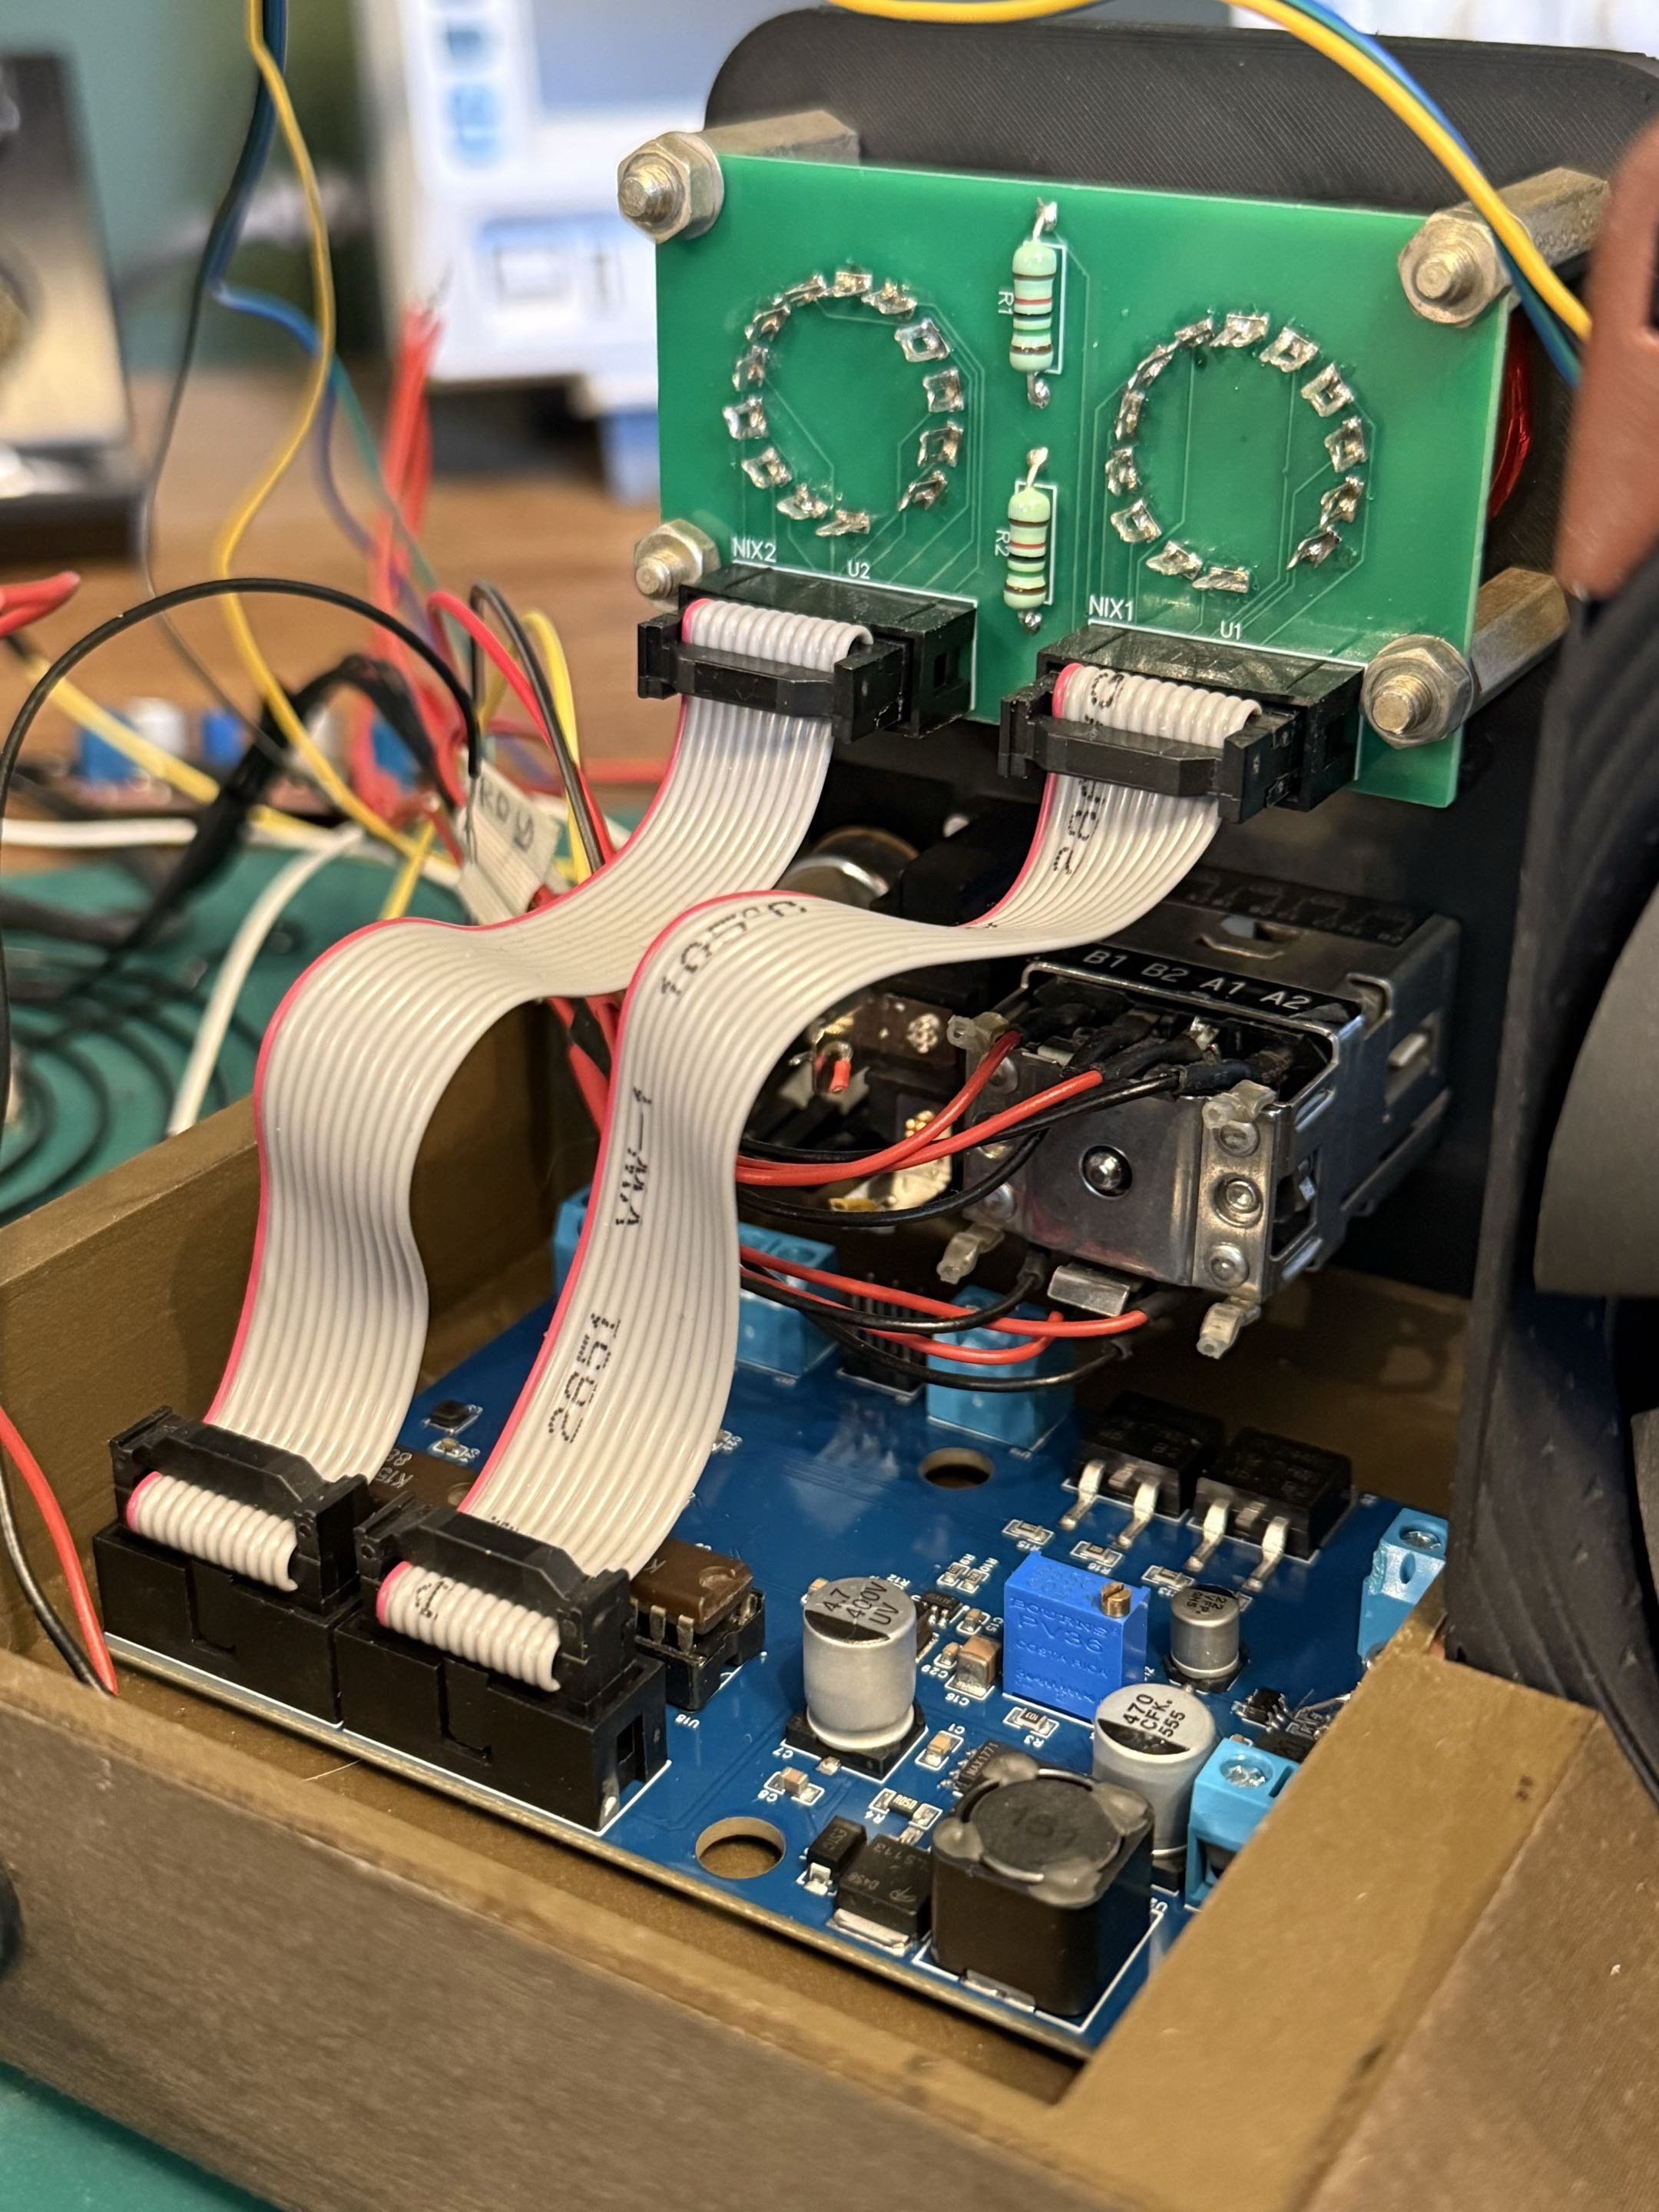
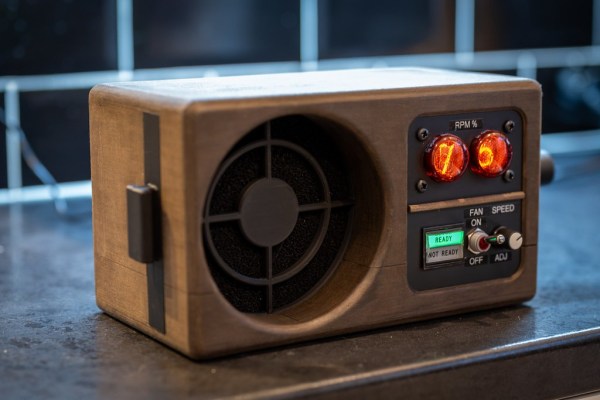
This is one of those projects where the images really speak for themselves, because the whole point is to be beautiful. Sure, the wooden case is lovingly sculpted by a—wait, it’s 3D-printed!? Yes, with the right stain and care applying it, it seems Wood PLA can fool the eye, or at least the camera. Inside that PLA case there’s a custom PCB with an ATMega microcontroller and some MOSFETS to drive the Nixie tubes. The two digits represent the fan’s set RPM as a percentage of maximum, as is clearly labeled. Using a READY/NOT READY indicator pulled from a Panvia Tornado to show whether the fan has actually spun up to its set speed is an amazing touch.
The only problem with this build is that it is too nice. We’d almost rather see it on Don Draper’s desk than risk dirtying it on a lab bench. Evidently, [George] ascribes to the philosophy that one should surround oneself with beauty whenever possible. Your tastes may differ, but to many, nixie tubes certainly qualify– whether on a desk clock or in a car’s dashboard, there’s just something about that incandescent glow.
Thanks to [George] for the tip.