Last time I talked about the internals of how Bluetooth Low Energy (BLE) handles data. I mentioned that the way it is set up is meant to conserve power and also to support common BLE devices like heart rate monitors. On the other hand, I also mentioned that you often didn’t need to deal with that because you’d use an abstraction layer.
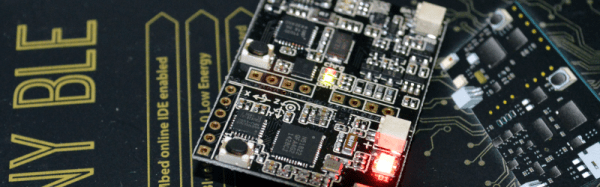
This time, I want to show you how I used the Hackaday special edition Tiny BLE (from Seeed Studios) and its mbed library to do a quick simple BLE project. If you didn’t read the first part, don’t worry. The abstraction is so good, you probably won’t have to unless you want to circle back around later and get a more detailed understanding of what’s happening under the covers.
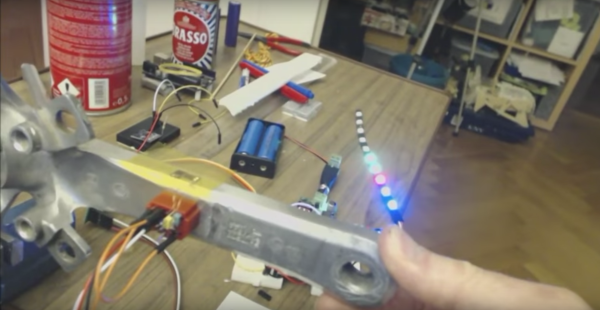
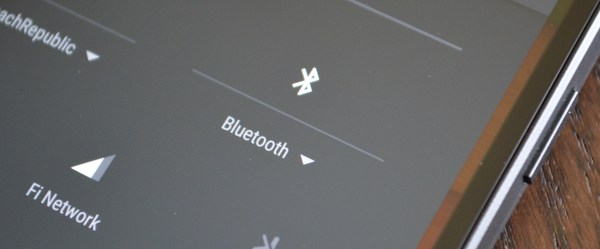
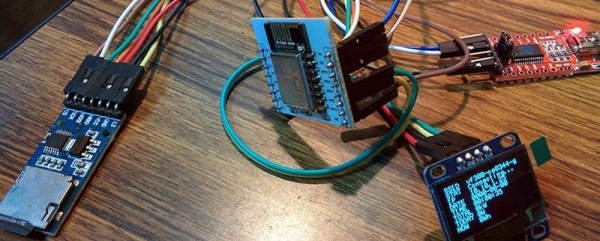
I wanted something simple for an example so you could build on it without having to remove much code. For that reason, I decided to allow my phone to control the state of a three-color LED via BLE. To do that, I’m going to use a virtual UART and some off-the-shelf phone software. The whole thing won’t take much code, but that’s the point: the abstraction makes BLE relatively simple.
Continue reading “Tiny BLE UART Makes Bluetooth Low Energy Simple”
 Best of all, a MW300 breakout is reasonably affordable (though more expensive than the mass-produced ESP8266 modules, naturally) and