Technology enables all kinds of possibilities to mold our environments in the way we best see fit. Plenty of ski resorts use snowmaking to extend their seasons, there are wave pools for surfing hundreds of miles away from oceans, and if you don’t live near any mountains you can build your own climbing wall as well. For the latter, many have turned to 3D printers to create more rock-like climbing grips but plastic doesn’t tend to behave the same as rock unless you do what [Giles Barton-Owen] did and incorporate salt into the prints.
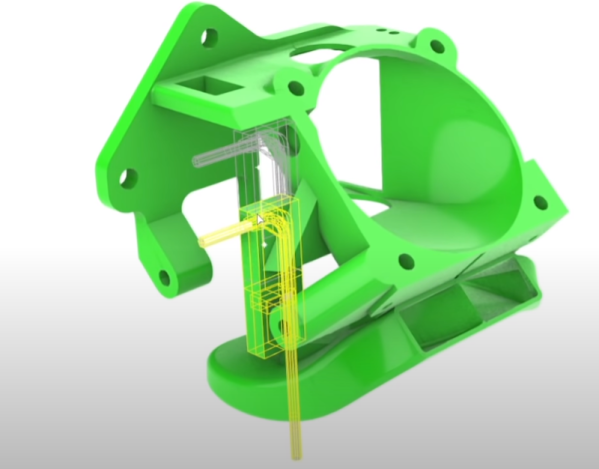
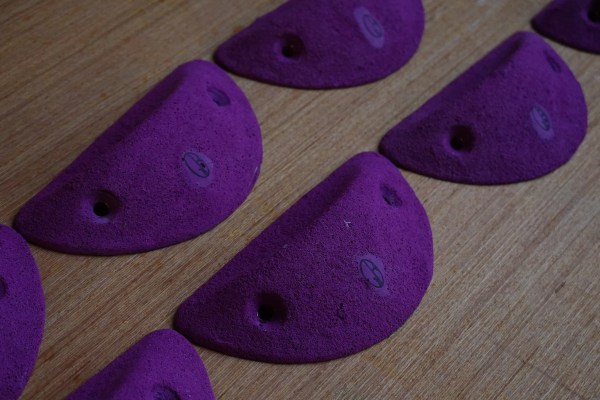
For small manufacturers, typically the way that the rock texture is mimicked is by somehow incorporating sand, permanently, into the grip itself. This works well enough but is often too rough on climbers’ hands or otherwise doesn’t faithfully replicate a rock climbing experience. For these grips, instead of including sand, salt crystals of a particular size were added to a resin that was formed over the 3D printed grip. Once the resin cures substantially, the water-soluble salt can be washed away leaving a perfect texture to grab onto with chalked hands.
While this might not be a scalable method for large-scale climbing grip manufacturers, [Giles] hopes this method will help smaller operations or even DIY climbers to build more realistic grips without having to break the bank. In fact, he has already found some success at his local climbing gym using these grips. The method may be more difficult to scale for larger manufacturers but for anyone who wants to try it out themselves, all that’s needed for this build is a 3D printer, salt, and time.
Continue reading “3D Printed Climbing Holds, Now With Texture”