The ESP32 is well known for both its wireless communication abilities, as well as the serious amount of processing power it possesses for a microcontroller platform. [Robert Manzke] has leveraged the hardware to produce a Eurorack audio synthesis platform with some serious capabilities.
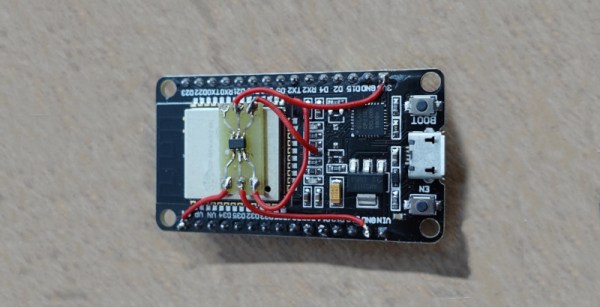
Starting out as a benchmarking project, [Robert] combined the ESP32 with an WM8731 CODEC chip to handle audio, and an MCP3208 analog-to-digital converter. This gives the platform stereo audio, and the ability to handle eight control-voltage inputs.
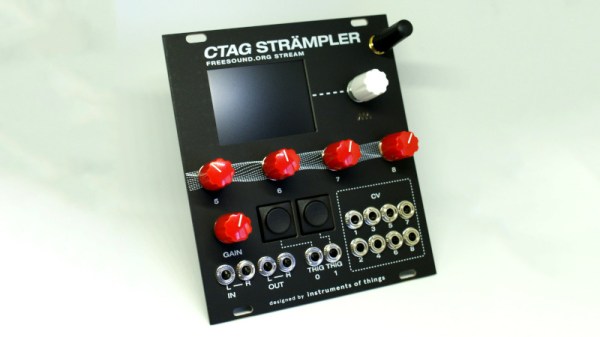
The resulting hardware came together into what [Robert] calls the CTAG Strämpler. It’s a sampling-based synthesizer, with a wide feature set for some serious sonic fun. On top of all the usual bells and whistles, it features the ability to connect to the freesound.org database over the Internet, thanks to the ESP’s WiFi connection. This means that new samples can be pulled directly into the synth through its LCD screen interface.
With the amount of power and peripherals packed into the ESP32, it was only a matter of time before we saw it used in some truly impressive audio projects. It’s got the grunt to do some pretty impressive gaming, too. Video after the break.