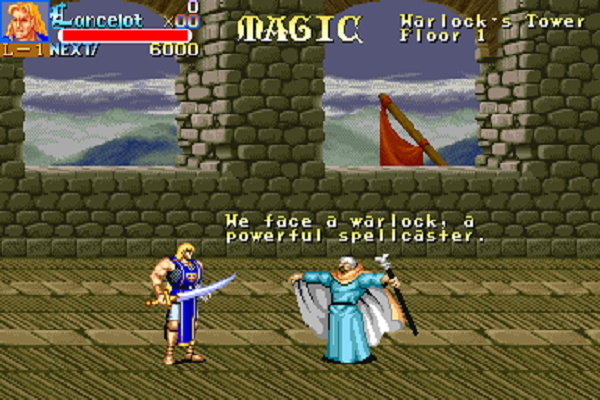
For the uninitiated, Knights of the Round was a hack-and-slash arcade game released by Capcom in 1991 that rather loosely followed the legend of King Arthur and the eponymous Knights of the Round Table. In it, up to three players make their way from stage to stage, vanquishing foes and leveling up their specific character’s weapons and abilities. But [Sebastian Mihai] was looking for a new way to experience this classic title, so he decided to reverse engineer the game and create his own version called Warlock’s Tower.
Those familiar with the original game will no doubt notice some of the differences right away while watching the video below, but for those who don’t have an intimate knowledge of Arthur’s digital adventures, the major changes are listed on the project’s web page. Among the most notable are the removal of cooperative multiplayer and stage time limits. This turns the game from a frantic beat ’em up to a more methodical adventure. Especially since you now have to compete the game in a single life. If we had to guess, we’d say [Sebastian] prefers his games to have a bit of a challenge to them.
 Even if you aren’t interested in playing Warlock’s Tower yourself, the story of how [Sebastian] created it is absolutely fascinating. He started with zero knowledge of Motorola 68000 assembly, but by the end of the project, was wrangling multiple debuggers and writing custom tools to help implement the approximately 70 patches that make up the custom build.
The hundreds of hours of work that went into creating these patches is documented as a sort of stream of consciousness on the project page, allowing you to follow along in chronological order. Whether it inspires you to tackle your own reverse engineering project or makes you doubt whether or not you’ve got the patience to see it through, it’s definitely worth a read. If you’re a Knights of the Round fan, you should also take a look at the incredible wealth of information he’s amassed about the original game itself, which honestly serves as an equally impressive project in its own right.
Modified versions of classic games, known colloquially as “ROM hacks” are fairly common among serious fans who want to see their favorite games improved over time. While they aren’t always as ambitious as Warlock’s Tower, they all serve as examples of how a dedicated community can push a product well beyond the scope envisioned by its original creators.
Continue reading “The Epic Saga Of Hacking Knights Of The Round“

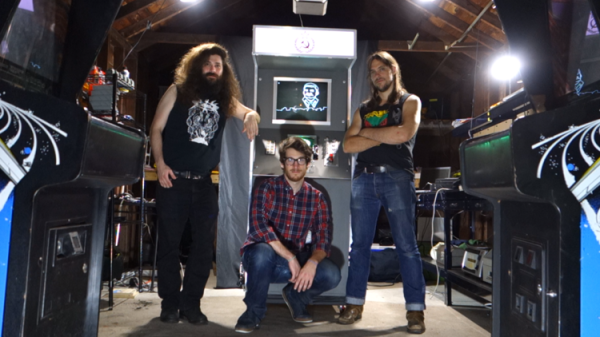
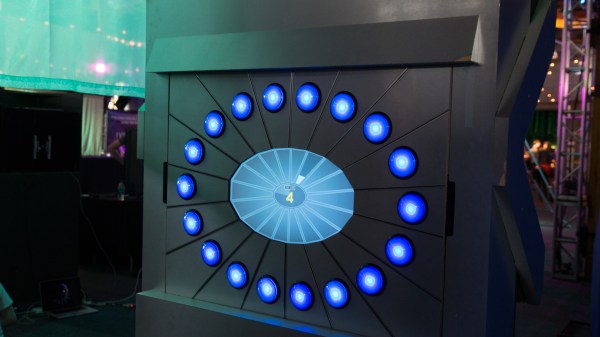
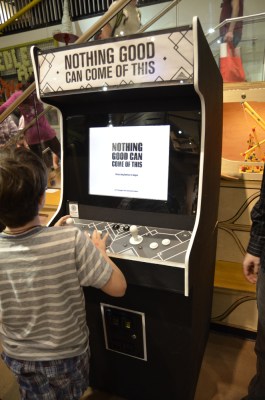 Video arcades may be a thing of the past, but they’re still alive, well and were ready to play at this year’s World Maker Faire. The offerings weren’t old favorites, all were brand new games many being shown for the first time like the long-awaited VEC9. The Hall of Science building was filled with cabinets and no quarters were necessary, all were free-play.