Someone just stole your car. They took it right underneath your nose, and you have no idea where it is. Luckily, you have a GPS tracker installed and can pinpoint the exact location of the vehicle that thief drove away with.
Having a GPS tracker in your vehicle becomes extremely useful when something unexpected happens. Taking the necessary precautions to ensure a secure tracking system can save a lot of time and money if the car suddenly disappears.
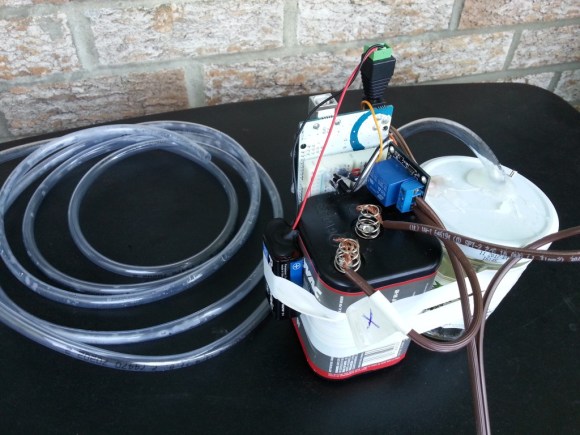
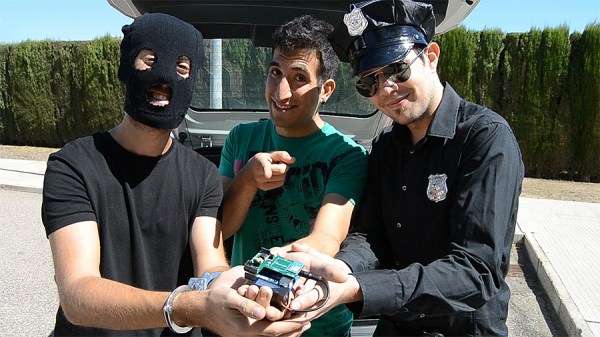
Helping to solve the vanishing vehicle problem is the bright, young team at Cooking Hacks who created a step-by-step tutorial showing how to create a homemade GPS tracker. Their design is Arduino based and has a GPS+GPRS shield with an antenna attached to continuously pick up the location of the vehicle. Making a call to the Arduino inside triggers an SMS message to be sent back with the specific GPS data of where the tracker is stationed at. Information is then set to a server and inserted into a database, which can be accessed by opening up a specialized Android app.
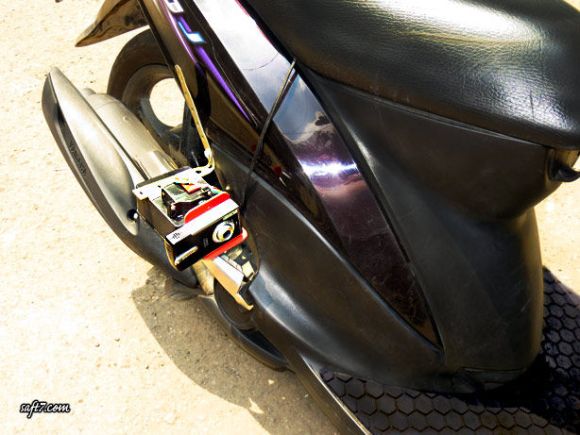
We’ve seen similar ideas before, like this GPS tracker for stolen bikes, but this project by Cooking Hacks is unique because of its mobile phone integration with Google Maps. Not to mention, their video for the project is fantastically awesome.
If you have developed a system like this, be sure to let us know in the comments; and don’t forget to check out their video after the break.