Want to take that annoyingly productive coworker down a notch? Yeah, us too. How dare they get so much done and be so happy about it? How is it possible that they can bang on that keyboard all day when you struggle to string together an email?
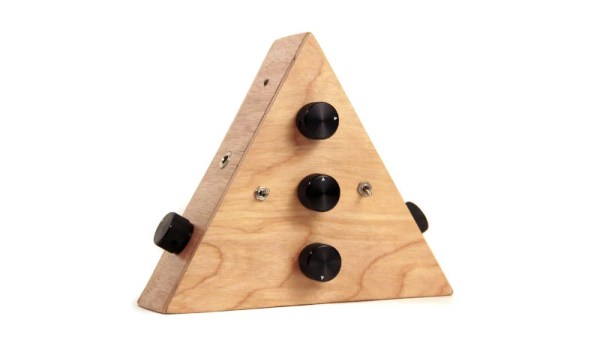
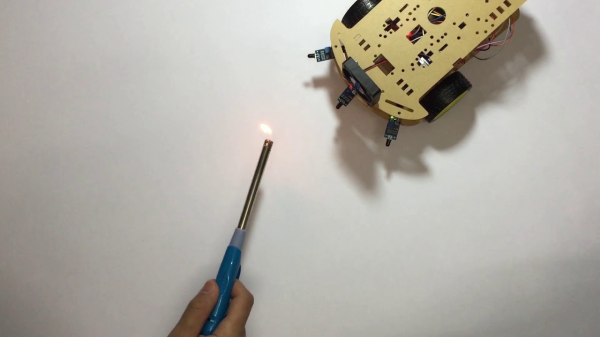
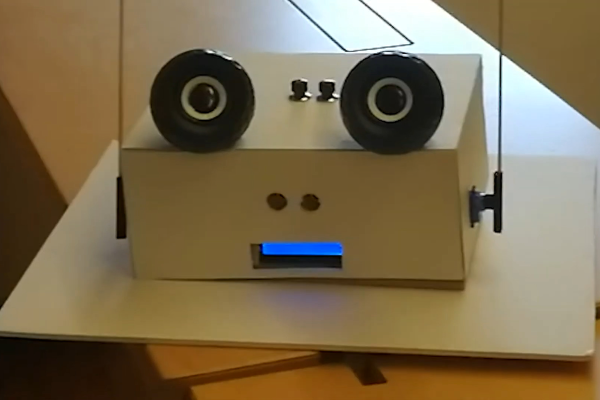
The Slippy Slapper is a useless machine that turns people into useless machines using tactics like endless distraction and mild physical violence. It presses your buttons by asking them to press buttons for no reason other than killing their productivity. When they try to walk away, guess what? That’s another slappin’. Slippy Slapper would enrage us by proxy if he weren’t so dang cute.
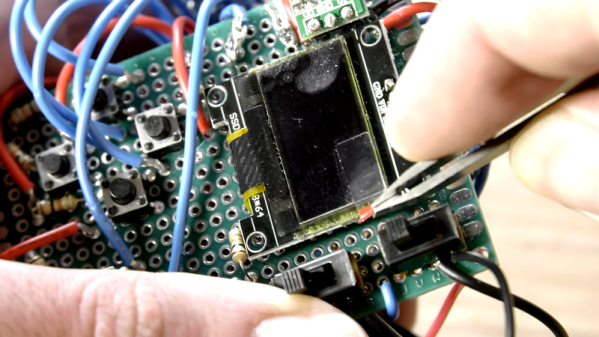
You’re right, you don’t need an Arduino for this. For peak inefficiency and power consumption, you actually need four of them. One acts as the master, and bases its commands to the other three on the feedback it gets from Slippy’s ultrasonic nostrils. The other three control the slappin’ servos, the speakers, and reading WAV files off of the SD card. Slap your way past the break to see Slippy Slapper’s slapstick demo.
Need to annoy a group of coworkers all at once? Slip a big bank of useless machines into the conference room while it’s being set up.
Continue reading “Slippy Slapper Uselessly Uses All The Arduinos”