What can you do with ferromagnetic PLA? [TheMixedSignal] used it to give new meaning to the term ‘musicians’ gear’. He’s made a proof of concept for a DIY tone generator, which is the same revolutionary system that made the Hammond organ sing.
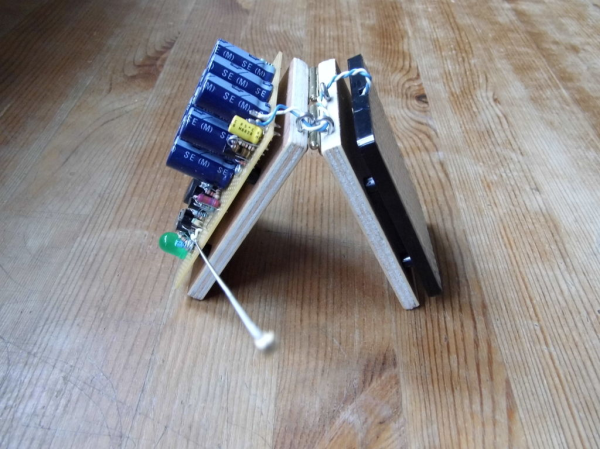
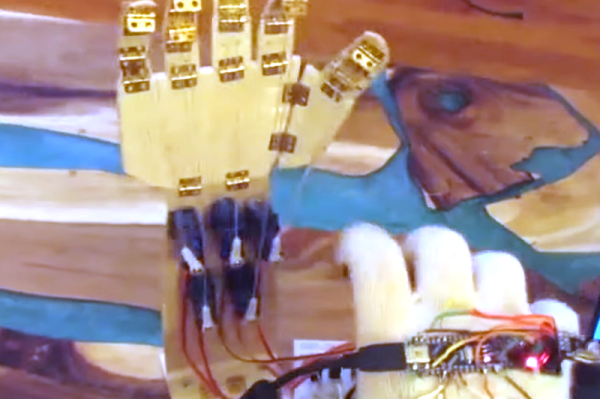
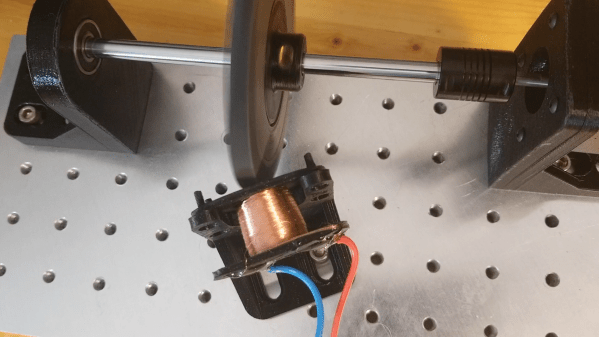
Whereas the Hammond has one tonewheel per note, this project uses an Arduino to drive a stepper at varying speeds to produce different notes. Like we said, it’s a proof of concept. [TheMixedSignal] is proving that tonewheels can be printed, pickups can be wound at home, and together they will produce audible frequencies. The principle is otherwise the same — the protruding teeth of the gear induce changes in the magnetic field of the pickup.
[TheMixedSignal] fully intends to expand on this project by adding more tone wheels, trying different gear profiles, and replacing the stepper with a brushless motor. We can’t wait to hear him play “Karn Evil 9”. In the meantime, put on those cans and check out the demo/build video after the break.
We don’t have to tell you how great Hammond organs are for making music. But did you know they can also encode secret messages?